Advertisement
Quick Links
Advertisement

Related Manuals for Fortis FSMEXRWMC1A


Summary of Contents for Fortis FSMEXRWMC1A
- Page 1 FOLDABLE MECHANICAL EXERCISE ROWING MACHINE FSMEXRWMC1A...
-
Page 3: Safety And Warnings
SAFETY & WARNINGS • Read all of the instructions in this guide before using this product. Retain this guide for future reference. Do not skip, substitute or modify any steps or procedures in this guide, as doing so could result in personal injury or product damage. •... - Page 4 • Prior to assembly, ensure you have all the components and tools listed. Some components are pre-assembled to help with the assembly process. • Be careful when lifting and moving the equipment. Always use proper lifting technique and seek assistance if necessary. •...
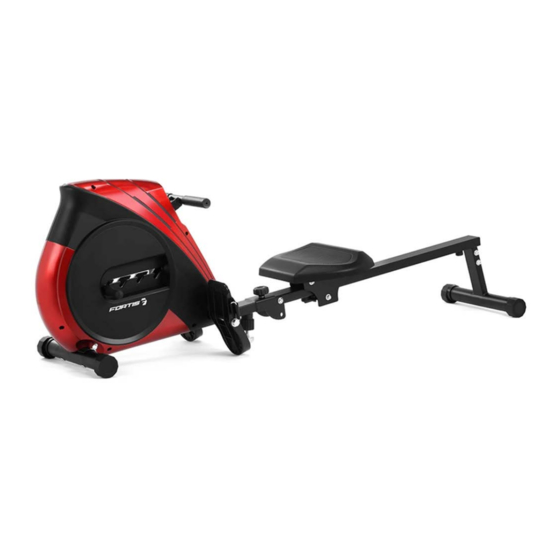
- Page 5 OVERVIEW...
- Page 6 Parts List Description Description Main frame Plug Front stabilizer Handlebar End cap Foam grip Bolt M8x65 Rope Arc washer d8xΦ20xR30 Bolt Spring washer D8 Bolt M10x80 Nut M8 Sensor wire Bolt φ12.5x130xM12x18 Extended wire Flat washer D13xφ26 Flat washer D10xφ20 Pedal Nut M10 Screw ST4.2x18...
- Page 7 ASSEMBLY Step 1: Attach the handlebar (22) to the axle (24).
- Page 8 Step 2: • Fix the front stabilizer (2) to the main frame (1) with bolt (4) arc washer (5) spring washer (6) and nut (7). • Install the adjustable foot pad (40) to the main frame (1) as shown (Adjust it to the suitable position to connect the rail tube (45).
- Page 9 Step 3: Fix the pedals (10) to the main frame (1) with bolts (8) & flat washers (9). Step 4: • Fix the saddle (52) to the saddle post (51) with screws (48) spring washers (49) and flat washers (50). •...
- Page 10 Step 5: Connect the extended wire (36) to the sensor wire (35), and then fix the rail tube (45) to the main frame (1) with bolts (34) flat washers (37) and nuts (38). And then fix the bolt (33) and the flat washer (15) to the main frame (1).
- Page 11 Step 7: The rowing machine is foldable. Before folding the machine, take the bolt (33) and flat washer (15) out. You can fix the folded machine in position using the bolt (33) and flat washer (15) as below.
-
Page 12: Operation
OPERATION Button Function MODE: • Push to select functions. • Push down and hold for 2 seconds to reset all functional value. Functions • SCAN: When MODE is set to SCAN, the meter will rotate through the following functions: Time, Count, Total Count, Calorie, Count/Min and (if applicable) pulse. Function will display for 6 seconds. - Page 13 Replacing the Batteries • When the monitor screen light begins to fade, the batteries will need to be replaced. • Press the monitor release button and remove the monitor. • Remove the batteries and replace with two “AA” batteries. • Gently push the monitor back into position. Note: The batteries will need to be replaced every 3-4 months.
- Page 14 NOTES...
- Page 16 Need more information? We hope that this user guide has given you the assistance needed for a simple set-up. For the most up-to-date guide for your product, as well as any additional assistance you may require, head online to help.kogan.com...
Need help?
Do you have a question about the FSMEXRWMC1A and is the answer not in the manual?
Questions and answers