Advertisement
Quick Links
Advertisement

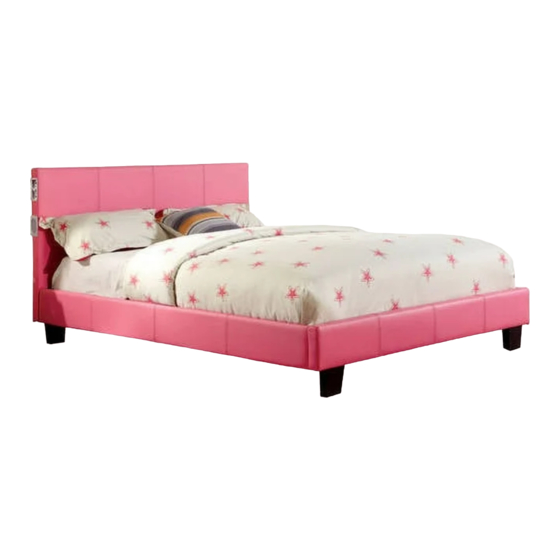
Related Manuals for Furniture of America CM7099Q


Summary of Contents for Furniture of America CM7099Q
- Page 1 For more information contact our team: service.ec@foagroup.com...
- Page 5 Prepare 8 bolts assembly by inserting lock washer (#D), then flat washer (#E) onto bolts (#C). Align the foot (#5) to the holes of the headboard (#1) and footboard (#3). Secure with bolts (#C). Prepare 8 bolts assembly by inserting lock washer (#D), then flat washer (#E) onto bolts (#A).
- Page 6 Prepare 2 bolts assembly by inserting lock washer (#D), then flat washer (#E) onto bolts (#B). Align support legs (#7) to the hole of the support rail (#4). Secure with bolts (#B). Prepare 4 bolts assembly by inserting lock washer (#D), then flat washer (#E) onto bolts (#B).
- Page 7 Connect the slats (#6) with center connectors (#F) and end caps (#G) as shown in the picture. Plug to outlet Plug to device...
- Page 8 For more information contact our team: service.ec@foagroup.com...
- Page 12 Prepare 8 bolts assembly by inserting lock washer (#D), then flat washer (#E) onto bolts (#C). Align the foot (#5) to the holes of the headboard (#1) and footboard (#3). Secure with bolts (#C). Prepare 8 bolts assembly by inserting lock washer (#D), then flat washer (#E) onto bolts (#A).
- Page 13 Prepare 2 bolts assembly by inserting lock washer (#D), then flat washer (#E) onto bolts (#B). Align support legs (#7) to the hole of the support rail (#4). Secure with bolts (#B). Prepare 4 bolts assembly by inserting lock washer (#D), then flat washer (#E) onto bolts (#B).
- Page 14 Connect the slats (#6) with the center connectors (#F) and end caps (#G) as shown in the picture. Attach the slats (#6) to the bed. Plug to outlet Plug to device...
- Page 15 For more information contact our team: service.ec@foagroup.com...
- Page 19 Prepare 8 bolts assembly by inserting lock washer (#C), then flat washer (#D) onto bolts (#B). Align the foot (#5) to the holes of the headboard (#1) and footboard (#3). Secure with bolts (#C). Prepare 8 bolts assembly by inserting lock washer (#C), then flat washer (#D) onto bolts (#A).
- Page 20 Attach end caps (#E) to the end of each slats (#5). Attach the slats to the side rails (#2). Plug to outlet Plug to device...
Need help?
Do you have a question about the CM7099Q and is the answer not in the manual?
Questions and answers