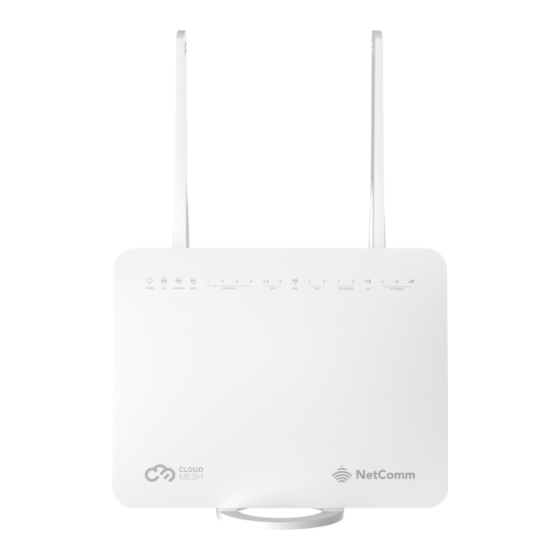
Casa Systems NetComm NL19MESH Troubleshooting Manual
Wireless troubleshooting
Hide thumbs
Also See for NetComm NL19MESH:
- Backup and restore configuration manual (3 pages) ,
- Troubleshooting manual (2 pages) ,
- Wireless setup manual (6 pages)
Advertisement
Quick Links
Wireless Troubleshooting Guide
Wireless Troubleshooting guide
First, check that your Gateway
Next, check LED light status for 2.4 GHz and 5 GHz Wi-Fi. If 2.4 GHz and 5 GHz Wi-Fi LEDs are not lit, it means
that your Wi-Fi service is disabled.
Log in to Web Interface
1
Connect your device to the Gateway using wired or wireless connection.
Important – A computer connected using an Ethernet cable is strongly recommended.
2
Open a web browser (such as Google Chrome, Safari or Mozilla Firefox), type following address into
the address bar and press Enter.
http://192.168.20.1
3
Enter Gateway Login Username and Password printed on the label at the back of Gateway and press
the Sign in button.
Wireless Troubleshooting Guide – NL19MESH
FA01365 v. 1.0 December 2021
Wi-Fi is turned ON.
NL19MESH
Advertisement

Summary of Contents for Casa Systems NetComm NL19MESH
- Page 1 Wireless Troubleshooting Guide NL19MESH Wireless Troubleshooting guide First, check that your Gateway Wi-Fi is turned ON. Next, check LED light status for 2.4 GHz and 5 GHz Wi-Fi. If 2.4 GHz and 5 GHz Wi-Fi LEDs are not lit, it means that your Wi-Fi service is disabled.
-
Page 2: Wi-Fi 2.4Ghz/Wifi 5Ghz
2 of 13 Wi-Fi 2.4GHz/WiFi 5GHz The gateway allows you to maintain separate wireless settings for both 2.4GHz and 5GHz wireless services. Select the service you want to use (or both) and separately configure them: 2.4 GHz Wireless configuration pages 5 GHz Wireless configuration pages It is recommended that you use the same Wi-Fi Network Name (SSID) and password for both 2.4 GHz and Important –... - Page 3 3 of 13 Cannot connect Wi-Fi client (Laptop/mobile/Pad) to Wireless network Case1 - MAC address is restricted Ensure that the MAC Restrict Mode is: Disabled Case2 – Stored old Wi-Fi password: This may occur if the client device is storing an old Wi-Fi password and it is not prompting for new password.
- Page 4 4 of 13 Start Menu Control Panel Click on the and go to . Select View by: Category. Click View network status and tasks in the Network and Internet group. Manage wireless networks Click . If it is not shown, proceed to Step 4. Select your Wi-Fi network name/SSID, right click and select Remove network from the popup menu.
- Page 5 5 of 13 These are stored settings and passwords for connecting to the listed networks. Network and If your Wi-Fi network name/SSID is not listed here, close this window and return to the Sharing Center Click the Yes button in the confirmation dialog box "Change Adapter settings"...
- Page 6 6 of 13 SSID You should see a network listed with the you obtained at the start of this guide. Select your wireless Connect. network and click Enter your Wi-Fi security key/password and click OK. You will be connected to the Wi-Fi network (Example: NetComm 8386). Do not forget to disconnect your ethernet cable.
- Page 7 7 of 13 Select Network and Internet > Wi-Fi, scroll down to the bottom in the right side and click Manage Wi-Fi settings: Find your Wi-Fi network name/SSID and click Forget. Navigate back to Network and Internet > Wi-Fi. Make sure Wi-Fi in turned On. NL19MESH –...
- Page 8 8 of 13 Select your Wi-Fi network name/SSID (Example: NetComm 8386) Enter your Wi-Fi security key/password Click Next. If you cannot see a “Wireless Network Connection” item, your wireless adapter may not be installed or inserted correctly. Note – Please check this before continuing with steps in this guide. You will now be connected to Wi-Fi network.
- Page 9 9 of 13 Scan for the Wi-Fi network name/SSID and enter new Wi-Fi security key/password again. Android Your Android phone may be storing your old Wi-Fi password causing it not to connect to the Wi-Fi network. In your Android phone, navigate to Settings > Connections > Wi-Fi. Press Wi-Fi network name (Example: NetComm 8386) as in the snapshot below and press Forget.
- Page 10 10 of 13 Mac OS X Airport/Wi-Fi Click on the icon at the top right corner of the screen as shown below. Scroll down and click “Open Network Preferences…”. Select Wi-Fi and then select the Advanced… button. Select your Wi-Fi network name (Example: NetComm 8386), click the minus sign “–“ as shown below, check ...
- Page 11 11 of 13 Next click Apply Scan for the Wi-Fi network name/SSID and enter new Wi-Fi security key/password again. You should see a list of Wi-Fi network name along with your Wi-Fi network name/SSID (Example: NetComm 8386). Click your Wi-Fi network name/SSID to connect to this network. Enter your Wi-Fi security key/Password and click the Join button to connect to the Wi-Fi network.
- Page 12 12 of 13 After completing the steps above, you should now be connected to your wireless network and able to surf the internet. Note – Please remember to disconnect your ethernet cable. Connected to Wi-Fi network but unable to browse internet Check if you are using static IP address of different network range.
- Page 13 13 of 13 Should I choose 2.4 GHz or 5 GHz Wi-Fi band? By default, Wi-Fi name (SSID) and password for 2.4 GHz and 5 GHz band is same, which creates single roaming profile for the clients to switch between the bands automatically. It is recommended to keep 2.4 GHz and 5 GHz Wi-Fi name and password same, so that clients select the suitable band automatically and for optimum MESH performance.


Need help?
Do you have a question about the NetComm NL19MESH and is the answer not in the manual?
Questions and answers