Table of Contents
Advertisement
Quick Links
Advertisement
Table of Contents

Subscribe to Our Youtube Channel
Related Manuals for JUKI L-1A


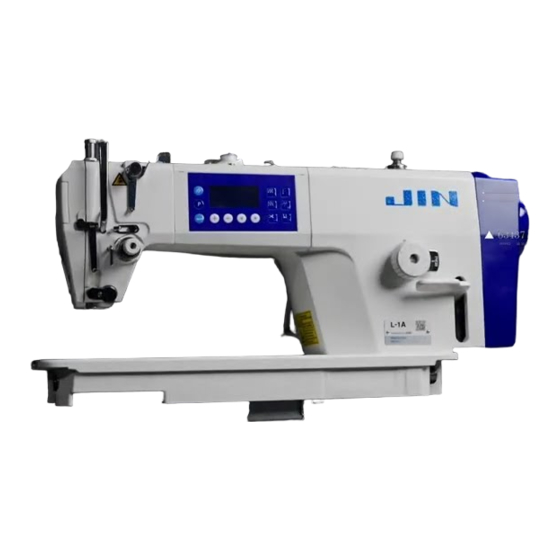
Summary of Contents for JUKI L-1A
- Page 1 L-1A INSTRUCTION MANUAL (Electrical)
-
Page 2: Table Of Contents
CONTENTS Safety Instruction ....................... 1 1. Button Displays and Operating Instructions ............... 2 1-1. Key Description ....................... 2 2. Auxiliary Function ......................3 2-1. Motor electrical angle correction ................3 2-2. Quick setting of needle stop position ..............3 3. User Parameter ....................... 3 4. -
Page 3: Safety Instruction
△ Safety Instruction Users are required to read the operation manual completely and carefully before installation or operation. This product must be installed or operated by properly trained personnel. All power must be turned off during installation, and remember not to operate with power. △... -
Page 4: Button Displays And Operating Instructions
1 Button Displays and Operating Instructions ゜ ↓ ( 怜 ·1 轡 ·._ _•: --' '· _ ‘ ‘ ↓ ,. 、 - ‘ J r\ 1 1 , 書 ' 一 \― 00000 ← と [ へ ー )口] 芯... -
Page 5: Auxiliary Function
2. Auxiliary Function ゜ 2.1 Motor electrical angle correction Enter the parameter, adjust the parameter to P92 item, click the key to enter the parameter item, click the needle stop position key in the parameter interface, and then the motor will automatically run and calculate the motor electrical angle. - Page 6 Default Items Range Description 0: Half stitch 1: One stitch 0 - 4 Mending stitch mode 2: Continuous half stitch 3: Continuous one stitch ゜ 4: Contmuous one stitch, quick stop Speed li1nit of manual 0-3200 The function is disabled when the value is less than 100. back-tacking 0: P41 item counter not count automatically.
- Page 7 Items Range Default Description Stitch compensation for bar-tacking A (C) section, 0�200 action gradually delay; the large value, the longer of the A Bar-tacking compensation 5 0-200 (C) section last stitch; the shorter of the B (D) section first stitch. Stitch compensation for bar-tacking B (D) section, 0~200 action gradually delay;...
- Page 8 Items Range Default Description Thread trimmi ng speed (rpm ) 100-500 Adjust thread trimming speed Foot lifter operation time to 10-990 full output (ms ) Presser foot hfter operation Presser foot lifter operate m duty cycle to save electncity 1-50 and protect the electro m agnet fro m over-heat.
- Page 9 Items Range Default Description Back-tacking operation time to 10-990 Back tacking start action, full output action times. full output (ms) Opportunity point of back-tacking for end 20-350 back-tacking in high speed in free sewing mode l11e start angle of tliread 5-359 clamping e stop angle of thread...
-
Page 10: Error Code List
Items Range Default Description ゜ Electromagnet overcurrent 0: No alarm, tum off the output Pl 19 1: Alarm and shutdown; protection selection 100-1200 1000 Pl31 Ending tight seam speed Endmg tight seam stitch 0-10 Pl32 number Pl33 20-330 Ending tight seam start angle First stitch speed limit of start 1200 Pl34... - Page 11 2. If there is no alarm after removing the solenoid connector, please plug it back 1) Step on the front pedal to let the sewing machine perform thread clamping and back-tacking. If alarms, please tum off start back-tacking and end back-tacking, restart the control box, and tl1en step f01ward.
-
Page 12: Port Diagram
3. If it still does not work normally, please replace the control box or main shaft motor and notify the after-sales service. l. Restore factory settings. 2. If it still does not work normally, please replace the control box and notify the EEPROM read and wnte failure after-sales service. - Page 13 Bangladesh Ltd SECTOR#03, 54731 54733 止 UTTARA MODEL TOWN, DHAKA, BANGLADESH GROUND AND 1ST FLOOR, N0.1090/1, 18TH CROSS ROAD, 3RD JUKI India Private (91)80-425 http:/ /iukiindi iukiblr@iukiindia.co (91)80-425 SECTOR, HSR LAYOUT Limited 1-1900 1-1999 a.com/ BANGALORE-560 102, KARNATAKA STATE, INDIA UL.POLECZKI 21(PLATAN...
Need help?
Do you have a question about the L-1A and is the answer not in the manual?
Questions and answers