Advertisement
Quick Links
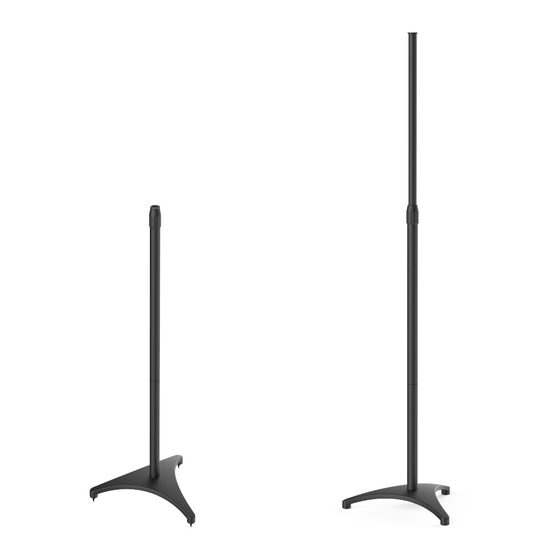
Speaker Floor Stand
Instruction Manual
Model:PSSS1/PSSS1W
Thank you for choosing this PERLESMITH product! At
PERLESMITH we strive to provide you with the best quality
products and services in the industry. Please share your
experience of our product with others at www.perlesmith.com/
pages/reviews if you are satisfied. Should you have any issues,
please don't hesitate to contact us.
Technical Support:
1-800-556-6806 Mon-Fri 10am - 5pm (PST) (USA) (CAN)
Other Info:
supportus@perlesmith.com (US)
Website:
supportca@perlesmith.com (CA)
www.perlesmith.com
STEP 1
Attach the nails or rubber pads to the base feet
For carpets floor,screw the nails into the
holes of the base.
OPT
A
For marble or wooden floor, rotate and
insert the rubber pads into the holes of the
base.
OPT
B
STEP 2A
Fasten the post assemblies to the bases(for regular lower height)
03
01
V6.0
A
B
01
01
01
C
01
01
01
UNPACKING INSTRUCTIONS AND IMPORTANT SAFETY INFORMATION
•Carefully open the carton, remove contents and lay out on cardboard or other protective surface to avoid damage.
•Check package contents against the Supplied Parts and Hardware List to assure that all components were
received undamaged. Do not use damaged or defective parts.
•Not all parts and hardware included will be used. lf you require replacement parts, please contact customer
service at supportus@perlesmith.com (US)/supportca@perlesmith.com (CA).
•Carefully read all instructions before attempting installation.
•If you do not understand the instructions or have any concerns or questions, please contact customer service at
supportus@perlesmith.com (US)/supportca@perlesmith.com (CA).
•This product may contain moving parts. Use with caution.
•Do not use this product for any purpose that is not explicitly specified in this manual. Do not exceed weight
capacity. We cannot be liable for damage or injury caused by improper mounting, incorrect assembly or
inappropriate use.
Phillips Screwdriver
01
Base
x 2
90 Degree Plate
04
x 2
Nut
Nail
Pad
Washer
Bolt
Bolt
M4/M5
M6x12mm
#6-32 x 1 1/4
K
L
M
x4
x2
Fasten the post extensions and post assemblies to the bases(for
STEP 2B
extra higher height)
The plastic packaging bag of the posts and bases come with yellow and blue labels. ONLY assemble the
posts and base labelled THE SAME COLOR. Otherwise it will be difficult to assemble.
STEP 2B-1 Secure the post assemblies [03] to the
post extensions [02]
03
Tighten
02
STEP 3
Adjust post assemblies to the desired height
Loosen
2
02
x 2
Post Extension
03
x 2
Post Assembly
Square Plate
05
x 2
Bolt
Bolt
Sponge
Plastic Nut
1/4
"
x13.5mm
M5x8mm
Nut
Washer
Washer
#6-32
#6
#6 x #14
"
N
O
P
x2
x2
x4
STEP 2B-1 Fasten the post extensions [02] and
post assemblies [03] to bases [01]
02
01
Lift
Narrow Plate
06
x 2
Bolt
Bolt
Bolt
M5X12mm
1/4"x12mm
M4X12mm
1
Tighten
3
Advertisement

Related Manuals for Perlesmith PSSS1


Summary of Contents for Perlesmith PSSS1
- Page 1 ″ x13.5mm M5x8mm M5X12mm 1/4″x12mm M4X12mm Model:PSSS1/PSSS1W Thank you for choosing this PERLESMITH product! At PERLESMITH we strive to provide you with the best quality Washer Bolt Bolt Washer Washer products and services in the industry. Please share your M4/M5...
- Page 2 Thank you again choosing this PERLESMITH product! All of us at PERLESMITH do appreciate your product purchase. We hope that you are as happy with your product as we are designing and manufacturing it for you. We strive to provide you with the best quality products and services in the industry.
Need help?
Do you have a question about the PSSS1 and is the answer not in the manual?
Questions and answers