Advertisement
Quick Links
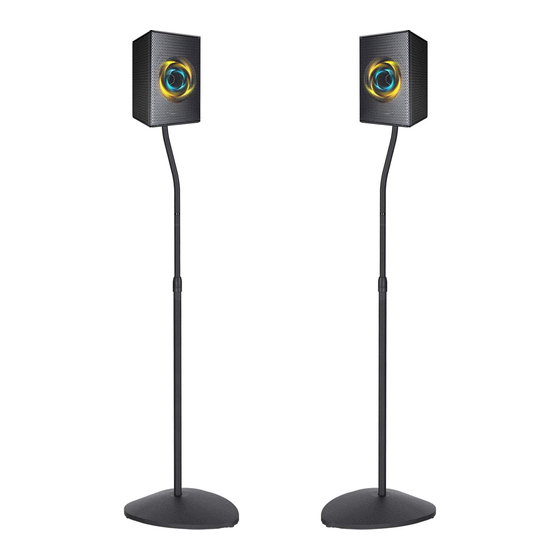
SPEAKER FLOOR STAND
V1.0
PSSS3
Thank you for choosing our product! We strive to provide the best quality and
services for our customers. Would you kindly share your experience on Amazon if
you are satisfied? Should you have any issues, please don't hesitate to contact us.
Telephone:800-5566-806 Mon-Fri 10am - 6pm (PST) (USA) (CAN)
Email:supportus@perlesmith.com (US/CA/DE/UK/FR/IT/ES/JP/AU)
Advertisement

Related Manuals for Perlesmith PSSS3


Summary of Contents for Perlesmith PSSS3
- Page 1 SPEAKER FLOOR STAND V1.0 PSSS3 Thank you for choosing our product! We strive to provide the best quality and services for our customers. Would you kindly share your experience on Amazon if you are satisfied? Should you have any issues, please don't hesitate to contact us.
-
Page 2: Hardware Kit
If you require replacement parts, please contact us at supportus@perlesmith.com. This product may contain moving parts. Use with caution. Please check www.perlesmith.com for more products and company information. TOOLS NEEDED (NOT INCLUDED) Screwdriver SUPPLIED PARTS... - Page 3 Screw Washer Wood Screw Washer Nail #6-32x1-1/4 M4x16mm φ4.7 STEP 1 Attach the Nails or Rubber Pads to the Base Used for carpet Rotate and insert the rubber pads into the holes. Used for marble floors or wooden floors...
- Page 4 STEP 2A Fasten the Post Extension to the Post Assembly STEP 2B Fasten the Post assembly to the base...
- Page 5 STEP 2C Adjust the Post Assembly to the Desired Height Lift Tighten Loosen STEP 3 Secure Speaker to Stand Speaker option A1: Keyhole insert 1.Attach Vertical Plate [07] with the Screw M5x15 [A] 1/4’’ x1/2’’ 2. Thread plastic nut [C] to screw 3.
- Page 6 Speaker Option A2: Keyhole Insert Speaker Option A3: Wooden Shell Speaker without Thread hole Center line...
- Page 7 Speaker Option B1: Thread Holes Locate at the Bottom of the Speaker Special screws (Not included in the hardware kit) Speaker Option B2: Speakers with Smooth Surface on the Bottom without Thread Holes Cut the over length Stick the vercro A and B [08] on Separate velcro velcro if necessary.
-
Page 8: Route The Cables
STEP 4 Route the cables Cable comes out from the base 01...
Need help?
Do you have a question about the PSSS3 and is the answer not in the manual?
Questions and answers