
Related Manuals for RASOR RS1


Summary of Contents for RASOR RS1
- Page 1 CORDLESS ELECTRIC SCISSORS USE AND MAINTENANCE INSTRUCTIONS Please read this manual carefully before using the device and keep it safe with the product. TRANSLATION OF ORIGINAL AND COMPLETE INSTRUCTIONS...
-
Page 2: Table Of Contents
RASOR ELETTROMECCANICA S.r.l. Via Giannetto Mattei, 41/43 - 20044 Arese- (MI) - ITALY Model: RS1 Rasor Elettromeccanica s.r.l. declares, under its own respon- sibility, that the aforementioned products, to which this decla- ration refers, comply with the Directives on the approximation of the laws of EEC member states relating to: –... -
Page 3: Caution Hazard
– Cleaning and maintenance intended to be carried out by the user must not be carried out by unsupervised children. – Use only original spare parts supplied by Rasor Elettromeccanica S.r.l. – Any required operation (maintenance or repair) must be... -
Page 4: Prohibitions
A nameplate (1) stating the product data is applied to The product operates at a maximum temperature of 55°C. the RS1. Ensure the nameplate has been applied to the prod- The protection rating of the device is IP 65. uct; if not, inform the manufacturer and/or retailer immediately. -
Page 5: Do Not
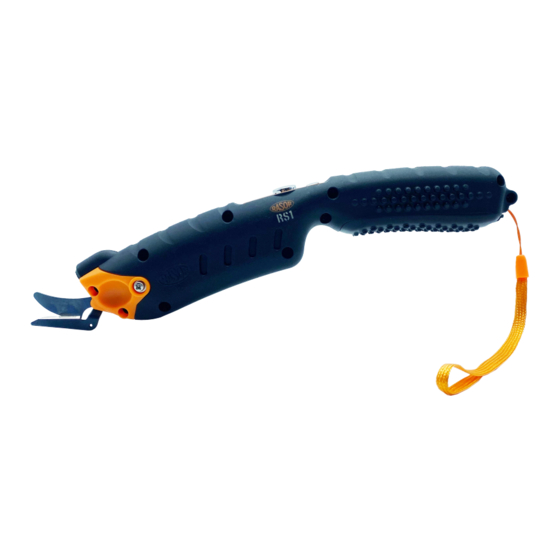
Package contents 1.10 Description of the device The RS1 cordless electric scissors are to be used for cut- ting textiles, NOT metal, plastic or wooden materials. The device requires no calibration or self-teaching. It is easy to use and ready for use. -
Page 6: Indicates Prohibited Operations
Make an initial test cut to check the resistance of the material. If lit, the battery is charged and the device can be used If lit, the battery is being charged CAUTION Connect the docking station to the wall charger. Charging the batteries https://www.rasor-cutters.com... -
Page 7: Maintenance
– unscrew and remove the two fastening screws and the washers – remove the cutting head (2) and replace it with one of the same technical specifications and dimensions – position the washers and tighten the previously removed fastening screws. https://www.rasor-cutters.com/it/... -
Page 8: Troubleshooting
Check the charge status of the batteries. The device does not start. Check the batteries are fitted correctly. Check the plastic joint between the motor and the cutting part. WARNINGS Contact the retailer for problems not included in this table https://www.rasor-cutters.com... -
Page 9: Spare Parts
2A Charge Cutting head Pair of screws and washers for fastening the cutting head Central body Lubricating oil Battery cover 10 Star screwdriver Docking station Wall charger (available with EU or US plug) Two rechargeable batteries Battery pole cleaning eraser https://www.rasor-cutters.com/it/... -
Page 10: Disposal
– if parts other than Rasor® original spare parts are used. Repairs made under warranty do not interrupt its duration. The competent court for all disputes is the court of Milan. - Page 11 DISPOSAL https://www.rasor-cutters.com/it/...
- Page 12 RASOR ELETTROMECCANICA SRL Via Giannetto Mattei 41/43 20044 Arese (MI) ∙ Italy ph. +39 02 66 22 12 31 info@rasor-cutters.com www.rasor-cutters.com FOLLOW US: FOLLOW US:...
Need help?
Do you have a question about the RS1 and is the answer not in the manual?
Questions and answers