Table of Contents
Advertisement
Quick Links
L
EXCELEENA
Original scan by an unknown kind stranger - thank you kind stranger!
Re-scanned, cleaned, OCRd, translated and fact checked by the the community of Exceleena fans
at www.arcadeprojects.com Feb 2022
With special thanks to
Hatmoose
Murray
GeeDee
INSTRUCTIONS
�I I z--z.
NAMCO CO, LTD
nameロ
量互
Advertisement
Table of Contents

Related Manuals for NAMCO EXCELEENA


Summary of Contents for NAMCO EXCELEENA
- Page 1 INSTRUCTIONS �I I z--z. 量互 Original scan by an unknown kind stranger - thank you kind stranger! Re-scanned, cleaned, OCRd, translated and fact checked by the the community of Exceleena fans at www.arcadeprojects.com Feb 2022 With special thanks to Hatmoose...
-
Page 2: Table Of Contents
TABLE OF CONTENTS 1. Specification 2. Precautions 2-1 Precautions for installation 2-2 Handling Precautions (General) 2-3 Handing Precautions (Picture Tube) 2-4 Precautions for transportation 3. Name of each part 4. Setup 4-1 Adjusting the level adjuster 4-2 Installation of the Signboard 4-3 How to replace the Signboard Artwork 5. -
Page 3: Specification
1. Specification 117 kg 1 game 100 yen (switchable) 200,000 yen (100 yen coins, 2000 sheets) - Page 4 Instruction manual (this manual) Key (for cash box) Key (for coin door, maintenance door, control panel cover) Torx wrench (male 4mm for M5) Glass tube fuse (4A 125v) Power supply 3P -> 2P conversion plug Monitor adjustment driver Stereo conversion harness Note: Specifications are subject to change without notice.
-
Page 5: Precautions
(1) For indoor use only do not install in the following location ① ② Places exposed to direct sunlight, places with high humidity, dusty places, places with leaks / water leaks, heating appliances, extremely cold places ③ Places that hinder disaster prevention such as emergency exits and places where firefighting equipment is installed. -
Page 6: Precautions For Transportation
If the surface is very dirty, soak a soft cloth in a mild household detergent diluted with ・ water, squeeze it tightly, and then wipe it dry. However, do not use detergents containing abrasives or detergents containing bleach. Do not attach adhesive patches or stickers to the surface of the CRT. ・... -
Page 7: Name Of Each Part
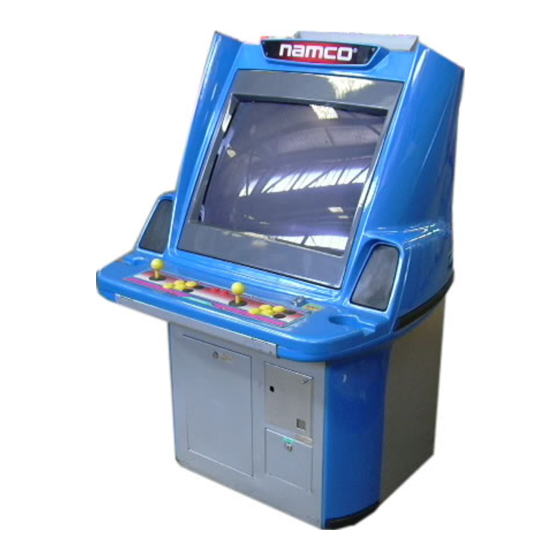
Name Of Each Part Monitor Bezel Face panel Control panel Control panel cover Side panel (right) Maintenance door コイン扉 Coin door Signboard Assembly Cash box Level Adjuster Side panel (left) Main body 口 Ground terminal Castors / Wheels... -
Page 8: Setup
Setup ※ (1) Loosen the two M5 base guard nuts to loosen the Signboard Osae (clamp) (It is not necessary to completely remove the nuts.) (2) Insert the Signboard assembly between the signboard base and the Signboard Osae. Tighten the two M5 base guard nuts to secure Signboard assembly Base guard Nut(M5) Signboard base... -
Page 9: How To Replace The Signboard Artwork
Remove the two nuts and the two screw + washer Spread the top of the Signboard Assembly, insert the explanation paper until it hits the stopper. Replace and tighten the two nuts and screw + washer Play instruction paper / Artwork Screw + Washer —... -
Page 10: Game Pc Board Replacement
Game PC Board Edge Connector PC Board Base M4 x 20mm screw Figure 3... -
Page 11: Adjustments
Adjustment (Service panel and power supply) With these volume knobs , you can adjust the volume of the speakers separately for left and right. If the volume is insufficient even when maximized check also the volume on the Game PC Board Test Switch ®... -
Page 12: Routine Maintenance
Routine Maintenance To prevent danger, be sure to turn the power off before proceeding Unlock with keys on the underside of the control panel cover (2 places one each side). Pull the control panel cover up and towards you until it rests on the stoppers Unplug the button and lever connectors (J8, J9, J10, J11) Remove the Control Panel Cover from the main body by lifting straight up Control Panel Cover... -
Page 13: 72 How To Open The Face Panel
(2) Remove the two butterfly wing bolts and two washers, one each side under the Control Panel Cover Butterfly wing bolt(M6X20) Figure 6 Hold both sides of the face panel to open it - When open fix it securely on the left and right with the Brace/Stay Face Panel Left Brace/Stay... - Page 14 Be sure to work with two people as it is heavy (1) Remove the control panel cover. (Refer to p10 section 7-1"How to remove the control panel cover") (2) Open the face panel. (Refer to p11 section 7-2 "How to open the face panel") (3) Open the maintenance door and disconnect the connectors (J 6, J 7) connected to the monitor assembly.
-
Page 15: 74 How To Change The Monitor Orientation
End Boss Slide Guide Figure 9 (6) Secure the monitor assembly by replacing the four hexagon bolts in step 3 (8) Rotate the monitor bezel 90° to install it. (9) Replace the eight screws (M4 x 10) that secure the monitor bezel -1 3-... -
Page 16: 73 How To Remove The Monitor Assembly 1
・For Toei monitors No work is required as it switches automatically. Turn off the power and remove the Monitor Assembly. Refer to Page 12 7-3 "how to remove the monitor assembly" Replace the switching tap on the monitor PC board from ① to ② in Fig. 11 (see Fig. -
Page 17: 77 How To Replace The Fuse In The Power Panel Assembly
Button head bolt (m4 x 12mm) marquee title panel fluorescent light... -
Page 18: 78 How To Use Coin (B) Pc Board (For Mahjong Games, Etc.) ー
There is a coin (B) PC board in the back of the power board assembly. Use the following functions as needed. At the time of shipment, the coin counter is linked to the input of the coin switch. (When using Mahjong game PC board) Replace the jumper pin from the "normal"... -
Page 19: Parts List
Parts List 殴_l... - Page 20 Signboard Back cover Monitor Assembly 409-132 Signboard Front Cover 409- 131 413-392 Control panel sticker (NGO71) Signboard screw/washer/nut Lever ball top (35mm) 409-133 305-187 28 Namco title panel 4 13-2 91 Lamp cover 413-617 Signboard base 413-128 - 1 8 -...
-
Page 21: Troubleshooting
(1) The power supply can be used in the range of AC90 to 110 V, but if a large-scale device (air conditioner, many pinpols, large vehicles, etc.) is connected to the same power supply line, this range can be used. The power supply voltage may fluctuate beyond this, which may cause a malfunction or malfunction. -
Page 22: Wiring Diagram
Wiring Diagram...