
Related Manuals for T&D TR-81


Summary of Contents for T&D TR-81
- Page 1 Instruction Manual Thank you for buying our product. Please read carefully before using. Copyright 1999 T&D Corporation. All rights reserved. 1999.12. 16004144020...
-
Page 2: Table Of Contents
Software User Agreement ・・・・・・・・・・・ 5 Please follow the safety precautions carefully. ● What is Thermo Recorder TR-81 ?・・・・・・・ 6 Contents of this manual may be altered according to improvements made to the product ● without notification. -
Page 3: Safety Precautions And Instructions
Safety Precautions and Instructions Please follow these instructions carefully. Warnings Handling Precautions ● This product has been designed for private or industrial use only. It is not for use in ● Dropping the unit or exposing it to a strong impact may cause malfunctioning. situations where strict safety precautions are necessary such as in connection with If the batteries lose all power all recorded data and settings will be lost. -
Page 4: Software User Agreement
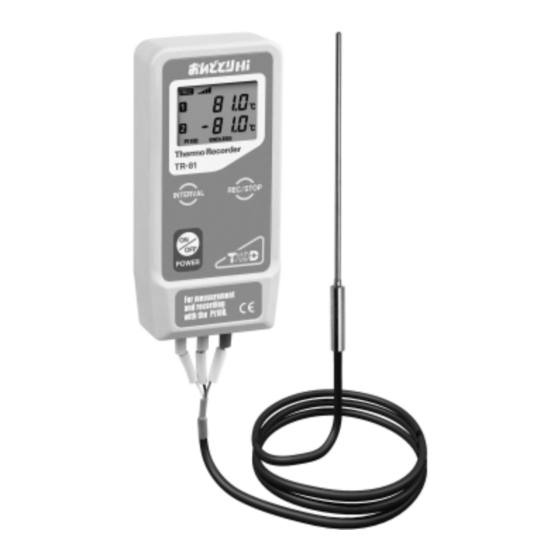
Software (Hi for Windows ) User Agreement What is Thermo Recorder TR-81 ? Escape Clauses This product is a thermo recorder that makes use of a platinum resistance sensor to measure and record temperature. Recorded data is then downloaded into a com- 1.T and D Corporation shall not accept any responsibility for any damage whether direct... -
Page 5: Contents Of Package
Button Cover Power Switch 1 Thermo Recorder Unit 1 Software disk 1 Communication Cable (Hi for Windows ) (TR-81) (RS-232C:D-SUB 9 pin) Sensor Connection Terminal The Side 1 Instruction Manual / / / / / 1 Lithium Battery 1 Attachment Plate Channel 2 (1 screw)... -
Page 6: Explanation Of The Lcd Display
Explanation of the LCD Display ● RECORDING ① ① ① ① ① ② ② ② ② ② ③ ③ ③ ③ ③ ④ ④ ④ ④ ④ The REC indicator comes on when recording is begun. It blinks while on standby. -
Page 7: Preparing The Thermo Recorder
Preparing the Thermo Recorder 1 1 1 1 1 ..Install the Battery ②Connect Sensor to Terminal, making sure to follow directions on the sticker on the backside of unit.(See figure below) ①Using a coin, turn the battery cover lock as shown in figure 1 to open cover. 《Sticker on Backside》... -
Page 8: Installing The Software
Installing the Software 1 1 1 1 1 . . . . . Before beginning installation please check the following Open Hi for Windows by clicking on this icon. (See below) ◆ Is Windows working properly ? If Windows (3.1 / 95 / 98 / NT 3.51 / NT 4.0) is not activated properly, it may be impossible to install and run Hi for Windows. -
Page 9: Screen Names And Functions
Screen Names and Functions ●This screen is only a representation for explanation purposes and may differ ⑤ ⑤ ⑤ ⑤ ⑤ Cursor Movement Button from actual screen. By clicking the arrow buttons you can move the cursor or cursors together left or right. Only operable for cursors which are activated ●For a detailed explanation of operations use the [Help] menu. -
Page 10: Starting To Record
Starting to Record ②From the [Communication] Menu choose [Start Recording...] There are two ways to begin the recording process. ● Using the Computer…You can set the day and time you want recording to start and can set or change all recording functions via the software. Using the Buttons on the Main Unit…By pushing the REC button you can begin recording ●... -
Page 11: Start Recording Via Computer
Downloading Recorded Data 2 2 2 2 2 ..Start Recording via Base Unit 1 1 1 1 1 ..Make sure Communication Cable is connected to the Com- puter. 1.Set the Recording Interval by pressing the [INTERVAL] button. Each time you press, it will take you to the next possible interval. -
Page 12: Saving Data
Saving Data Replacing the Battery From the [File] Menu select either [Save All Data As…] or [Save Partial Data As…] Time to change the battery ◆ ◆Once the BAT lamp appears on the display make sure to change the battery as soon as Specify location for saving possible. -
Page 13: Troubleshooting
Troubleshooting Q : : : : : I can’t get the communication cable connected to the computer. What should I do? 《 How to check 》 A: Please connect the communication cable provided with the Thermo Recorder into the ①... -
Page 14: Specifications
Specifications Thermo Recorder TR-81 A: Recording Channels 2 Channels Sometimes communication will not work if an extension cable has been added to the communication cable or if a switch has been added to the serial port (RS-232C). Sensors Pt100 Three Wire Sensors Measurement Range -200℃...
Need help?
Do you have a question about the TR-81 and is the answer not in the manual?
Questions and answers