Alarm.Com ADC-CSVR2000P Installation Instructions
Hide thumbs
Also See for ADC-CSVR2000P:
- Installation manual (16 pages) ,
- Quick start manual (3 pages) ,
- Manual (2 pages)
Advertisement
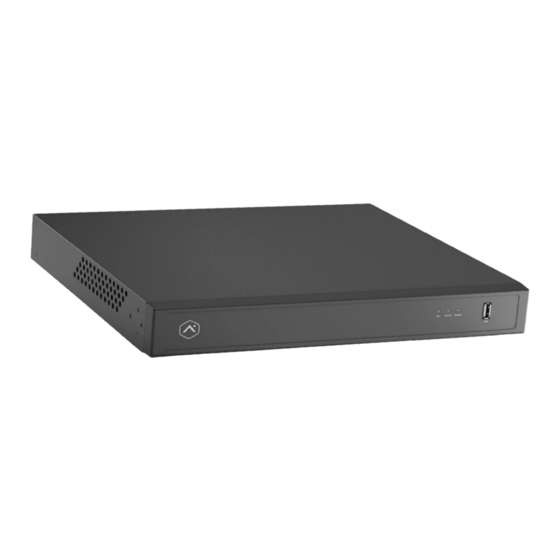
Hard drive installation instructions for the ADC-CSVR2000P/2008P/
2016P
Install or replace a failed drive in the ADC-CSVR2000P/2008P/2016P
Important: Install the serial advanced technology attachment (SATA) hard drives before enrolling the device. The
CSVR supports most standard SATA hard drives. SATA hard drives are user-supplied.
To install new hard drives
1. Verify that the device has no power and is unplugged.
2. Using a screwdriver, remove the screws on the sides and back of the chassis.
3. Remove the top cover of the chassis.
4. Connect the SATA power cable and SATA data cables to the main board.
5. Connect the SATA power cable and SATA data cables to the new hard drives. When installing hard drives, the
label sides should be facing up.
6. Align the bottom of the hard drives along the bottom of the enclosure. The connector sides should be facing
towards the center of the chassis.
7. Using a screwdriver, install screws from the bottom of the chassis to secure the hard drives in place.
https://answers.alarm.com/Partner/Installation_and_Troubleshooting/Video_Devices/Commercial_Stream_Video_Recorder_(...
Updated: Thu, 14 Apr 2022 20:22:51 GMT
1
Advertisement
Table of Contents

Related Manuals for Alarm.Com ADC-CSVR2000P


Summary of Contents for Alarm.Com ADC-CSVR2000P
- Page 1 Hard drive installation instructions for the ADC-CSVR2000P/2008P/ 2016P Install or replace a failed drive in the ADC-CSVR2000P/2008P/2016P Important: Install the serial advanced technology attachment (SATA) hard drives before enrolling the device. The CSVR supports most standard SATA hard drives. SATA hard drives are user-supplied.
- Page 2 9. Slide the top cover back onto the chassis. Using a screwdriver, re-install screws onto the sides and back of the chassis. 10. Enroll the device. For more information about how to enroll the device, see Commercial Stream Video Recorder (ADC-CSVR2000P/2008P/2016P) - Installation Guide. To replace failed hard drives 1. Verify that the device has no power and is unplugged.
- Page 3 9. Below is an example image of the inside of the enclosure after installation of the hard drives. The label side of the hard drives should be facing up. 10. Slide the top cover back onto the chassis. Using a screwdriver, re-install screws onto the sides and back of the chassis. https://answers.alarm.com/Partner/Installation_and_Troubleshooting/Video_Devices/Commercial_Stream_Video_Recorder_(… Updated: Thu, 14 Apr 2022 20:22:51 GMT...
- Page 4 4. Tap the name of the desired video device. 5. Tap Configure Video Device. 6. Tap Discover Drives. Using the Partner Portal: 1. Log into the Partner Portal. 2. Find the customer account. 3. Click Equipment. https://answers.alarm.com/Partner/Installation_and_Troubleshooting/Video_Devices/Commercial_Stream_Video_Recorder_(… Updated: Thu, 14 Apr 2022 20:22:51 GMT...
- Page 5 4. Click Video Devices. 5. Using the Video Device dropdown menu, select the desired device. 6. In the Number of Drives Installed field, click Discover Drives. https://answers.alarm.com/Partner/Installation_and_Troubleshooting/Video_Devices/Commercial_Stream_Video_Recorder_(… Updated: Thu, 14 Apr 2022 20:22:51 GMT...
Need help?
Do you have a question about the ADC-CSVR2000P and is the answer not in the manual?
Questions and answers