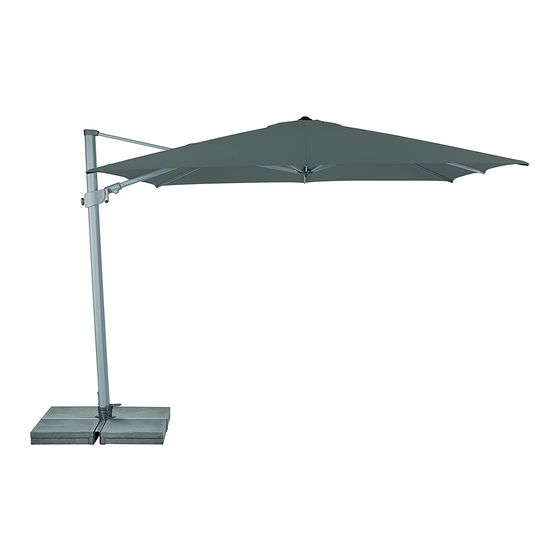
Glatz Sun Comfort Varioflex Service Manual
Sunshade
Hide thumbs
Also See for Sun Comfort Varioflex:
- Instructions for use (2 pages) ,
- Instructions for use manual (7 pages) ,
- Service manual (10 pages)
Summary of Contents for Glatz Sun Comfort Varioflex
- Page 1 Sunshade Varioflex Service Manual Varioflex Technical alterations reserved. © Glatz AG 11/2016...
-
Page 2: Table Of Contents
Sunshade Varioflex This service manual describes the following operations: Disassemble cover .................... 3 1.1 Disassembly and assembly ................3 Change of carriage/rope/gear ................5 2.1 Disassembly and assembly ................5 General information ..................10 latz AG 2016_Servicemanual_Varioflex_en Path: K:\Marketing\Drucksachen\Service Manual\Suncomfort\2016_Servicemanual_Varioflex_en.doc Created: Mattea Pelusi / 18/11/2016 Updated: Released: Hans Heierli / 22/11/2016... -
Page 3: Disassemble Cover
Sunshade Varioflex Preparation: Provide a clean surface on which to lay the sunshade Tools: Cordless screwdriver (hex bits) or cross-head screwdriver, stepladder With the sunshade in vertical position, proceed as follows: 1. Disassemble cover Disassembly and assembly Loosen all cross-head screws on the seven rod extensions on the closed sunshade. Do not yet loosen the screw on the supporting arm. - Page 4 Sunshade Varioflex Loosen the Velcro fastening along the supporting arm and return the carriage to the starting position. Using a ladder, remove the top cap from the sunshade in vertical position, then carefully pull the cover over the sunshade frame. latz AG 2016_Servicemanual_Varioflex_EN Path: K:\Marketing\Drucksachen\Service Manual\Suncomfort\2016_Servicemanual_Varioflex_EN.doc...
-
Page 5: Change Of Carriage/Rope/Gear
Sunshade Varioflex 2. Change of carriage/rope/gear Disassembly and assembly On the closed sunshade, loosen the slide cap and pull it down, out of the slide collar. Now loosen the two cross-head screws. Pull the rod(s) outward to reduce the tension of the rope. This way, you can reach the end of the rope. - Page 6 Sunshade Varioflex Loosen the cylinder head screws to the rear of the pole, so that the sunshade can be lifted from the ground attachment. For repair, the sunshade should be positioned on a clean, flat surface. To replace the carriage, the side with the hex profile must point downward. latz AG 2016_Servicemanual_Varioflex_EN Path: K:\Marketing\Drucksachen\Service Manual\Suncomfort\2016_Servicemanual_Varioflex_EN.doc...
- Page 7 Sunshade Varioflex Loosen the top cylinder head screw. The carriage can then be loosened with the screw knob and pulled downward. latz AG 2016_Servicemanual_Varioflex_EN Path: K:\Marketing\Drucksachen\Service Manual\Suncomfort\2016_Servicemanual_Varioflex_EN.doc Created: Mattea Pelusi / 18/11/2016 Updated: Released: Hans Heierli / 22/11/2016...
- Page 8 Sunshade Varioflex After removing the carriage, the 3 hexagon socket screws at the bottom of the supporting arm can be loosened. The top shell can now be loosened and removed. You need to remove (drive out) the pin. latz AG 2016_Servicemanual_Varioflex_EN Path: K:\Marketing\Drucksachen\Service Manual\Suncomfort\2016_Servicemanual_Varioflex_EN.doc Created: Mattea Pelusi / 18/11/2016...
- Page 9 Sunshade Varioflex To ensure that the new rope is inserted correctly, you can attach the old, loose rope end to the new rope (with duct tape). Then carefully reinsert the rope over the castors. latz AG 2016_Servicemanual_Varioflex_EN Path: K:\Marketing\Drucksachen\Service Manual\Suncomfort\2016_Servicemanual_Varioflex_EN.doc Created: Mattea Pelusi / 18/11/2016 Updated: Released: Hans Heierli / 22/11/2016...
-
Page 10: General Information
Sunshade Varioflex During reassembly of the gear, observe the castor, as it may slip. Gear assembly Rope coil winding 3. General information · Re-assemble in reverse order to disassembly as described above. · Check for proper function after completing any repair. latz AG 2016_Servicemanual_Varioflex_EN Path: K:\Marketing\Drucksachen\Service Manual\Suncomfort\2016_Servicemanual_Varioflex_EN.doc...


Need help?
Do you have a question about the Sun Comfort Varioflex and is the answer not in the manual?
Questions and answers