
Related Manuals for Reaim BCO-H


Summary of Contents for Reaim BCO-H
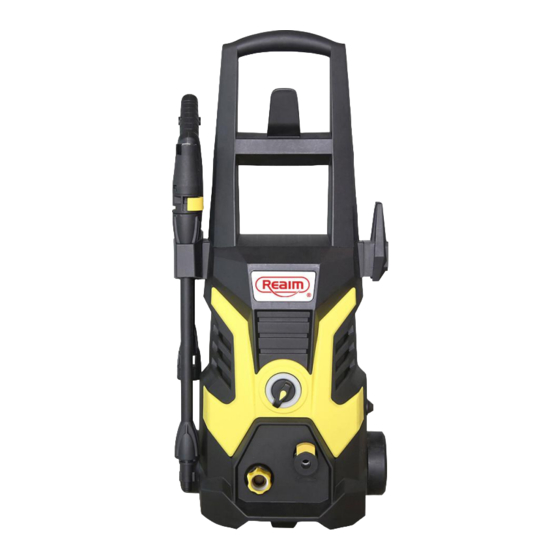
- Page 1 ELECTRIC PRESSURE WASHER BCO-H CAUTION : Do not use this device before reading the instructions.
-
Page 3: Safety Instructions
CAUTION! Do not direct the jet towards IMPORTANT! yourself or other persons to clean Safety Instructions clothing or shoes. Hold the lance firmly in your hands. The appliance has been designed solely The operator and persons within close for private use outdoors and not for proximity to the cleaning area must take necessary... -
Page 4: Main Power Connection
Main power connection If an extension cable is used, the plug and socket must be waterproof and The following must be observed when conform requirements below connecting the high pressure washer to the regarding the length and dimensions of power supply: the cable. - Page 5 Know Your Electric Pressure Washer Read the operator’s manual and safety instructions carefully before operating the electric pressure washer. Compare the illustration below to the electric pressure washer in order to familiarize yourself with the location of the various controls and adjustments. Save this manual for future reference.
-
Page 6: Product Description
Product Description • Needle clean out tool • Wrench Purpose • Garden hose adaptor (female coupler) with This high-pressure electric power two sealing rings washer is intended for residential use • Manual with registration card to clean vehicles, machines, buildings, facades, etc. -
Page 7: Technical Data
Technical data 2. The washer must be used on a secure and stable surface in a standing, upright Motor Brush position (Fig. 1). Max. pressure 2100PSI Max flow 1.6GPM Current Voltage 120V~/60Hz Water 40℃ temperature The Circuitry 3. Screw the transaction handle to the electric pressure washer unit(Fig. - Page 8 5. Snap the spray wand into the trigger gun and rotate it until the two parts are Fig.6 completely locked. (Fig.4) Water outlet Fig.4 Garden hose Water inlet 8. Attach garden hose to water supply (Fig. 6. Insert the high-pressure hose to the trigger gun by pressing the pawl A, then Fig.7 insert another end of high-pressure hose...
-
Page 9: Operation
Operation 9. Make sure the motor switch is pushed to the OFF position before plugging the unit IMPORTANT! This pressure washer is into the power outlet(Fig.8). equipped with a micro-switch sensitive to Fig.8 water flow. This Total Stop System (TSS) senses water flow in the pump. - Page 10 3. Turn the switch to the ON position to Fig.12 start the pressure washer (Fig. 11). Fig.11 Spray lance To disconnect a nozzle from the spray wand once the cleaning job is complete: 4.Turn off the pressure washer and shut off the water supply.
- Page 11 washer (Fig. 13). 7.When have finished using detergent injection system, insert the bottle Fig.13 Valve detergent with fresh water. Siphon water at low-pressure for one minute to rinse the bottle until it is thoroughly cleaned. CAUTION! Failure to follow these Detergent suction cleaning...
-
Page 12: Shutting Down
NOTE: 5. Start at the top of the area to be rinsed Make sure the rotor arm (C) is and work down, making sure to overlap properly fixed to the extension lance (A) the strokes. with the U-pin (D). IMPORTANT! NEVER USE: NOTE: Do not use the Patio Cleaner as a broom but let it surf smoothly over the... -
Page 13: Winterizing And Long-Term Storage
WARNING! ·Store in a dry, covered area where it is not Before reusing, completely subject to adverse weather conditions. flush the unit out with clear water. Anti- freeze products can damage paintwork, · It is important to store this product in a so you must ensure there is no anti-freeze frost-free area. - Page 14 Fig.18 3.Remove additional debris by back flushing water through the nozzle and spray wand. To do this, place the end of your garden hose (with water running) to the tip of the nozzle, pushing water and debris out of the back opening of the nozzle and spray lance.
-
Page 15: Troubleshooting
Trouble shooting Problems Possible Cause Possible Cause The machine will The machine is not plugged- Plug the machine in not start Faulty receptacle Try another receptacle The fuse has blown Replace the fuse Unplug other appliances Faulty extension cable Try without the extension cable Fluctuating The pump is drawing in air Check that hoses and connections are... - Page 16 Limited 2 year warranty Electric pressure washer This Realm® product is warranted by Realm Import And Export (USA) INC. to the original purchaser for two years against defects in workmanship and materials when used for normal residential purposes. The defective product will be replaced or repaired at no charge in either of two ways, and subject to the conditions, limitations, and exclusions noted below.
- Page 17 WEEE - Waste of Electric and Electronic Equipment The symbol on the product or on its packing indicates that this product may not be treated as household waste. Instead it shall be handed over. To the applicable collection point for the recycling of electrical and electronic equipment. By ensuring this product is disposed of correctly, you will help prevent potential negative consequences for the environment and human health, which could otherwise be caused by inappropriate waste handling of this product.
Need help?
Do you have a question about the BCO-H and is the answer not in the manual?
Questions and answers