Advertisement
Quick Links
CYBEX™ SC SERIES SECURE SWITCHES
SC800DPHC/SC900DPHC
Quick Installation Guide
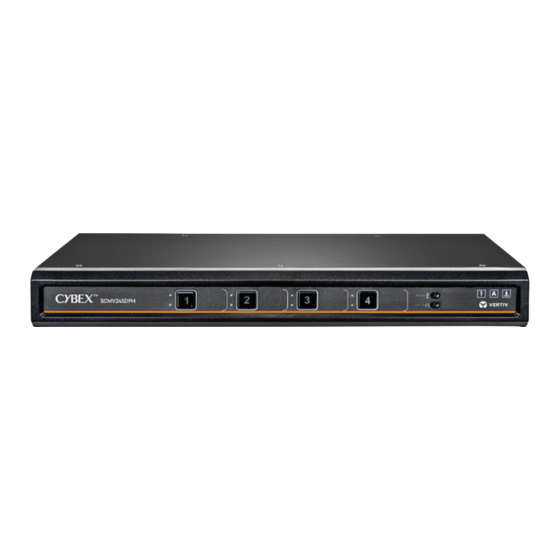
Cybex
SC945DPHC KVM Switch Shown
TM
5
Before installing your secure
switch, ensure the following:
• The front panel is visible to the
user, unless using the Cybex™
Active Front Panel (AFP) KVM
remote unit.
• The tamper-evident labels are
all intact.
WARNING: The switch is equipped
with active intrusion protection.
Tampering may permanently
disable the switch and void the
warranty. If the enclosure appears
to have been tampered with, or if
all the port LEDs flash sequentially,
contact Technical Support. Broken
or removed tamper-evident seals
void the warranty.
1. Connecting local
peripherals
Ensure all computers and
displays are turned off.
Plug the display cables into the
CONSOLE display ports on the
back of the switch. The switch
uses a combination DisplayPort
(DP) and HDMI connector to
enable either video format to
be used as input or output.
Plug the USB keyboard and
mouse cables and speaker or
2
3
1
headphone cable into the
appropriate CONSOLE ports
on the back of the switch.
NOTE: Do not connect a
microphone, including a
headset with an integrated
microphone, to the switch's
audio output port.
If desired, connect the Cybex™
Active Front Panel (AFP) KVM
remote unit to the RCU port to
control your switch remotely.
Contact your Vertiv
representative for more
information.
NOTE: For security reasons,
the switches do not support
wireless devices.
2. Connecting a Dedicated
Peripheral Port (DPP)
device (if applicable)
Connect a USB device, such as
a smart card reader, to the blue
USB Type-A CONSOLE port on
the back of the switch. The
device must be compliant with
USB 1.1 or 2.0 standards and
included in the adminstrator-
defined list of recognized
devices.
1
4
NOTE: By default, the DPP
supports authentication
devices, such as smart card
and biometric readers. Other
devices must be specifically
whitelisted. Refer to the Cybex
SC-SCM Switching System
Additional Operations and
Configuration Technical
Bulletin for more information.
3. Connecting a
USB-C computer
Connect a USB-C cable from
the computer USB-C port to
the switch USB-C port.
NOTE: The switch provides a
low-power charge via USB-C.
For full USB-C charging and/or
connecting Ethernet via
USB-C, you can purchase the
Cybex™ USB-C/Ethernet
adapter. Contact your Vertiv
representative for more
information.
4. Connecting a computer
via standard USB/video
Connect a USB cable from
each computer to the
keyboard/mouse USB Type-B
port on the switch.
1
590-2284-501B
Advertisement

Related Manuals for Vertiv CYBEX SC Series


Summary of Contents for Vertiv CYBEX SC Series
- Page 1 Peripheral Port (DPP) Cybex™ USB-C/Ethernet Ensure all computers and device (if applicable) adapter. Contact your Vertiv displays are turned off. Connect a USB device, such as representative for more Plug the display cables into the a smart card reader, to the blue information.
- Page 2 To contact Vertiv Technical Support: visit www.Vertiv.com © 2020 Vertiv Group Corp. All rights reserved. Vertiv and the Vertiv logo are trademarks or registered trademarks of Vertiv Group Corp. All other names and logos referred to are trade names, trademarks or registered trademarks of their respective owners. While every precaution has been taken to ensure accuracy and completeness herein, Vertiv Group Corp. assumes no responsibility, and disclaims all liability, for damages resulting from use of this information or for any errors or omissions.
Need help?
Do you have a question about the CYBEX SC Series and is the answer not in the manual?
Questions and answers