Advertisement
Quick Links
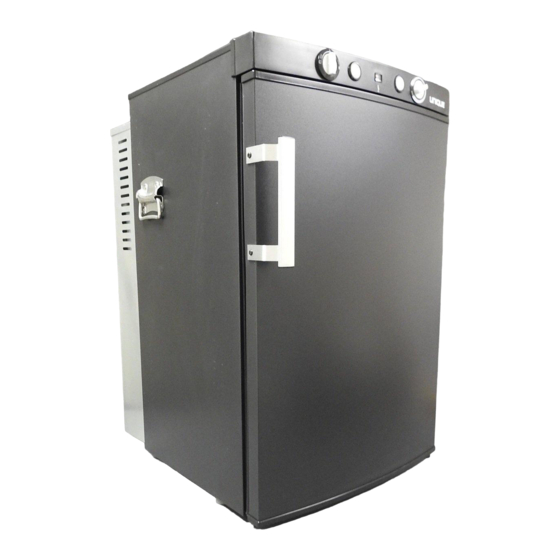
UGP 3 SM TOP MOUNT
CONTROL PANEL
THERMOCOUPLE REPLACEMENT
INSTRUCTIONS
Models (SM) USA and Canada
WARNING:
Installation of all gas components must
be done by a licensed gas technician. Improper
installation,
adjustment,
maintenance can cause injury or property damage.
Refer to this manual. For assistance or additional
information consult a qualified installer, service agency
or the gas supplier.
! SAVE THESE INSTRUCTIONS!
FOR YOUR SAFETY IF YOU SMELL GAS
Open windows.
Extinguish any open flame
Do not touch electrical switches.
Immediately turn off gas supply and call your gas supplier
FOR YOUR SAFETY
Do not store or use gasoline or other flammable and liquids in the
vicinity of this or any other appliance
in the absence of local national Fuel Gas Code, ANSI Z233.1 and in Canada
TEL: 905 827 6154 TF: 877 427 2266 FAX: 905 827 2027 E: info@uniqueappliances.com
alteration,
service,
The installation of the appliance must conform with local codes or,
B149.2 Propane Storage and Handling Code
2245 WYECROFT ROAD, OAKVILLE. ON. CANADA L6L 5L7
www.uniqueappliances.com
or
Advertisement

Related Manuals for Unique UGP 3 SM


Summary of Contents for Unique UGP 3 SM
- Page 1 UGP 3 SM TOP MOUNT CONTROL PANEL THERMOCOUPLE REPLACEMENT INSTRUCTIONS Models (SM) USA and Canada WARNING: Installation of all gas components must be done by a licensed gas technician. Improper installation, adjustment, alteration, service, maintenance can cause injury or property damage.
- Page 2 UNIQUE UGP-3 SM Thermocouple Part # UGP-DL08502311 Tools required 3. Use the end of the screwdriver and tap the burner out of the bracket Phillips’s screwdriver/drill – removing top plate, securing clips, burner, and burner cover. 11 mm wrench – remove the thermocouple from the bracket.
- Page 3 6. Begin removing the top panel/plate to access 9. Cut ties and release from clip to discard old the thermocouple and gas valve. thermocouple. Remove Phillip’s screw from each corner and then slide the top off towards the back to access the 10.
- Page 4 12. Run thermocouple back through clip and 15. Now that the thermocouple is securely tighten. fastened to the burner. Mount the burner bracket back on the burner assembly using Phillips’s screwdriver. Run thermocouple back through clip. 16. Replace burner cover. 13.