Sign In
Upload
Download
Table of Contents
Contents
Add to my manuals
Delete from my manuals
Share
URL of this page:
HTML Link:
Bookmark this page
Add
Manual will be automatically added to "My Manuals"
Print this page
×
Bookmark added
×
Added to my manuals
Manuals
Brands
Runva Manuals
Winches
10DB
Assembly & operating instructions
Runva 10DB Assembly & Operating Instructions
Electrical winch
Hide thumbs
1
Table Of Contents
2
3
4
5
6
7
8
9
10
11
12
13
14
15
16
17
page
of
17
Go
/
17
Contents
Table of Contents
Troubleshooting
Bookmarks
Table of Contents
Table of Contents
Introduction
Getting to Know Your Winch
Safety Precautions
General Tips for Safe Operation
Winching Techniques A-Z
Winch Assembly and Mounting
Mounting Drawing
Winch Accessories You will Need
Rigging Techniques
Winch Working Demonstration
Replacing the Wire Rope
Maintenance
Trouble Shooting
WINCH ASSEMBLY Drawing(Runva10Db
WINCH PARTS List(Runva10Db
Specification(Runva10Db
Advertisement
Quick Links
Download this manual
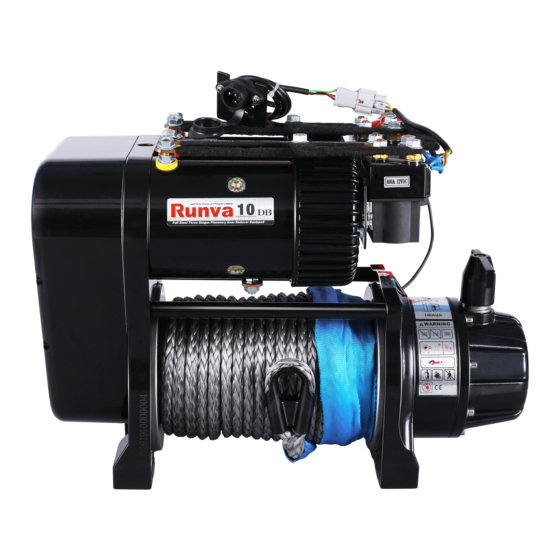
ELECTRICAL WINCH
Runva10DB
Assembly & Operating Instructions
Table of
Contents
Previous
Page
Next
Page
1
2
3
4
5
Advertisement
Table of Contents
Need help?
Do you have a question about the 10DB and is the answer not in the manual?
Ask a question
Questions and answers
Related Manuals for Runva 10DB
Winches Runva 11 XP Installation & Operation Manual
Full steel stages planetary reducer (11 pages)
Winches Runva EWS10000 Assembly & Operating Instructions
Electrical winch (17 pages)
Winches Runva EWK2000 Assembly & Operating Instructions
Electrical winch (15 pages)
Winches Runva 2.5 PSD Manual
Full steel planetary gears reducer (10 pages)
Winches Runva EWP2500 Assembly & Operating Instructions
(20 pages)
Winches Runva EWB20000 Assembly & Operating Instructions
Electrical winch (20 pages)
Winches Runva EWX5000 Assembly & Operating Instructions
Electrical winch (27 pages)
Winches Runva 20000NH Assembly & Operating Instructions
Hydraulic winch (14 pages)
Winches Runva T-2000 Assembly & Operating Instructions
Electrical winch (15 pages)
Winches Runva EWB9500 Assembly & Operating Instructions
(23 pages)
Winches Runva EWB25000 Assembly & Operating Instructions
Electrical winch (17 pages)
Winches Runva 9.5 XS Installation & Operation Manual
(11 pages)
Winches Runva EWD8000 Assembly & Operating Instructions
Electrical winch (24 pages)
Winches Runva EWP3500 Assembly & Operating Instructions
(20 pages)
Winches Runva EWP4500 Assembly & Operating Instructions
(20 pages)
Winches Runva EWX6000 Assembly & Operating Instructions
Electrical winch (27 pages)
This manual is also suitable for:
Ews10000
Table of Contents
Print
Rename the bookmark
Delete bookmark?
Delete from my manuals?
Login
Sign In
OR
Sign in with Facebook
Sign in with Google
Upload manual
Upload from disk
Upload from URL


Need help?
Do you have a question about the 10DB and is the answer not in the manual?
Questions and answers