Table of Contents
Advertisement
Quick Links
Advertisement
Table of Contents

Related Manuals for Runva EWB20000


Summary of Contents for Runva EWB20000
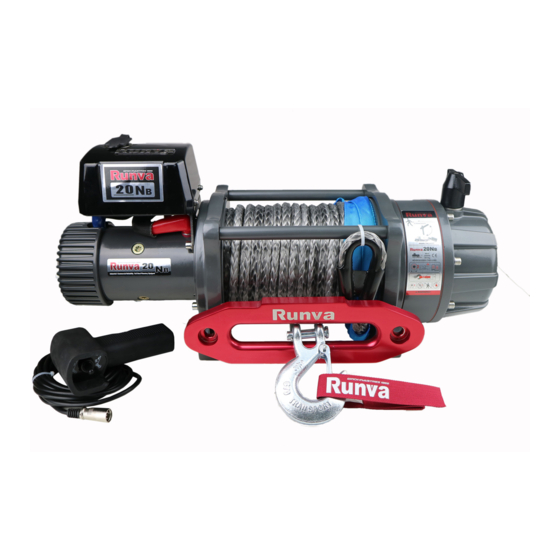
- Page 1 ELECTRICAL WINCH EWB20000 Assembly & Operating Instructions...
-
Page 2: Table Of Contents
RIGGING TECHNIQUES ..............1 1 WINCH WORKING DEMONSTRATION ..........1 2 REPLACING THE WIRE ROPE ............1 3 MAINTENANCE ..................1 3 TROUBLE SHOOTING ................. 1 4 WINCH ASSEMBLY DRAWING(EWB20000) ........1 5 WINCH PARTS LIST(EWB20000) ........... 1 6 SPECIFICATION(EWB20000) ............1 7... -
Page 3: Multi-Function Control Box
Multi-function Control Box Installation of U Type Parts list Type Description Baseboard Flat washer φ5 Spring washer φ5 Type U Screw M5X12 Flat washer φ8 Spring washer φ8 Screw M8X25... - Page 4 Installation of A Type Parts list Type Description Baseboard Type A Flat washer φ5 Spring washer φ5 Screw M5X12...
-
Page 5: Introduction
INTRODUCTION Congratulations on your purchase of a high quality winch. We design and build winches to strict specifications and with proper use and maintenance should bring you years of satisfying service. WARNING - Read, study and follow all instructions before operating this device. - Page 6 2. Motor: Your motor is powered by a 12/24 volt battery and provides power to the gear mechanism which turns the drum and winds the wire rope; 3. Winch Drum: The winch drum is the cylinder on which the wire rope is stored. It can feed or wind the rope depending on the remote winch switch.
-
Page 7: Safety Precautions
wire rope. We recommend you to use double line and snatch block for pulling over 70% of the rated line pull. SAFETY PRECAUTIONS WARNING WARNING – Do not exceed rated capacity shown in this table. WARNING – Intermittent use only. Allow winch to cool between uses. WARNING –... -
Page 8: General Tips For Safe Operation
cable to slide through your hands. Do not let your hands get within 12″of the winch while spooling. Turn off the winch and repeat the procedure until a few feet of cable is left. Disconnect the remote control and finish spooling by rotating the drum by hand with the clutch disengaged. -
Page 9: Winching Techniques A-Z
• The vehicle engine should be kept running during operation of the winch to minimize battery drain and maximize power and speed of the winch. If the winch is used for a considerable amount of time with the engine off, the battery may be drained and too weak to restart the engine. - Page 10 e. Pull out the wire rope to your desired anchor point using the hand saver hook. f. Secure the clevis hook to the anchor point: Sling, chain or snatch block. Do not attach the hook back onto the wire rope. g.
-
Page 11: Winch Assembly And Mounting
is tight. w. Keep your hands clear of the winch drum and fairlead as the wire rope is being drawn in. x. Secure the hook and hook strap. y. Disconnect the remote control and store in a clean, dry place. z. - Page 12 CAUTION – Batteries contain gases which are flammable and explosive. Wear eye protection during installation and remove all jewelry. Do not lean over battery while making connections. 6. Assemble the clevis hook to the cable. Take off the pin from the clevis hook, connect the clevis hook to the cable and mount the pin back to the clevis Hook.
-
Page 13: Mounting Drawing
MOUNTING DRAWING The mounting drawing WINCH ACCESSORIES YOU WILL NEED NOT INCLUDED WITH YOUR WINCH Gloves – For handling the wire rope and hook strap. Anchor Strap/Chain – Tree saver anchor straps are made of high quality nylon with high tensile strengths up to 15000lbs. Heavy Blanket –... -
Page 14: Winch Working Demonstration
CAUTION Do not winch from an acute angle as the wire rope will pile up on one side of the drum causing damage to wire rope and the winch. Fig 3.2 Fig 3.2 Short pulls from an angle can be used to straighten the vehicle. Long pulls should be done with the wire rope at a 90°... -
Page 15: Replacing The Wire Rope
4. Insert the switch assembly connector onto the control box. 5. Test-run winch in two directions, each direction for one or two seconds. 6. While standing aside of the tow path, hold and operate the switch assembly supplied by your choice. To reverse directions. Wait until the motor stops before reversing directions. -
Page 16: Trouble Shooting
TROUBLE SHOOTING SYMPTOM POSSIBLE CAUSE SUGGESTED ACTION -Switch Assembly not -Insert switch assembly all the way into the connected properly connector. -Loose battery cable -Tighten nuts on all cable connections. connections Motor does not -Replace switch assembly. -Defective switch turn on -Check for voltage at armature port with Switch assembly pressed. -
Page 17: Winch Assembly Drawing(Ewb20000
WINCH ASSEMBLY DRAWING(EWB20000)... -
Page 18: Winch Parts List(Ewb20000
WINCH PARTS LIST(EWB20000) Part # Description Remark Lock Washer Φ8 B2000001 B2000002 Screw M8x 25 B2000100 Motor Assembly B2000003 Ring Seals B2000004 Motor Bracket Flat Washer Φ12 B2000005 Lock Washer Φ12 B2000006 B2000007 Cap Screw M12 x 30 B2000008 Bushing-Drum... -
Page 19: Specification(Ewb20000
SPECIFICATION(EWB20000) Rated line pull 20000 lbs (9072 kgs) 12V: Input: 5.5kW / 7.4hp; Output: 2.9kW / 3.9hp Motor: series wound 24V: Input: 6.1kW / 8.2hp; Output: 3.1kW / 4.2hp Gear reduction ratio 370:1 Cable (Dia.× L) Ø15/32"×87 ' (Ø12mm×26.5m) Drum size (Dia.× L) Ø3.46 "×8.5 "...
Need help?
Do you have a question about the EWB20000 and is the answer not in the manual?
Questions and answers