Advertisement
PIR Motion Sensor IR-32 Series
Introduction
The PIR detects infrared signature to pick up movements within an assigned area and signals the Control Panel to activate the alarm if an
intruder crosses its' path of detection.
The PIR is designed to give a typical detection range of 12 meters when mounted at 2.5 meters above ground. The PIR sensor also supports pet
immunity feature and will not detect pets of up to 25 kg to minimize false alarm situation.
Remote configuration is supported for the PIR motion sensor. Besides adjusting the Jumper Switches, users can also enable/disable pet
immunity function and adjust the sensitivity of the PIR from the Control Panel.
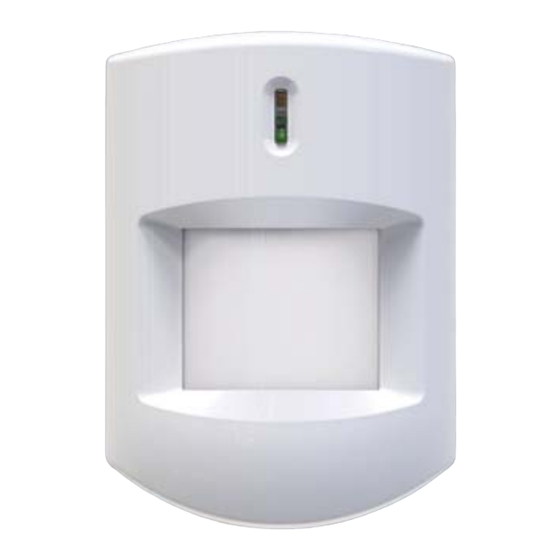
The PIR consists of a two-part design made up of a cover and a base. The cover contains all the electronics and optics and the base provides a
means of fixing.
The IR-32 Series PIR Sensor includes the following models:
IR-32 – PIR Motion Detector powered by two Alkaline batteries
IR-32SL – PIR Motion Detector powered by one CR123 battery
Parts Identification
1. Test Button / LED Indicator
-
The test button is used for testing the radio performance and for learning purpose.
-
The LED indicator is used to indicate the status of system.
2. IR Sensor
3. Tamper Switch
4. Pet Immunity Enable/Disable Jumper Switch (JP3)
Jumper On
The jumper link is inserted
connecting the two pins
-
When set as ON, Pet Immunity is disabled.
-
When set as OFF, Pet Immunity is enabled. (Factory default)
5
Sensitivity Increaser Jumper Switch (JP4)
.
-
When set as ON, the PIR's detection sensitivity is high.
-
When set as OFF, the PIR's detection sensitivity is in normal level. (Factory default)
6. Bottom Fixing Screw
7. Battery Compartment
8. IR-32 Battery Insulator Hole
9. IR-32SL Battery Insulator Hole
Features
LED Indicator
In Normal operation mode, the LED Indicator will light up in the following situations:
When movement is detected under low battery condition
When the cover is opened and the tamper switch is triggered.
When movement is detected if the Tamper condition persists.
When movement is detected under Test mode
When the Test Button is pressed under tamper condition or if PIR is under low battery.
The LED will not flash if the PIR tamper and battery are normal and PIR is not under test mode.
Jumper Off
If the jumper link is removed or "parked"
on one pin.
1
Advertisement
Table of Contents

Subscribe to Our Youtube Channel
Related Manuals for Climax Technology IR-32 Series


Summary of Contents for Climax Technology IR-32 Series
- Page 1 The PIR consists of a two-part design made up of a cover and a base. The cover contains all the electronics and optics and the base provides a means of fixing. The IR-32 Series PIR Sensor includes the following models: IR-32 – PIR Motion Detector powered by two Alkaline batteries IR-32SL –...
- Page 2 Battery IR-32 Series PIR Motion sensor uses Alkaline or Lithium batteries as power source: The IR-32 model uses two Alkaline AA 1.5 V batteries as power source. The IR-32SL model uses one CR123 3V Lithium battery as power source.
- Page 3 Mounting Method The PIR is designed to be mounted on either a flat surface or in a corner situation with fixing screws and plugs provided. The base has knockouts, where the plastic is thinner and can be broken for mounting purpose. Two knockouts are for surface fixing and four knockouts are for corner fixing as shown in the picture.
- Page 4 Self-adhesive Mounting The mounting corner should be clean, dry, and smooth. Clean the mounting corner with a suitable degreaser if needed. Two double-sided adhesive pads are attached on the triangular bracket before shipment. Remove the protective covering from the double-sided adhesive pads. Attached the triangular bracket onto the desired corner with the two pointing sticks on top facing you.
- Page 5 Installation Recommendations It is recommended to install the PIR in the following locations Mount the detector at 2.3M-2.5M height for best performance: Mount where the animals cannot come to the detection area by climbing on furniture or other objects. ...
Need help?
Do you have a question about the IR-32 Series and is the answer not in the manual?
Questions and answers