Table of Contents
Advertisement
Quick Links
Specifications
Model
Power Output
Brightness
LED Type
Beam Angle
Power Range
Heat Dissipation
Remote Control
Adapter Input
Adapter Output
Adapter Output Port
Dimensions
Net. Weight
Please read these instructions carefully before using your device for the first time. It includes everything
you need to know to avoid physical injuries and damages.
Please pay attention to all safety notes in this instruction manual.
Please keep this manual safe. In case of selling or leaving the device to other persons, please don't
forget to hand this manual over as well.
CRI
TLCI
Instruction Manual
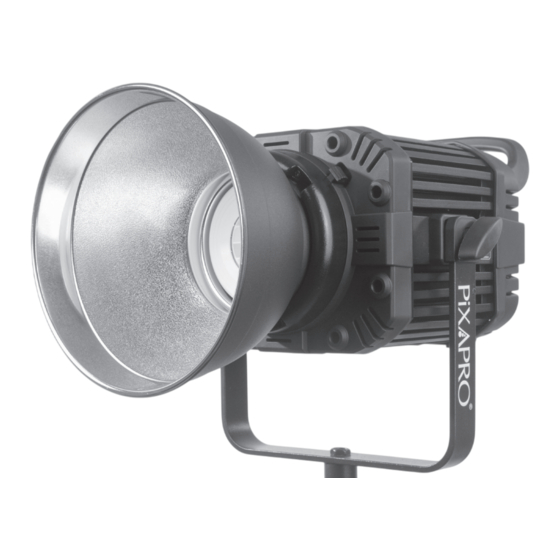
LED200B MKIII
200W
16,000 lux @ 1m
Integrated LED Chip
10-100%`
Built-in Fan (<18dB)
Yes (Sold Separately - Requires Receiver Dongle)
AC 90-240V~ 50/60Hz
DC 24V / 5A
XLR-4 Port
360mm x 250mm x 315mm
3.6kg
CAUTION!
PLEASE READ
INSTRUCTIONS
BEFORE USE
65°
>95
>95
Advertisement
Table of Contents

Related Manuals for Pixapro LED200B MKIII


Summary of Contents for Pixapro LED200B MKIII
-
Page 1: Specifications
Instruction Manual CAUTION! PLEASE READ INSTRUCTIONS Specifications BEFORE USE Model LED200B MKIII Power Output 200W Brightness 16,000 lux @ 1m LED Type Integrated LED Chip Beam Angle 65° >95 TLCI >95 Power Range 10-100%` Heat Dissipation Built-in Fan (<18dB) Remote Control... -
Page 2: Table Of Contents
Table of Contents Specifications ................1 Parts Diagram ................3 How To Use ................3 Power Input................3 Power Adjustments.............. 4 Memory Function..............4 Li ght ID and Group Settings..........4 Overheat Protection............5 Optional Acessories..............5 Troubleshooting................5 Health & Safety Precautions............5 Contact Information.............. -
Page 3: Parts Diagram
1. Power Input Connect the power adapter, to the Power Input port (7), located at the back of your LED200B MKIII. Please pay attention to orientation of the bayonet on the power connector. You should hear a “click” which indicates that your power adapter is securely connected to your LED200B MKIII unit. -
Page 4: Power Adjustments
4. Light ID and Group Settings (For Optional Remote Control) Insert the optional PiXAPRO 2.4GHz remote control receiver into the USB receiver socket (3) located at the back of the LED200B MKIII unit. Together with the optional PiXAPRO 2.4GHz radio remote, you can wirelessly and... -
Page 5: Overheat Protection
The LED200B MKIII features a built-in temperature controller and an ultra-quiet cooling fan (<18dB), strictly to regulate the temperature of the LED200B MKIII body. Since the LED200B MKIII uses the rear-conduction heat dissipation method, the heat from the LED chip is channelled directly to the LED200B MKIII’s housing where the heat is dissipated. -
Page 6: Health & Safety Precautions
Health & Safety Precautions DO NOT touch or allow anything to make direct contact with the LED chip whilst LED200B MKIII is in use or is cool- ing down. May burn the skin, or cause permanent damage to the LED.
Need help?
Do you have a question about the LED200B MKIII and is the answer not in the manual?
Questions and answers