Advertisement
Quick Links
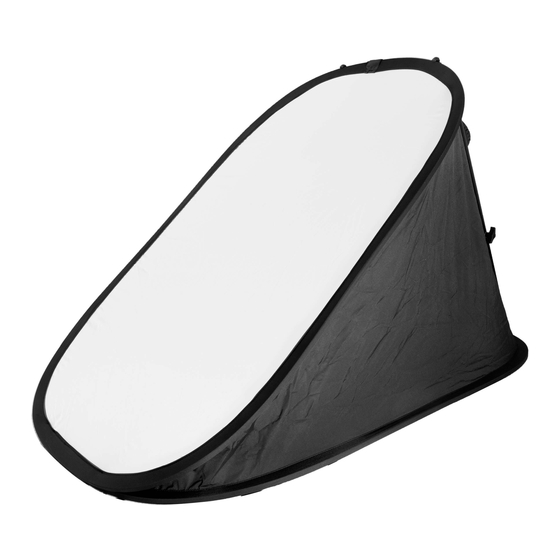
PIXAPRO 70x100CM FLOOR SOFTBOX
ASSEMBLY INSTRUCTIONS.
Box Content
Floor Softbox
Main Body
The 70x100cm Floor Softbox contains four
rods (1x short, with a spigot, 1x medium,
and 2x long), the main softbox body, which
pops open like a reflector, and a round bag
for the softbox main body.
Step 1.
First, remove the winged-screw from Rod
S1 and then connect it to Rod S2 to form a
T-Shape
S1
S2
S3
S3
Step 2.
Now remove the winged screws from both
ends of the T-Shape, then attach an S3
rod at either the of the T-Shape to form an
H-Shape.
Step 4.
Now that the supporting frame is complete,
open out the main body of the floor softbox
then lift the top panel from the back ready to
install the supporting frame.
Advertisement

Subscribe to Our Youtube Channel
Related Manuals for Pixapro 70x100CM FLOOR SOFTBOX


Summary of Contents for Pixapro 70x100CM FLOOR SOFTBOX
- Page 1 Box Content Step 2. Floor Softbox Main Body The 70x100cm Floor Softbox contains four Now remove the winged screws from both rods (1x short, with a spigot, 1x medium, ends of the T-Shape, then attach an S3 and 2x long), the main softbox body, which...
- Page 2 Step 5. The Floor Softbox is Now Complete. Use the four clips located at either end of The PIXAPRO 70x100cm Floor Softbox is the supporting frame, to hold the main body now ready for use. of the Floor Softbox open.
Need help?
Do you have a question about the 70x100CM FLOOR SOFTBOX and is the answer not in the manual?
Questions and answers