
Subscribe to Our Youtube Channel
Related Manuals for Unique Classic UGP-510L W AC


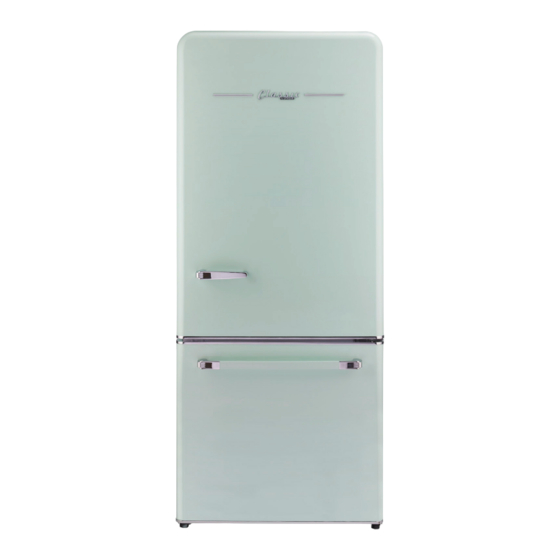
Summary of Contents for Unique Classic UGP-510L W AC
- Page 1 BOTTOM MOUNT REFRIGERATOR MODEL NUMBERS: UGP-510L W AC ,UGP-510L B AC,UGP-510L LG AC, UGP-510L T AC OWNER’S GUIDE serial number: APR22V1...
-
Page 2: Table Of Contents
Be safe using common sense and caution when installing, operating and cleaning this appliance. If you are unsure about any of these instructions or warnings, contact your local product dealer or Unique Appliances for assistance. NEED HELP? Before you call for service, here are a few things you can do to help us serve you better. -
Page 3: Safety And Warning Information
SAFETY AND WARNING INFORMATION Basic safety symbol This guide contains many important safety messages. Always read and obey all safety messages. This is the safety alert symbol. It alerts you to safety messages that inform you of hazards that can kill or hurt you or others or cause damage to the product. - Page 4 SAFETY AND WARNING INFORMATION Safety and warning information The appliance is not intended for use by persons (including chil- dren) with reduced physical, sensory or mental capabilities or lack CAUTION of experience and knowledge unless they have been given super- vision instruction concerning use of the appliance by a person responsible for their safety.
- Page 5 Your safety is of paramount importance. If you are unsure about any of these meanings or warnings, contact your local product dealer or Unique Appliances for assistance. IMPORTANT: To reduce the risk of fire,electrical shock,injury to persons,or damage when using the...
-
Page 6: Important Safety Notes
IMPORTANT SAFETY NOTES • Do not use a submerged fridge as it may cause electrical shock or fire. • Do not install the fridge in a wet place or a place which water or rain can reach the appliance. Deterioration of insulation or electrical parts may cause electric leakage. Please check the fridge rectangularly. - Page 7 IMPORTANT SAFETY NOTES • Repair or replace immediately, all electric service cords that have become frayed or otherwise damaged. • Do not use a cord that shows cracks or abrasion damage along its length, the plug or the con- nector end. •...
- Page 8 IMPORTANT SAFETY NOTES WARNING: • When handling, installing and operating the appliance, care should be taken to avoid damage to the refrigerant tubing and ensure that none of the componentsof the refrigerant circuit be- comes damaged. • Service shall only be performed by authorized service personnel. Use only manufacturer-autho- rized service parts.”...
-
Page 9: Dimensions
DIMENSIONS OUTLINE DIMENSION Select a good location to place your appliance where it is flat and easy to use. Avoid placing the unit near heat sources, direct sunlight or moisture. DOOR OPEN DIMENSION... -
Page 10: Product Features
PRODUCT FEATURES PARTS All figures in this manual are schematic; some features and devices may not be consistent fully with your refrigerator and the specific structure and configuration shall be subject to the actual product. FEATURES: 1: Control panel 2: LED light 3: Wine rack 4: Shelves 5: Crisper... - Page 11 INSTALLATION INSTRUCTIONS BEFORE USE Remove all packages, including the foam backing at the bottom of refrigerator and the tapes fixing accessories in the box. Place the refrigerator to a proper position, and adjust the feet to level. It is better to clean the refrigerator before use. Remove the film: There is a layer of transparent film on the side of our product, which can protect the appliance from being scratched in the process of production and transportation, and you can choose to reserve or remove the film as needed.
- Page 12 INSTALLATION INSTRUCTIONS straight out from the outlet. • Immediately discontinue use of a damaged supply cord. If the supply cord is damaged, it must be replaced by a qualified service professional with an authorized service part from the manu- facturer. •...
-
Page 13: Installation
DOOR HANDLE INSTALLATION DOOR HANDLE INSTALLATION TOOLS REQUIRED 1x 2.5mm Allen key - (fridge handle) 1x 4mm Allen key - (freezer handle) 2x screws for 4mm Allen key - (freezer handle) FRIDGE DOOR HANDLE 1. Twist on supplied screw caps (x2) on to existing screws on the fridge door - Fig 1. 2. -
Page 14: Installing The Water Line
INSTALLING THE WATER LINE INSTALLING THE WATER LINE TO YOUR ICE MAKER WARNING: Connect to potable water supply only. The water supply system must be installed and connected by a professional technician. NOTE: In order for the ice maker to operate properly a water line is required. The maximum inlet water pressure is 690kPa. -
Page 15: Leveling The Refrigerator
INSTALLING THE WATER LINE 4. Flush the tubing. Turn the main water supply on and fl ush out the tubing until the water is clear. Then, shut the water off at the water valve after about a quart of water has fl ushed through the tubing. -
Page 16: Operation
OPERATION STARTING Connect the power cord, and turn on the power switch. Upon startup for the fi rst time, the screen will display respective set temperature values (the tem- perature of refrigerating chamber is set as 38 ,temperature of freezing chamber -2 ). USING THE CONTROLS a. - Page 17 OPERATION REFRIGERATOR (FRIDGE) COMPARTMENT TEMPERATURE 1. Press Fridge once to turn on the temperature control. 2. Press Freezer repeatedly to cycle through the available temperature settings, from 5°F to -10°F or from -15°C to -23°C. NOTE: Such as °C scenario,each press advances the setting by one de- gree(-18°-19°-20°-21°-22°-23°-15°-16°-17°-18°).Such as °F scenario,temperature control ran ge(0°-2°-4°-6°-8°-10°5°4°2°0°).
- Page 18 OPERATION warm room temperatures. The Quick Cool feature lowers the temperature in the refrigerator compartment to 35°F (2°C). • Press Quick Cool once to turn On/Off the Quick Cool feature. NOTE: When the refrigerator is in Quick Cool mode, appears in the display. •...
-
Page 19: Cleaning
HELPFUL HINTS AND TIPS ENERGY SAVING TIPS • Make sure to keep the refrigerator away from heat sources and direct sunlight. • Before storing hot foods, cool them to room temperature and then put into refrigerator. • Close the door timely, reduce the opening frequency and shorten the opening time. •... - Page 20 CLEANING INTERIOR CLEANING You should clean the appliance interior regularly. it will be easier to clean when food stocks are low. Wipe the inside of the fridge freezer with a weak solution of backing soda and water and then rinse with warm water using a wrung out sponge or cloth. Wipe completely dry before replacing the shelves and baskets.
-
Page 21: Troubleshooting
TROUBLE SHOOTING NOTE: Before calling for service, review this list as it may save you both time and expense. This list includes common occurrences that are not the result of defective workmanship or materials in this appliance. DEW DROPS When external air flows into the cool inner surface of the fridge, dew drops can be formed. If the humidity of the installed location is high or during the summer months, dew drops can form on the outside of the fridge. - Page 22 TROUBLE SHOOTING PROBLEM POSSIBLE CAUSE REMEDIAL ACTION No display on • The power cord of the appliance • Check whether the power is on the display is not plugged into the socket • The fuse must be switched on panel properly.
-
Page 23: Warranty
If the appliance fails to do so because of a defect in material or workmanship within one year from the original date of purchase: Unique will at our option, repair, exchange, or correct by other means Unique consider appropriate, any part(s) Unique finds to be defective except for the surface finish. - Page 24 RATING LABEL © Unique Appliances Ltd. All rights reserved. © Unique Appliances Ltd. Tous droits réservés. Designed and manufactured by: Unique Appliances Ltd., u ç f t e r b a u q i p é : r a u q i...
-
Page 25: Appliance Information
APPLIANCE INFORMATION APPLIANCE INFORMATION (manual copy - keep with your records) To make care and servicing of your fridge easy and efficient, please record the following informa- tion for future reference: Model: Serial Number: Purchased From: Date Purchased: PRODUCT REGISTRATION Scan the QR Code Visit our website at https://uniqueappliances.com/product-registration/ to register your product. - Page 26 © 2022 Unique Appliances Ltd., 2245 Wyecroft Road, Oakville, Ontario, Canada, L6L 5L7 www.uniqueappliances.com...
Need help?
Do you have a question about the Classic UGP-510L W AC and is the answer not in the manual?
Questions and answers