Advertisement
USER MANUAL
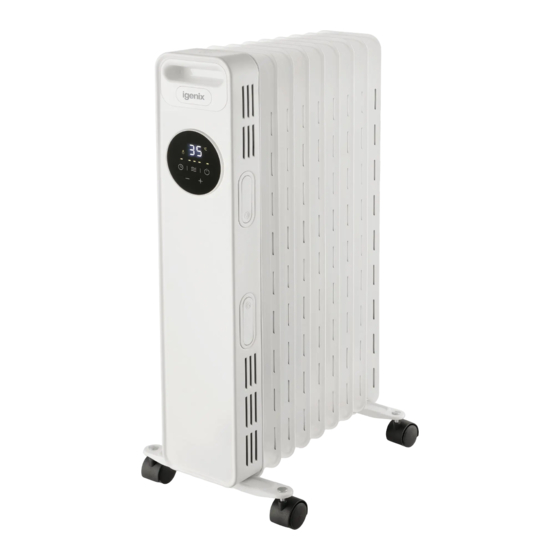
Oil Filled Radiators
For models:
IG2611 / IG2621 / IG2626 / IG2626BL
PO Number:
IMPORTANT: THIS PRODUCT IS ONLY SUITABLE
FOR WELL INSULATED SPACES OR OCCASIONAL USE
Please read these instructions carefully before use and retain for future reference
Before switching on you appliance
Always check for any damage which may have been caused in transit
Advertisement
Table of Contents

Subscribe to Our Youtube Channel
Related Manuals for iGenix IG2611


Summary of Contents for iGenix IG2611
- Page 1 USER MANUAL Oil Filled Radiators For models: IG2611 / IG2621 / IG2626 / IG2626BL PO Number: IMPORTANT: THIS PRODUCT IS ONLY SUITABLE FOR WELL INSULATED SPACES OR OCCASIONAL USE Please read these instructions carefully before use and retain for future reference...
-
Page 2: Table Of Contents
CONTENTS Safefty instructions ..............3-4 Appliance Overview ..............5 Operating Instructions ............6-7 Cleaning and Maintenance ............8 Fuse Replacement ...............8 Product disposal and recycling ..........8 Igenix Warranty ..............10-11... -
Page 3: Safefty Instructions
SAFETY INSTRUCTIONS WARNING: In order to avoid overheating, do not cover the heater. 1. If the supply cord is damaged, it must be replaced by the manufacturer, its service agent or a similarly qualified person in order to avoid a hazard. 2. - Page 4 8. This heater is filled with a precise quantity of special oil. Repairs re- quiring opening of the oil-container are only to be made by the manufacturer or his service agent who should be contacted if there is an oil leak. When scrapping the heater, follow the regulations concerning the disposal of oil.
-
Page 5: Appliance Overview
APPLIANCE OVERVIEW Control Panel Cord Wrap Castor Assembly Mounting the Castors Turn the heater upside down. As shown in figure 1, align the mounting hole of the caster assembly and install it on the screw of the caster pad plate at the end of the radiator fin. The other caster assembly is aligned to the screws mounted at the bottom of the control box. -
Page 6: Operating Instructions
OPERATING INSTRUCTIONS Inspection before operation Check that the power cord is not damaged or fractured. Please verify the rated current of the power socket is in line with the requirements on the rating label and is equipped with a safety grounding device before use; otherwise, replace the socket. Operating Instructions Work/Standby: Plug in the power. - Page 7 Using the Remote Control Button functions are consistent with the operation panel of the main unit and the remote-control unit cannot control the combination key. ON/OFF Key Function Key “+” Key “-” Key Timer Key...
-
Page 8: Cleaning And Maintenance
CLEANING AND MAINTENANCE Before attempting any cleaning or maintenance on the radiator, allow it to cool completely and ensure that the plug is removed from the socket. 1. The electric heater should be cleaned regularly to wipe out the dust on the surface of flanges as this may influence the radiating efficiency. -
Page 9: Igenix Warranty
Igenix Warranty Terms & Conditions This product is guaranteed for a period of 12 months as standard from the date of purchase against mechanical and electrical defects. You can extend your warranty for a further 12 months by registering your product. - Page 10 To qualify for the 2 year warranty you must register your product within 30 days of purchase. The full Terms & Conditions of our warranty policy are shown on the opposite page. They are also available on our website. www.igenix.co.uk...
Need help?
Do you have a question about the IG2611 and is the answer not in the manual?
Questions and answers