Table of Contents

Subscribe to Our Youtube Channel
Related Manuals for iGenix IG9042


Summary of Contents for iGenix IG9042
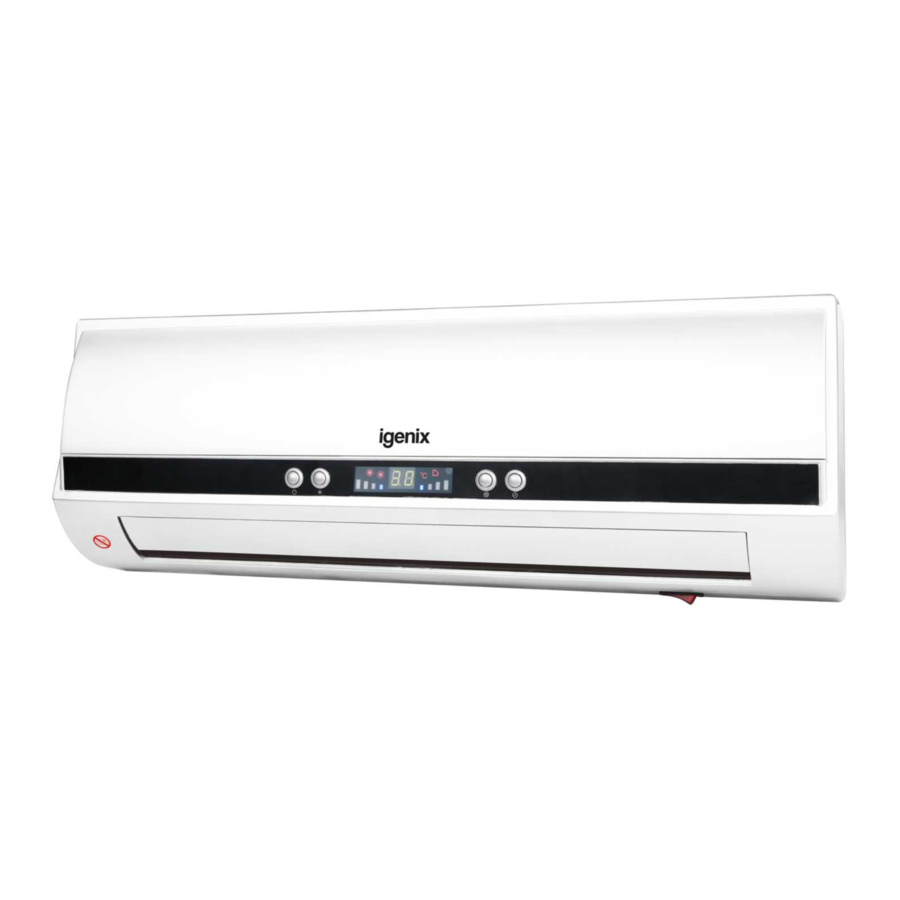
- Page 1 USER MANUAL 2kW Wall PTC Fan Heater IG9042 Batch code: Please read these instructions carefully before use and retain for future reference Before switching on your appliance, always check for any damage which may have been caused in transit...
-
Page 2: Table Of Contents
CONTENTS Important Safety Instructions ..........3-4 Specification .................5 Appliance Overview ..............6 Control Panel ................6 Remote Control ................6 Mounting Instructions ..............7 Operating Instructions ............8-9 Using the Control Panel ............8 Using the Remote Control ............9 Overheat Protection ............... 10 Cleaning and Maintenance ............. 10 Trouble Shooting Guide ............ -
Page 3: Important Safety Instructions
IMPORTANT SAFETY INSTRUCTIONS Read and follow all of the instructions even if you feel you are familiar with the product, and find a place to keep this manual handy for future reference. Important: This appliance is intended for use in a domestic environment only. - Page 4 • Do not use the appliance for anything other than its intended use. • Do not leave the appliance unattended whilst in use. • Ensure the appliance is installed at least 2m above the floor. • Do not remove the plug from the socket by pulling the cable. Always remove it by pulling the plug itself.
-
Page 5: Specification
SPECIFICATION Model IG9042 Brand Igenix Wattage (W) 2000W Frequency (Hz) 50/60Hz Voltage (V) 220-240V Thermostatic Cut Off Auto Shut Off Overheating Protection Remote Control Power Settings 1000W 2000W Product Dimensions (mm) (H)220 x (W)610 x (D)139 Net Weight (kg) Class... - Page 6 MOUNTING INSTRUCTIONS Mounting the Appliance: Note: Before mounting the appliance, remove the protective plastic from the screen. 1) Select a spot on the wall to mount the appliance; ensure there is a minimum of 1.8m clearance from the bottom of the unit to the floor 2) Drill 2 holes , at least 20mm inwards from either side of the unit, using the measurements from fig.1 as a guide.
-
Page 7: Appliance Overview
APPLIANCE OVERVIEW Control Panel Louvre Control Panel: High Heat Low Heat Temperature Oscillation Indicator Indicator Indicator Indicator Power Heat Oscillation Timer Button Button Button Button Remote Control: Timer On / Off Button Button Heat/Mode Oscillation Button Button Cancel Button - Temperature + Temperature Button Button... -
Page 8: Operating Instructions
OPERATING INSTRUCTIONS Ensure the unit has been installed correctly before operation (following the instructions on page 6) OPERATING THE APPLIANCE USING THE CONTROL PANEL • Plug the appliance into a suitable power socket. The appliance will beep and enter standby mode and the LED display will show the ambient temperature of the room. -
Page 9: Using The Remote Control
OPERATING THE APPLIANCE USING THE REMOTE CONTROL • Plug the appliance into a suitable power socket. The appliance will beep and enter standby mode and the LED display will show the ambient temperature of the room. • Press the On/Off button to switch on the appliance; the louvre will open and the fan will begin to blow without heat. -
Page 10: Overheat Protection
OVERHEAT PROTECTION This appliance is fitted with a Thermostatic Cut Off that automatically switches off the unit in case of overheating (e.g due to the appliance being covered or obstructed). Should the appliance switch off due to overheating, the following steps should be taken immediately: •... -
Page 11: Trouble Shooting Guide
TROUBLE SHOOTING GUIDE If you experience difficulties with the appliance, please check the suggestions below before contacting customer services on 01473 271272: Problem Possible Cause Possible Solution The appliance does not There is no power to the Ensure the appliance is work. -
Page 12: Fuse Replacement
MAINS PLUG FUSE REPLACEMENT Fuse Replacement (Class II) Remove the central screw on the plug and open the shell. Take out the fuse and replace with a new fuse of the same Amp. Install the shell again and tighten the screws. DISPOSAL INFORMATION The European Directive 2012/19/EU on Waste Electrical and Electronic Equipment (WEEE), requires that old household... - Page 14 lgenix Warranty Terms & Conditions This product is guaranteed for a period of 12 months as standard from the date of purchase against mechanical and electrical defects. You can extend your warranty for a further 12 months by registering your product. Upon registration we will cover your product for a period of 24 months from the original purchase date against any mechanical or electrical defects.
-
Page 15: Product Information
Terms & Conditions of our warranty policy are shown on the opposite page. They are also available on our website. www.igenix.co.uk To register your product, please complete all sections of the form below and return to us at the following address: lgenix, 38 Bluestem Road, Ransomes Europark, Ipswich, IP3 9RR. - Page 16 38 Bluestem Road, Ransomes Europark, Ipswich, IP3 9RR Tel. 01473 271 272 Disclaimer: Igenix operate a policy of continual improvement and development. We therefore reserve the right to change/alter the specification and appearance of our appliances without prior notice. All diagrams and images shown in this manual are for illustration purposes only.
Need help?
Do you have a question about the IG9042 and is the answer not in the manual?
Questions and answers