Advertisement
Quick Links
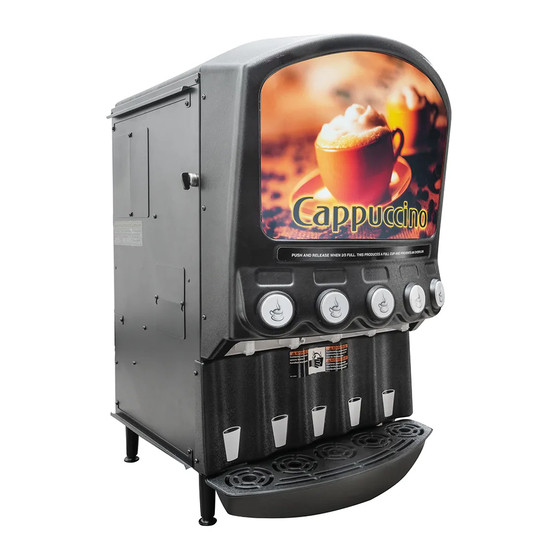
NOTE: Install instructions on back page.
1.
Empty drip pan as needed and wash daily in a dish detergent.
2.
Rinse out the whipper chambers by placing the rinse switch (located to the right of the
dispensing valves when the door is open) in the ON position ("HOT RINSE" position for
CAP1 models). Dispense one to two cupfuls until the water is clear. Short bursts of
dispensing may also help clean the chambers. When complete, return the rinse switch
to the OFF position.
3.
Remove the hoppers and refill with product.
Cleaning the Chambers – Disassembly
Open the door and remove the mixing
1.
funnel shroud by pulling forward while
turning one quarter turn to the right. Lift off
and remove.
Remove the mixing funnel by lifting
2.
the neck of the funnel out of the
whipper chamber, then tilt to the left.
With one hand on the water inlet fitting on
the back panel, pull the funnel out of the
white ring.
Remove the whipper chamber by
3.
rotating it 1/8 turn to the right, then
pull to remove.
Remove the whipper blade by
4.
grasping the whipper blade with two
fingers and firmly pulling to remove.
PARTS IN CONTACT WITH FOOD MUST BE WASHED,
5.
RINSED, SANITIZED, AND AIR DRIED.
Powdered Beverage Dispensers
Daily Cleaning
Weekly Cleaning
Cleaning the Chambers – Reassembly
1.
Replace the whipper blade by
lining up the flat inside the blade
with the flat side of the motor shaft.
Push blade firmly into place.
Replace whipper chamber by
2.
positioning the medium-sized open-
ing up and tilting 1/8 turn to the right.
Put whipper chamber over whipper
blade and turn to the left until
it locks into place.
Replace the mixing funnel by posi-
3.
tioning the large opening up and tilt
it slightly to the left. Insert the water
inlet pipe into the water inlet fitting on the
back panel then rotate the funnel to the
right until the neck of the funnel seats
inside the whipper chamber opening.
Replace the shroud by placing it on
4.
the mixing funnel with the opening
to the right. Turn the shroud to the
left until the opening in the shroud rests
inside the opening in the back panel.
Operator Manual
Flats
Advertisement

Subscribe to Our Youtube Channel
Related Manuals for Grindmaster PIC-1


Summary of Contents for Grindmaster PIC-1
- Page 1 NOTE: Install instructions on back page. Empty drip pan as needed and wash daily in a dish detergent. Rinse out the whipper chambers by placing the rinse switch (located to the right of the dispensing valves when the door is open) in the ON position (“HOT RINSE” position for CAP1 models).
- Page 3 Cleaning Hoppers – Disassembly CAUTION: Do not wash hopper without first disassembling. PIC 1, 2, 3, 4, 5, 6: Open door and rotate elbow on hopper to the UP position to prevent spillage. PIC 1, 2, 3, 4, 5, 6: Remove the hopper from the cabinet.
- Page 4 How to Dispense a Cup of Cappuccino Models with Manual Dispense Switches (Refer to serial tag to verify model number of your machine) Place cup under the selected drink dispense nozzle. Push and hold the appropriate switch on the touchpad until cup is 2/3 full and then release switch.
- Page 5 If machine is a manual dispense, there are no portion control adjustments to be made. (Please refer to serial tag to reference model number. Setting Single Portion Control Place a cup under the selected drink dispense nozzle. Press and hold the dispense switch.
- Page 6 Portion and Drink Strength Adjustment for Model PIC2J & PIC3J (Refer to Figure C) Warning: Risk of Electric Shock! Always turn off power to machine while servicing or making internal adjustments to machine. Dispense a drink to determine if drink is too strong or too weak.
- Page 7 Drink Strength Adjustment (cont.) PIC 1 and PIC 4 (Right Head) Control Board Figure A Operates right head on PIC4. Thermostat dial is not used on PIC4 right controller. CONTROL BOARD FOR PIC2/3/4/5/6 Figure B Two controllers used for PIC43, PIC5, PIC6. Thermostat dial is not used on PIC43, PIC5, PIC6 right controller.
-
Page 8: Prepare For Shipment
Prepare for Shipment Important: Always completely empty water tank and POWDER HOPPERS prior to shipping unit. (See Draining the Tank and Cleaning the Hoppers section). NEVER SHIP UNIT WITH POWDER IN HOPPER OR WATER IN TANK – THIS WILL CAUSE Draining the Tank Always empty the tank before shipping. - Page 9 PIC Preventative Maintenance Checklist (Every 6 to 12 months) A preventative maintenance visit should be performed every 6 to 12 months, depending on usage. The following procedures should be performed during a preventative maintenance visit. Parts Required: One PM parts kit (PIC1 - Qty1 - 62707, PIC2 - Qty2 - 62707 or Qty1 - 60933, PIC3 - Qty1 - 60933, PIC4 - Qty1 - 60933 and Qty1 - 62707, PIC5 - Qty2 - 60933, PIC6 - Qty2 - 60933).
- Page 10 61125 61168 PIC13/CAP13: 63463; PIC 2: 62429; PIC 2A: 62430; PIC 23A: 62433; PIC 3: 62431; PIC 3A: 62432; PIC 33A: 62415; PIC43A: 62800 * PIC-1 and PIC-4 only. See touchpads for other models. Page 10 PIC Series Parts List...
- Page 11 61372 - PIC2,3,5,6 60967 - PIC1 61221 62395 61461 61458 61523 61315 61316 61437 61278, 61302, 61224 61223 Part # Description 60741 Whipper O-ring Red 61127 Funnel O-ring Blue 61221 Whipper Funnel 61223 Hopper Elbow 61278 .406” Pitch Auger 61302 .718”...
- Page 12 PIC 4 5.5 lb. Hopper P/N 62639 – Cappuccino P/N 63078 – Soluble PIC Preventative Maintenance Kit – Part # 60933 61243 Grommet 61334 61365 O-ring 61127 O-ring 60741 Shaft O-ring Page 12 PIC 4 11.5 lb. Hopper P/N 62640 – Cappuccino PIC 4 Hopper Layout 61458 61523...
- Page 13 61115 PIC controller AC motors – old machines 61243 Dump Valve Grommet 61458 Whipper Blade 61365 O-ring for Dump Valve 61334 Slinger Washer Crathco ® Powdered Beverage Dispensers 61800 PIC 2/3/4/5/6 Controller NOTE: PIC43A, 5 & 6 use 2 controllers 62300 PIC2A, PIC3A, &...
-
Page 14: Troubleshooting Guide
8 pm EST) or an authorized service center in your area. Please have the model and serial numbers ready so that accurate information may be given. Prior authorization must be obtained from Grindmaster Corporation’s Technical Services Department for all warranty claims. Page 14 CORRECTIVE ACTION •... -
Page 15: Installation
3. Proceed with fifth step under Start Up for Standard Units. © Grindmaster Corporation, 2005 PRINTED IN USA Grindmaster Corporation 4003 Collins Lane • Louisville, KY 40245 USA (502) 425-4776 •...
Need help?
Do you have a question about the PIC-1 and is the answer not in the manual?
Questions and answers