Table of Contents
Advertisement
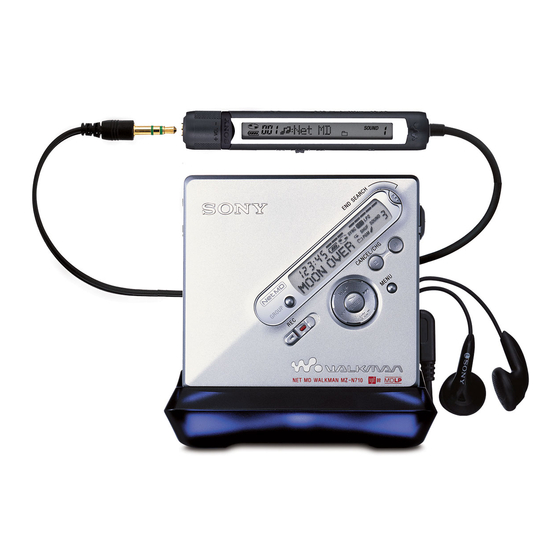
Portable
MiniDisc Recorder
Operating Instructions
Recorder Operation ______________________________
Software Operation ______________________________
"WALKMAN" is a registered trademark of Sony Corporation to
represent Headphone Stereo products.
trademark of Sony Corporation.
MZ-N710
©2002 Sony Corporation
3-249-502-11(1)
page 11
page 80
is a
Advertisement
Table of Contents
Troubleshooting


Need help?
Do you have a question about the WALKMAN MZ-NF520 and is the answer not in the manual?
Questions and answers