Advertisement
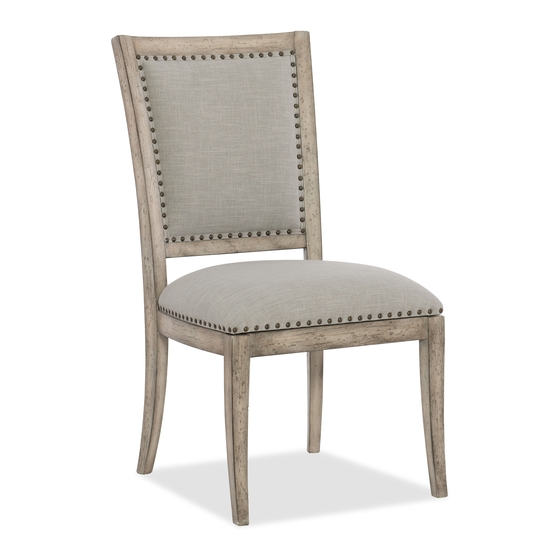
Item#:5750-75410-LTWD Upholstered Side Chair
** Please make sure you have all parts indicated below prior to assembly.
Assembly Steps:
Diagram 2
There are two K/D chairs in one box. Please follow numbers on one chair and letters on the other chair
during assembly.
1. Place chair back (G) on a clean surface.
2. Tighten seat frame (I) to chair back (G) by using bolt (C), lock washer (B) and flat washer (A) at the
center location. (see diagram 2) Then tighten seat frame (I) to chair back (G) by using bolts (E),
lock washers (B), flat washers (A) at corner blocks. (See diagram 1)
3. Please follow numbers on legs (F) and corner blocks. Assemble front legs (F) onto front corner
blocks of seat frame (I), using bolts (C), lock washers (B) and flat washers (A). Tighten all bolts by
hand. (See diagram 2)
4. After all bolts are attached and hand tightened, turn the chair upright.
5. Level the chair following the "chair leveling instruction" as below.
6. Make sure the chair is level and then tighten all bolts completely by using allen wrench (D).
ASSEMBLY INSTRUCTION
Diagram 1
1/2
Advertisement
Table of Contents

Summary of Contents for Hooker Furniture 5750-75410-LTWD
- Page 1 ASSEMBLY INSTRUCTION Item#:5750-75410-LTWD Upholstered Side Chair ** Please make sure you have all parts indicated below prior to assembly. Assembly Steps: Diagram 2 Diagram 1 There are two K/D chairs in one box. Please follow numbers on one chair and letters on the other chair during assembly.
- Page 2 PLEASE READ THESE INSTRUCTIONS PRIOR TO ASSEMBLING THE CHAIRS CHAIR LEVELING INSTRUCTION SUPPLEMENT Chair leveling procedures: To make the assembly process easy and efficient, please read the entire instruction sheet prior to assembling the chair. Make sure all hardware listed is included. To properly assemble the chair, none of the bolts should be fully tightened until all components are attached to the chair.


Need help?
Do you have a question about the 5750-75410-LTWD and is the answer not in the manual?
Questions and answers