Advertisement
Quick Links
Advertisement

Subscribe to Our Youtube Channel
Related Manuals for Air Live FE-201DM


Summary of Contents for Air Live FE-201DM
- Page 1 FE-201DM Network Camera Quick Installation Guide...
- Page 2 Support You can download the complete guides and supporting programs from <http://www.airlivesecurity.c om/product/fe-201dm/downl oad>, or scan the QR code here. Please consult with the FAQs <http://www.airlivesecurity.c om/product/fe-201dm/faq> before writing to OvisLink Tech Support Team for further assistance For any other question, please read the user manual in the CD or mail to tech@airlive.com...
- Page 3 FE-201DM Package Contents Please check the package contents and contact your distributor if any part is missing. FE-201DM Screw Pack Bracket Declaration of Conformity We, Manufacturer/Importer OvisLink Corp. 5F, No.6, Lane 130, Min-Chuan Rd., Hsin-Tien Dist., New Taipei City 231, Taiwan...
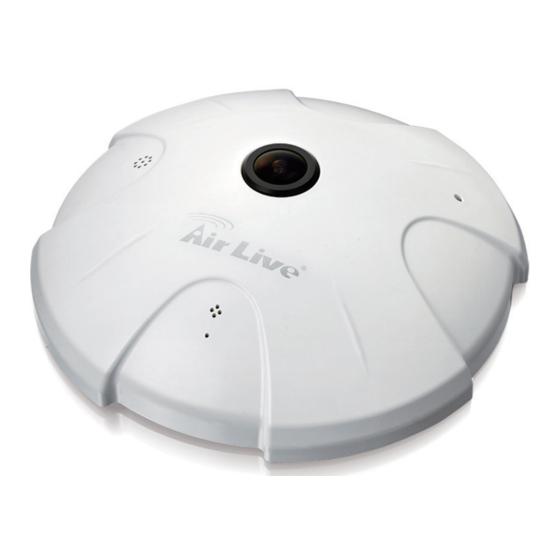
- Page 4 I/O Interface Focus Adjustment Speaker Light Sensor Reset Button MICRO SD Audio Out Audio In RJ-45 DC 12V GPIO...
-
Page 5: Before Using The Camera
Before Using the Camera Important: Please insert a MicroSD card for recording, we strongly suggest to format the SD to prevent any unexpected error. The capacity of SD card may up to 64GB and class 10 is recommended. 64GB B 64GB/ Class10 MicroSD... -
Page 6: Mount The Camera
Mount the Camera Attach the camera with the bracket and use the drill template to fix it onto the wall with screws. Mounting Bracket Bottom of the camera... -
Page 7: Power Up The Camera
Power up the Camera Connect the 12V1A adaptor to power up the camera. 12V DC You can also use RJ45 ethernet cable to power up the camera if you have PoE switch. PoE Switch RJ-45 RJ-45 LNK/ACT POE-FSH1008AT 8-port POE + 2 Combo Gigabit 802.3at Device Guard Web Smart Switch LNK/ACT... -
Page 8: Connect Camera To The Network
Connect Camera to the Network a. Connect camera to the LAN port of the switch. b. Connect switch to the LAN port of the router. c. Connect the PC/NB to the LAN port of the switch. Camera Switch LNK/ACT POE-FSH1008AT 8-port POE + 2 Combo Gigabit 802.3at Device Guard Web Smart Switch LNK/ACT... - Page 9 Set up the Network Environment The default IP address of Airlive camera is 192.168.1.100.Camera will get IP address automatically if it is connected to modem/router by DHCP function or you can assign it a static IP if you want to. Camera 192.168.1.100 Switch...
- Page 10 Install the Airlive IP Wizard Please use the CD which in package to install IP wizard FE-501DM 5MP Fisheye Indoor PoE Dome Camera VER.20140926...
- Page 11 Find Camera on the Network Run IP wizard which install on your PC. IP wizard will start to scan camera automatically when it start. Important: Please make sure your PC/NB is in the same network domain with camera. If it doesn't, your PC/NB will not find the camera in the network.
- Page 12 Access Camera on Web UI Enter the camera ip address into browser to visit the camera web UI. You need to install the ActiveX on your PC when you fist access to camera web UI. You can do more detail settings in the camera web UI by IE/Chrom/Firefox.
Need help?
Do you have a question about the FE-201DM and is the answer not in the manual?
Questions and answers