Sign In
Upload
Download
Table of Contents
Contents
Add to my manuals
Delete from my manuals
Share
URL of this page:
HTML Link:
Bookmark this page
Add
Manual will be automatically added to "My Manuals"
Print this page
×
Bookmark added
×
Added to my manuals
Manuals
Brands
TESTO Manuals
Thermal cameras
875-2i pro
Instruction manual
TESTO 875-2i pro Instruction Manual
Thermal imager
Hide thumbs
1
2
Table Of Contents
3
4
5
6
7
8
9
10
11
12
13
14
15
16
17
18
19
20
21
22
23
24
25
26
27
28
29
30
31
32
33
34
35
36
37
38
39
40
41
42
page
of
42
Go
/
42
Contents
Table of Contents
Bookmarks
Table of Contents
Table of Contents
Contents
Safety and the Environment
About this Document
Ensure Safety
Protecting the Environment
Specifications
Use
Technical Data
Product Description
Overview
Basic Properties
First Steps
Commissioning
Getting to Know the Product
Using the Product
Menu Functions
Measuring Functions
Image Gallery
Scale
Display
Emissivity
Palette
Configuration
Measuring
Maintaining the Product
Tips and Assistance
Questions and Answers
Accessories and Spare Parts
Advertisement
Quick Links
Download this manual
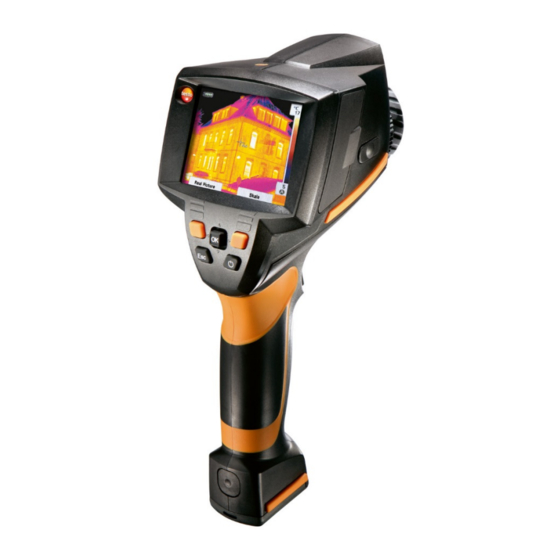
testo 875i · Thermal imager
Instruction manual
Table of
Contents
Previous
Page
Next
Page
1
2
3
4
5
Advertisement
Table of Contents
Need help?
Do you have a question about the 875-2i pro and is the answer not in the manual?
Ask a question
Questions and answers
Related Manuals for TESTO 875-2i pro
Software TESTO 875i Instruction Manual
Thermal imager (48 pages)
Laboratory Equipment TESTO 875i-1 Instruction Manual
Thermal imager (48 pages)
Laboratory Equipment TESTO 875-KIT Instruction Manual
Thermal imager (48 pages)
Laboratory Equipment TESTO 875i Brief Instructions
Thermal imager (2 pages)
Thermal cameras testo 870 Brief Instructions
(2 pages)
Thermal cameras TESTO 870 Instruction Manual
Thermal imager (32 pages)
Thermal cameras TESTO 870 How To Operate
Thermal imager (26 pages)
Thermal cameras testo 875 Instruction Manual
Thermal imager (36 pages)
Thermal cameras TESTO 875 Brief Instructions
Thermal imager (4 pages)
Thermal cameras TESTO 876 Brief Instructions
Thermal imager (4 pages)
Thermal cameras TESTO 871 Instruction Manual
Thermal imager (52 pages)
Thermal cameras TESTO 865 Short Instructions
Thermal imager (7 pages)
Thermal cameras TESTO 872 Instruction Manual
Thermal imager (46 pages)
Thermal cameras TESTO 875-1i Instruction Manual
Thermal imager (42 pages)
Thermal cameras TESTO testo 881 Instruction Manual
Thermal imager (44 pages)
Thermal cameras TESTO 880 Instruction Manual
Thermal imager (44 pages)
This manual is also suitable for:
875i
875-1i
0563 0875 70
0563 0875 v3
875-2i
Table of Contents
Print
Rename the bookmark
Delete bookmark?
Delete from my manuals?
Login
Sign In
OR
Sign in with Facebook
Sign in with Google
Upload manual
Upload from disk
Upload from URL


Need help?
Do you have a question about the 875-2i pro and is the answer not in the manual?
Questions and answers