Table of Contents
Advertisement
Quick Links
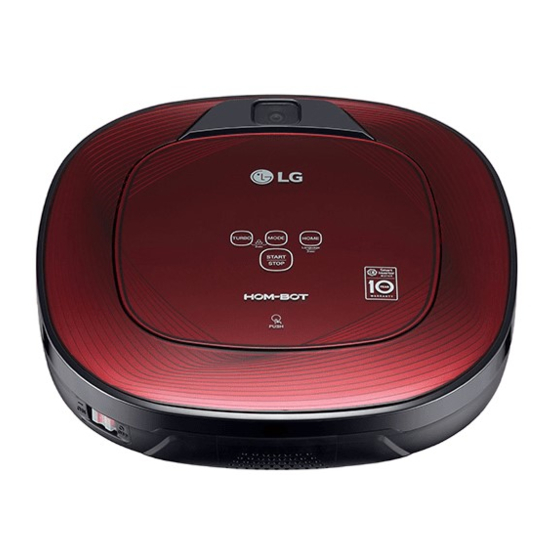
FEATURES
Corner Master
By having adopted a brand new concept design that is appropriate for
walls, the Robot Cleaner's cleaning performance is incredibly efficient.
Learning Mode
The Robot Cleaner is capable of memorizing the cleaning environment
via its Smart Operation feature for smarter cleaning.
Turbo Mode
In the Turbo mode, the Robot Cleaner operates the suction motor and
the brushes at a greater speed giving cleaner results.
When selected, the "Turbo" mode is automatically activated on carpets,
which enables the Robot Cleaner to run more efficiently.
Drawer Mop Plate (Option)
The "Drawer mop plate" makes it much easier for users to fit and remove
the mop without having to turn over the device.
My Space Mode
By commanding it to clean a particular area, the Robot Cleaner quickly
cleans that desired area.
Repeat Cleaning
The Robot Cleaner will continuously clean until the battery runs out.
Zigzag
Location Search Function
If the Robot Cleaner is moved from a spot while operating, the device will
automatically search for the previous location and return to the spot from
where it was interrupted.
Advertisement
Table of Contents


Need help?
Do you have a question about the VSR8600 and is the answer not in the manual?
Questions and answers