Table of Contents
Advertisement
Quick Links
Advertisement
Table of Contents

Related Manuals for Gastrodomus RC 300 Series


Summary of Contents for Gastrodomus RC 300 Series
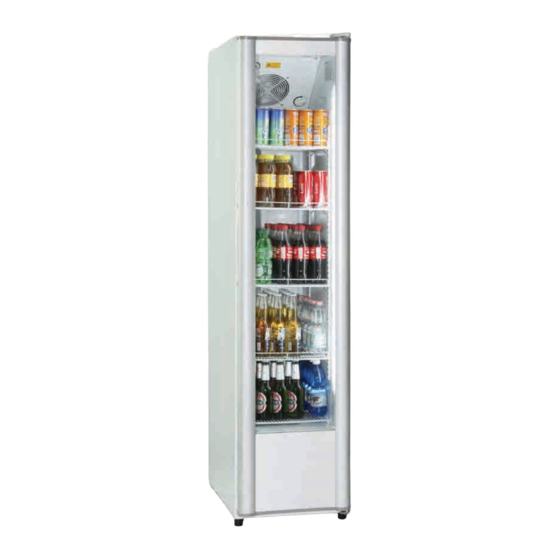
- Page 1 Original Instruction Instruction manual RC 300 series P2M004STD-VER.1.2...
-
Page 2: Table Of Contents
ORIGINAL INSTRUCTION Table of Contents Introduction............................... . -
Page 3: Safety Tips
ORIGINAL INSTRUCTION Safety Tips 1. The appliance is intended for commercial use or similar use (etc. to be used by a layman in shops). 2. DO NOT use the appliance outside. 3. DO NOT attempt to service the item yourself. 4. - Page 4 ORIGINAL INSTRUCTION Safety Tips 19. This appliance is not intended for use by persons (including children) with reduced physical, sensory or mental capabilities, or lack of experience and knowledge, unless they have been given supervision or instruction concerning use of the appliance by a person responsible for their safety (IEC603365-1).
-
Page 5: Installation: Location: Electrical
ORIGINAL INSTRUCTION Installation: Location: Electrical The cabinet is intended for connection to an alternating current. The connection voltage (V) and frequency (Hz) are shown on the name plate in the cabinet. The power connection is made using a three-pin plug to a wall socket. Any requirement for earthing from the local power supply must be met. - Page 6 ORIGINAL INSTRUCTION Installation: Location: Electrical The cabinet should be placed in a room that is dry and sufficiently ventilated. To operate efficiently it should not be positioned in direct sunlight or near warm appliances. Please note that optimal cabinet performance is obtained at climate 4. Slim cooler RC300: By placing the cabinet in an environment with high air humidity, it may be necessary to acquire extra equipment for evaporation of the drip water in the pan near the compressor.
-
Page 7: Cabinet And Controller Operation Instruction
ORIGINAL INSTRUCTION Cabinet and Controller Operation Instruction Storing food stuffs: To get the best results from your appliance, please follow these instructions: 1: Only store foodstuffs in the appliance when it has reached the correct operating temperature. 2: Always close the door. when hot in use and appliance is switched on. The appliance has fan operating door switches and WILL NOT cool when the door is open. - Page 8 ORIGINAL INSTRUCTION Cabinet and Controller Operation Instruction • This appliance is equipped with durable, long lasting, power saving LED lights in the cabinet. • The lighting may be switched on and off, using the switch. (As shown in Figure 3) Figure2 Figure3 Figure1...
-
Page 9: Door Gasket Removal And Replacement
ORIGINAL INSTRUCTION Door Gasket Removal And Replacement Fitting of the Shelves • it the shelf support clips onto the shelf support strips, ma ing sure that the four clips for each shelf are of the same height and that they are securely engaged on the support strip. •... -
Page 10: General Maintenance
ORIGINAL INSTRUCTION General Maintenance Before cleaning, switch off the cabinet and disconnect from the mains. The cabinet should be kept clean using a mild soap solution. Do not use abrasive cleansers. The plastic parts cannot withstand boiling water(max. temperature +85 °C). When regular cleaning is performed, be sure to wipe clean the rubber door gasket to ensure any sticky substances are removed that would otherwise damage the gasket. -
Page 11: Technical Data
ORIGINAL INSTRUCTION Technical Data MODEL RC300 CLIMATE CLASS -10 o C EVAPORATION TEMPERATURE +2~+8 o C TEMPERATURE RANGE R600a REFRIGERANT REF. CHARGE 220V-240V RATED POWER RATED FREQ 50Hz 300W INPUT POWER 50Hz 78Kg NET WEIGHT 90Kg GROSS WEIGHT 280L NET LITERS 30Kg SHELF MAX LOAD NUMBER OF SHELF... -
Page 12: Disposal
ORIGINAL INSTRUCTION Disposal If the cabinet is no longer of use and you wish to dispose of it, remove doors to prevent any small child from be trapped in the cabinet. Then plaese do in an environmentally correct way. Contact a qualified service technician: 1. - Page 13 14~15 16~17 19~20 Montage des étagères/grilles ATTENTION: Risque d'incendie! INFLAMMABLE RÉFRIGÉRANT R600a...
- Page 17 SLIM COOLER RC3001...
- Page 18 Réglage et contrôle de la température - Lorsque vous ouvrez la porte à l'intérieur du cabinet, dans la direction supérieure avant vous pouvez trouver le bouton de commande du thermostat (comme montré dans la figure, N ° 1) - Pour réduire la température au sein du cabinet, tourner le bouton du thermostat dans le sens horaire, tout en faisant tourner le thermostat anti-horaire, va augmenter la température au sein du cabinet et enfin l'éteindre.
- Page 19 et appareil est équipé dans l'armoire de feu D avec longue durée de vie pour • économiser l'énergie. 'éclairage peut être allumé et éteint, en utilisant l'interrupteur (au dessus du bouton du • thermostat) Figure2 Figure3 Figure1...
- Page 20 Montage des étagères/grilles • Monter les clips de support sur les bandes de support d'étagère, se assurer que les 4 clips pour chaque étagère ont été positionnées dans la même hauteur et en sécurité sur la bande de support • Déballer soigneusement chaque gille, pour éviter d'endommager le revêtement de protection. •...
- Page 22 RC300 -10 o C +2~+8 o C R600a 220V-240V 50Hz 300W 78Kg 90Kg 280L 30Kg 478x775x1980 43 db...
Need help?
Do you have a question about the RC 300 Series and is the answer not in the manual?
Questions and answers