Table of Contents
Advertisement
Quick Links
Advertisement
Table of Contents

Related Manuals for Security Camera King HDCV-ELE2MB28


Summary of Contents for Security Camera King HDCV-ELE2MB28
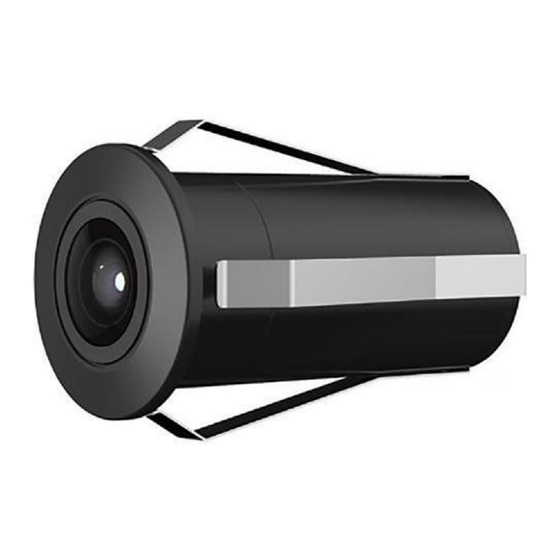
- Page 1 2MP HDCVI Covert Camera HDCV-ELE2MB28...
-
Page 2: Table Of Contents
Table of Contents General Introduction ........................1 Overview ..........................1 Features..........................1 Device Structure ..........................2 Dimension .......................... 2 Cable Port .......................... 4 Installation ............................6 Installation for model D ....................10 3.4.1 Installation for Model D1 (with clamping jaw) ........... 10 Menu .............................. - Page 3 2.Environment Please don’t aim the device at strong light (such as lighting, sunlight and so on) to focus. Please transport, use and store the device within the range of allowed humidity and temperature. Please do not allow water and other liquid falling into the camera in case that the internal components are damaged.
-
Page 4: General Introduction
1 General Introduction 1.1 Overview This series HDCVI camera conforms to the HDCVI standard. It supports video signal high- speed long distance transmission without any delay. It can be controlled by the HCVR conforming to the HDCVI. 1.2 Features Adopt high performance CMOS image sensor, megapixel definition. -
Page 5: Cable Port
2.2 Cable Port Note The following figures are for reference only, which are only used to know the function of cable port. Different devices may have different cables, please refer to the actual device for more details. Please refer to Figure 2-9 for DC 12V power input port. Figure 2-9 Please refer to Figure 2-10 for video output port. -
Page 6: Installation
Please refer to Figure 2-13 for the mobile aviation port. Figure 2-13 3 Installation Attention: Please install the device in time after it is taken apart, which is to avoid the camera module being exposed to damp environment for too long. ... -
Page 7: Installation For Model D
3.4 Installation for model D 3.4.1 Installation Figure 3-6 Step 1 Pull the camera ③ through the installation board ① according to the cable direction, and then fix it on the installation board via clamping jaw ②. Step 2 Paste some glass sealant on the back of the joint between camera and installation board, which is to fix it more firmly. -
Page 8: Menu
4 Menu 4.1 HCVR Settings This HDCVI camera series can adjust OSD menu via coaxial control. After connected the camera to the HDCVI series HCVR, from Main Menu->Setting->System->PTZ, you need to select the channel number for access and set control mode as HDCVI and the protocol as HD- CVI. - Page 9 Figure 4-3 See Table 4-1 for the details of button functions. Button Function Open menu 、 Select menu item 、 Select menu value Table 4-1 If there is “ ”, click the “Enter” button in “Menu Operation” interface to go to the 2nd menu. Click “Return”...
-
Page 10: Appendix Ⅰ Maintenance
Appendix Ⅰ Maintenance Caution Please maintain the device according to the following instructions in order to ensure the image effect and long-term stable operation of the device. Maintenance for lens and mirror surface The lens and mirror surface are covered with antireflection coating, so it may produce hazardous substance and lead to performance reduction or scratch, dimness etc.
Need help?
Do you have a question about the HDCV-ELE2MB28 and is the answer not in the manual?
Questions and answers