Table of Contents
Advertisement
Quick Links
Advertisement
Table of Contents

Related Manuals for ACTi INR-415


Summary of Contents for ACTi INR-415
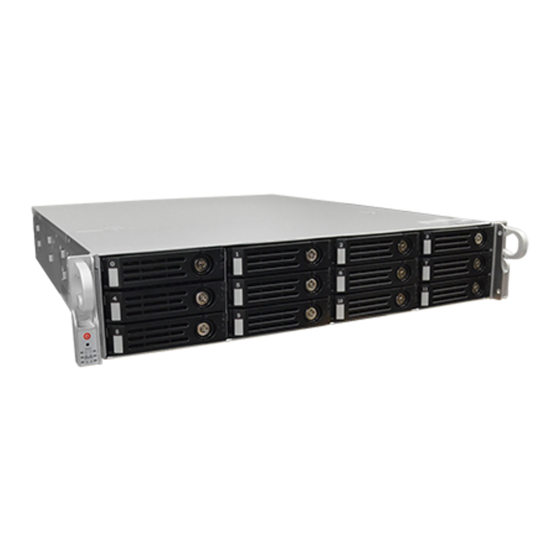
- Page 1 Quick Installation Guide INR-415 256-Channel 12-Bay Rackmount Standalone NVR...
-
Page 2: Before You Start
BEFORE YOU START Thank you for purchasing ACTi Standalone Network Video Recorder. This guide contains all the information you need to quickly set up ACTi INR server system via local interface. For detailed instructions on installation, operation and how to log in to INR as a web client, please refer to the product manuals provided on ACTi corporate website. - Page 3 AT A GLANCE Front Panel Disk Bays x 12 Power Button System LED System LEDs Flashes when power failure in the • Flashes RED when fan failure power supply occurs occurs • Solid RED when server overheats. Flashes to indicate network activity This may be caused by cables in progress obstructing the airflow or the...
-
Page 4: Hard Disk Installation
RACKMOUNT THE UNIT This unit is designed to be mounted on a standard server rack, which occupies 2U (3.5″) of vertical space. 1. Allow a minimum of 5 cm clearance at the front and the rear for front-to-back airflow of the unit. 2. Use the bundled rail kit, and install that to support the entire unit. 3. Secure the unit onto the rack. INR Sliding Rail Kit HARD DISK INSTALLATION Make sure this unit is turned off, and insert the hard disks into the disk bays... -
Page 5: Connect The Devices
CONNECT THE DEVICES The example below displays a network consisting of only INR, network cameras and required peripherals. Please remember to enable the DHCP service on your router for INR to obtain an IP address automatically. Note To assign a static IP address to INR, enter Windows Switch and configure the network settings in Network and Sharing Center. - Page 6 2. On Remote servers list, select the IP address of this server and click on “Login“. On the login window, input the credentials and click “Login“. User Name: ACTi Password: 123456 3. On the Dashboard page, click on “Create virtual drive” .
- Page 7 4. Choose “Simple“ mode and then click on “Next“. 5. Select the RAID level, number of Virtual drives (arrays) and the Capacity of the array, and then click on “Next”. 6. On confirmation window, click on “Finish“. Standalone NVR Quick Installation Guide...
-
Page 8: Software Configuration
SOFTWARE CONFIGURATION CREATE DISK VOLUMES Use Windows Disk Management to create disk volumes so that INR can access the available storage space. 1. On Windows Search Box, search and enter “computer management”. 2. Select “Disk Management”, right-click on a disk title and select “Initialize Disk”, choose “GPT”... - Page 9 Note For detailed instructions on choosing the RAID types and troubleshooting hard disk issues, please refer to System Administrator’s manual provided on ACTi Download Center at http://www.acti.com/downloadcenter Standalone NVR Quick Installation Guide...
-
Page 10: Set Admin Password
SET ADMIN PASSWORD For first-time use, make sure to setup the administrator password. 1. On Windows Search Box, search and enter “administrator tool”. 2. Click NVR3 Administrator Tool to open the application. 3. On the tool interface, go to the Account page, then click the Password Setup button. -
Page 11: Create Users
CREATE USERS On NVR screen, click Setup button to enter Setup page and then Users tab. 1. Select “User Groups”, click “Add” to start adding a new user group. 2. Input group ID, Name, and click “Apply”. 3. Click on the Users panel, click “Add” to start adding a new user. 4. -
Page 12: Add Cameras
ADD CAMERAS 1. Go to Setup page and then Devices tab. 2. Select the Camera panel, and then Click “Add”. 3. Choose a search method based on your network environment and camera brand. Search Cameras Use “Hybrid Search” to automatically search the network To find cameras, input for all cameras, or click “ONVIF the correct account and... -
Page 13: Configure Camera Settings
3. Drag on the time table to define the time session. 4. Click “Apply“. Note If you have any question during system installation, please feel free to contact our engineers via ACTi Customer Help Desk platform at http://www.acti.com/CHD Standalone NVR Quick Installation Guide... -
Page 14: Customize Views
CUSTOMIZE VIEWS 1. Go to Live View page. On top of the screen, click on on the View Tool Bar to create a new layout, then click on to enter edit mode. 2. Select a layout style. 3. To add a camera view, pull a camera from Camera List to a channel. To add a map view, mouse over a channel and click on , upload the map. - Page 15 Due to continuous product improvements, some contents may have changed from the time this documentation was printed. You can download the latest user documentation, which shall prevail over the printed version http://www.acti.com/downloadcenter provided in the package, from www.acti.com V2021.02.01...
Need help?
Do you have a question about the INR-415 and is the answer not in the manual?
Questions and answers