Table of Contents
Advertisement
Quick Links
Advertisement
Table of Contents

Subscribe to Our Youtube Channel
Related Manuals for Minka Group MinkaAire Mesa F566


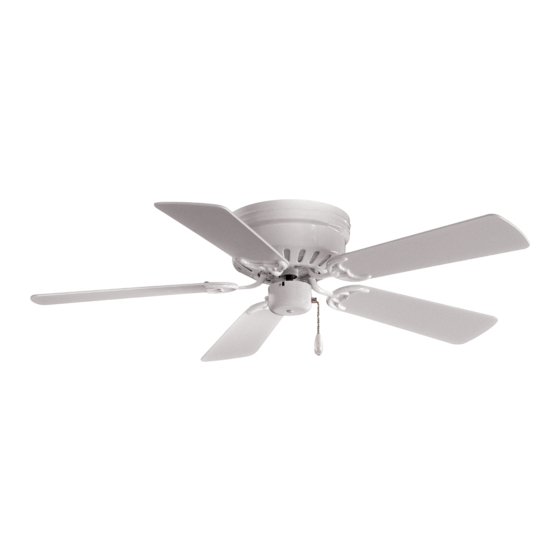
Summary of Contents for Minka Group MinkaAire Mesa F566
- Page 1 Mesa Model No. F566 Instruction Manual Please Read and Save Instructions...
-
Page 2: Limited Lifetime Warranty
Congratulations on your purchase of a Minka-Aire Minka-Aire ceiling fan! Your new fan will be a beautiful addition to your home, and will keep you comfortable throughout the year. Minka-Aire Minka-Aire offers a variety of ceiling fans: combinations of wood and brass finishes, solid designer colors, and unique glass and crystal designs. - Page 3 AFETY ULES 1. Before you begin installing the fan, 6. Caution: Caution: To reduce the risk of shut power off shut power off at the circuit breaker of injury use only the screws provided the fuse box. with the outlet box in conjunction with the lock washers provided with 2.
- Page 4 NSTALLING THE Tools Required: Phillips screw driver; slotted screw driver; step-ladder; wire cutters; electrical tape. PARALLEL WOOD BRACE CEILING (Min. 2" Thick) JOIST CROSS BRACE OUTLET OUTLET BOX CEILING JOIST OR CEILING CROSS BRACE JOIST FIG. 1 FIG. 2 CEILING HANGER BAR JOIST (OPTIONAL)
- Page 5 LUSH OUNT EILING NSTALLATION 1. DISCONNECT ELECTRICITY to the existing fixture occupying the space where you would like to install the fan. After removing the old fixture, check the mounting and stability of the ceiling outlet box. If the outlet box is secure, then precede with the installation procedure.
- Page 6 "A" W NSERT IRING IAGRAMS FAN CONTROLLED BY PULL CHAIN, LIGHT KIT CONTROLLED BY PULL CHAIN. HOUSE WIRE SUPPLY WHITE (NEUTRAL) GREEN (GROUND) BLACK (HOT) CEILING WALL WHITE (NEUTRAL) BLUE (OPTIONAL LIGHT) GROUND (CONNECT T O BLACK (MOTOR) GROUND WIRE ON HANGER BRACKET IF NO HOUSE...
- Page 7 LUSH OUNT LADE NSTALLATION Each set of blade holder has gone throuhh stringent factory testing and is weighed and matched to within one gram. In addition to size and weigh, grain color, and texture, and lacquer consistency have aslo been checked to insure long life in both performance and beauty.
-
Page 8: Light Fixture
TTACHING THE WITCH Step 1. Remove the screws from the switch cup plate. While holding the switch cup, firmly snap the wire molexes together. Next, slide switch SWITCH CUP PLATE cup up against plate and rotate it until the screw WIRE CONNECTOR holes are aligned. -
Page 9: Operating Your Fan
PERATING YOUR Restore power to ceiling fan and test for Restore power to ceiling fan and test for proper operation. proper operation. Speed settings for warm or cool weather depend on factors such as the room size. Ceiling height, number of fans, etc. The Reverse switch is located on the switch cup. - Page 10 ARE OF YOUR 3. If your fan is provided with wood veneer Here are some suggestions to help blades; you can apply a light coat of maintain your fan. furniture polish for additional protection and enhanced beauty. Cover small scratches 1.
-
Page 11: Troubleshooting
ROUBLESHOOTING Symptoms Symptoms Solution Solution Fan Will not Start Check to make sure the wall switch is turned on. Check circuit fuses or breakers. Caution! Make sure the power is turned off before performing Caution! Make sure the power is turned off before performing the following steps;... -
Page 12: Specifications
These are typical readings. Your actual fan may vary. They do not included amps or wattage used by the light kit. For any additional information about your Minka Aire Ceiling fan, please write to; 1151 W. Bradford Court, Corona, CA 92882 A Minka Group Co. For Customer Assistance Call: 1-800-307-3267...
Need help?
Do you have a question about the MinkaAire Mesa F566 and is the answer not in the manual?
Questions and answers