Table of Contents
Advertisement
Advertisement
Table of Contents

Related Manuals for Minka Group Aire Roto F524


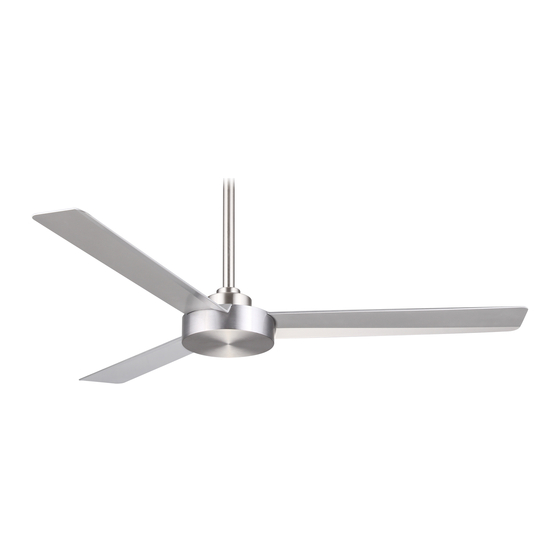
Summary of Contents for Minka Group Aire Roto F524
- Page 1 V1.0...
-
Page 2: Congratulations On Your Purchase
CONGRATULATIONS ON YOUR PURCHASE Congratulations on purchasing your Roto ceiling fan by Minka Aire. To ensure correct function and safety, please read all instructions before using the product. Save all instructions for future reference. SAFETY PRECAUTIONS The information contained in the following pages has been prepared to ensure you of trouble-free operation of your ceiling fan. -
Page 3: Before Installation
BEFORE INSTALLATION Unpack the fan and carefully identify the parts. Please refer to Fig 1. Fig. 1 Fan blades x 3 Mounting hardware: Mounting bracket x 1 Wooden screws (φ6 x 50mm) x 2 Canopy x 1 Explosive bolts (M6 x 50mm) x 2 Canopy cover x 1 Blade attachment hardware: Standard 6”... -
Page 4: Installing The Mounting Bracket
INSTALLING THE MOUNTING BRACKET The ceiling fan must be installed in a location so that the blades are a minimum 300mm spacing from the tip of the blade to the nearest objects or walls. Secure the hanging bracket to the ceiling joist or structure that is capable of carrying a load of at least 30kg, with the two long screws provided. - Page 5 HANGING THE FAN INSTALLING THE FAN Installing the down rod Remove the rock pin (2) and hitch pin (1) from coupling (9) of motor housing assembly. (Fig.4) Loosen the set screws (3) from the coupling (9). Remove the ball joint (4) and cross pin (5) from the down rod (7) assembly by loosening the set screw (6).
-
Page 6: Blade Installation
BLADE INSTALLATION Blade attachment Align the 3 holes of the blade (3) to the fan motor (1). Secure the blade with 3 blades screws (2) provided. Follow the same process for the remaining two blades. (Fig.7) Fig. 7 ELECTRICAL WIRING DIAGRAM INSTALLING THE FAN WARNING: FOR YOUR SAFETY ALL ELECTRICAL CONNECTIONS MUST BE UNDERTAKEN BY... - Page 7 USE WITH REMOTE WIRING DIAGRAM: (REMOTE sold seperately) 1/ Remote without plugs Fig. 9 2/ Remote with plugs Fig. 10...
-
Page 8: Finishing The Installation
FINISHING THE INSTALLATION emove 1 of 2 screws from the bottom of the hanger bracket (1) and loosen the other one a half turn from the screw head. (Fig. 11) Slide the canopy (3) up to the hanger bracket and place the key hole on the canopy over the screw on the hanger bracket and turn the canopy until it locks in place at the narrow section of the key holes. -
Page 9: After Installation
AFTER INSTALLATION WOBBLE: NOTE: CEILING FANS TEND TO MOVE DURING OPERATION DUE TO THE FACT THAT THEY ARE MOUNTED ON A RUBBER GROMMET. IF THE FAN WAS MOUNTED RIGIDLY TO THE CEILING IT WOULD CAUSE EXCESSIVE VIBRATION. MOVEMENT OF A FEW CENTIMETRES IS QUITE ACCEPTABLE AND DOES NOT SUGGEST ANY PROBLEM.
Need help?
Do you have a question about the Aire Roto F524 and is the answer not in the manual?
Questions and answers