Advertisement
Quick Links
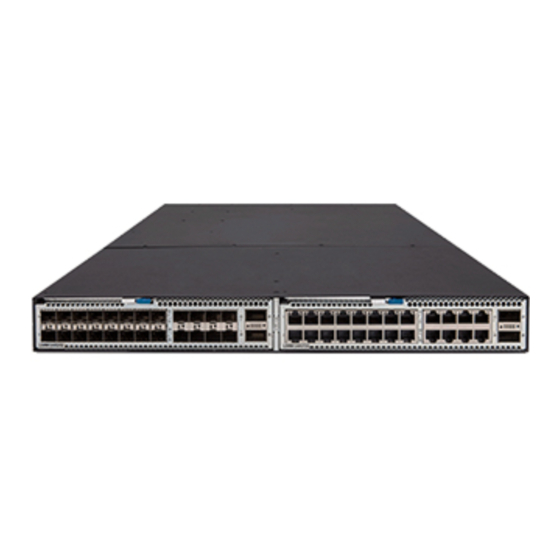
H3C S6800-2C-FC Switch Installation Quick Start-6PW101
H3C S6800-2C-FC
Tool list
The installation tools are not provided with the switch. Prepare them yourself.
交换机不随机提供安装工具,请用户根据实际安装需求自己准备安装工具。
Introduction to installation accessories
Grounding cable and
Removable cable tie
grounding screw
可拆卸式扎带
接地线和接地螺钉
M6 screw and cage nut
M4 screw
(user supplied)
M4螺钉
M6 螺钉和浮动螺母(请用户自备)
Wear an ESD-preventive wrist strap, and make sure the wrist strap makes good skin
!
contact and is reliably grounded. 操作者需佩戴防静电腕带,确保防静电腕带与皮肤良
好接触,并确认防静电腕带已经良好接地。
Mounting bracket
Chassis rail and slide rail
挂耳
滑道和导轨
Power module filler panel
Interface card filler panel
电源假面板
接口模块扩展卡假面板
-6PW101
Attaching the accessories to the switch
The installation positions of the accessories in the following figures are for illustration only.
Select installation positions for the accessories based on the installation requirements.
以下图中附件的安装位置仅供参考,请根据实际安装场景的需要选择合适的安装位置。
Multiple installation positions are available for the chassis rails on the chassis sides.
You can select an installation position for the chassis rails based on the chassis depth.
To maintain switch stability after installation, verify that the chassis rails reach out of
the slide rails.设备侧面板提供了多个滑道导轨安装位,用户可根据机柜的深度,调整滑
道导轨的安装位置;为保证设备安装后的稳定性,当滑道与滑道导轨安装完成后,请确
保滑道的头部露出滑道导轨。
Select a rack with a distance of 520 mm (20.47 in) to 769 mm (30.28 in) between the front
and rear rack posts.此安装方式适用于前后方孔条间距在520mm~769mm范围内的机柜。
Install the mounting brackets near the power module side
BOM: 3101A0MR
挂耳安装到靠近电源侧
Advertisement

Related Manuals for H3C S6800-2C-FC


Summary of Contents for H3C S6800-2C-FC
- Page 1 H3C S6800-2C-FC Switch Installation Quick Start-6PW101 H3C S6800-2C-FC -6PW101 BOM: 3101A0MR Tool list Attaching the accessories to the switch The installation tools are not provided with the switch. Prepare them yourself. 交换机不随机提供安装工具,请用户根据实际安装需求自己准备安装工具。 The installation positions of the accessories in the following figures are for illustration only.
- Page 2 Install cage nuts and slide rails 安装浮动螺母与滑道 Install the mounting brackets near the port side 挂耳安装到靠近端口侧 Attach slide rails to the rack posts. 安装滑道到机柜 Install cage nuts to the square holes on the rack posts. 安装浮动螺母到机柜方孔条 Mount the switch in the rack (two options) 安装交换机到机柜(二选一) Connect the grounding cable to the grounding point on the chassis side before installing the switch in the rack.为了防止机箱安装到机柜后无法安装接地线,请您先将接地线安装...
- Page 3 Port side mounting The switch comes with the fan tray slots empty. You must install two fan trays of the 挂耳安装在靠近端口侧 same model for the switch for adequate heat dissipation. Do not power on the switch when no fan tray is installed.交换机出厂时两个风扇插槽均为空,为保证设备的正常散 热,用户必须安装两个相同型号的风扇模块,否则禁止交换机上电运行。...
- Page 4 连接交流电源线 拆卸假面板时,请您用食指和拇指扣住假面板上的两个圆孔,向右用力按压左边圆孔内的金 属弹片,然后沿插槽导轨向外拉出假面板。 Obtaining documentation To access the most up-to-date H3C product documentation on the H3C website at www.h3c.com.hk: 1. Go to http://www.h3c.com.hk/Technical_Documents. Use a removable cable tie to secure the power cord. The method for securing AC and DC power cords are the same. The following figure uses the AC power cord 2.
Need help?
Do you have a question about the S6800-2C-FC and is the answer not in the manual?
Questions and answers