Table of Contents
Advertisement
Quick Links
Advertisement
Table of Contents

Subscribe to Our Youtube Channel
Related Manuals for Electrolux B57415-5

Summary of Contents for Electrolux B57415-5
- Page 1 B57415-5 User manual Oven...
-
Page 2: Table Of Contents
Contents Thank you for choosing one of our high-quality products. To ensure optimal and regular performance of your appliance please read this instruction manual carefully. It will enable you to navigate all processes perfectly and most efficiently. To refer to this manual any time you need to, we recommend you to keep it in a safe place. -
Page 3: Children And Vulnerable People Safety
Safety information The manufacturer is not responsible if incorrect installation or use results in damage. Children and vulnerable people safety • This appliance can be used by children aged from 8 years and above and persons with reduced physical, sensory or mental capabilities or lack of experience and knowledge if they have been given supervision or instruction concerning use of the appliance in safe way and understand the hazards involved. -
Page 4: Use
Safety information • Information on the voltage is on the rating plate. • Always use a correctly installed shockproof socket. • Do not use multi-way plugs, connectors and extension cables. There is the risk of fire. • Do not replace or change the mains cable. Contact the service centre. •... -
Page 5: Risk Of Fire
Safety information • When the door glass panels are damaged they become weak and can break. You must replace them. Contact the service centre. • Be careful when you remove the door from the appliance. The door is heavy! • Do not clean catalytic enamel (if applicable). Risk of fire •... -
Page 6: Product Description
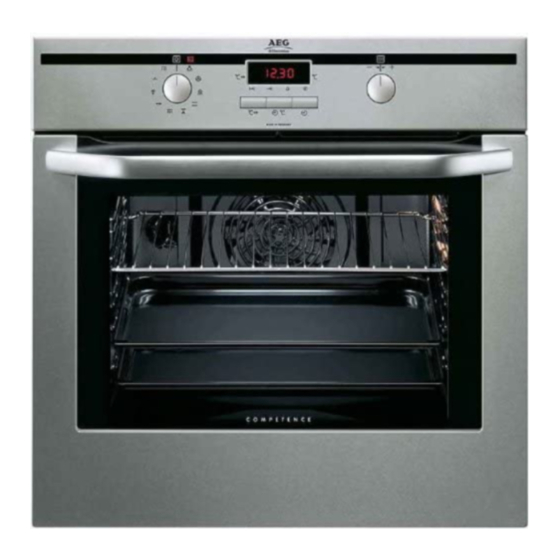
Product description PRODUCT DESCRIPTION General overview Control panel Power indicator Control knob for oven functions Display + / - Control knob Power indicator Heating element Oven lamp Fan and rear wall heating element Bottom heat Oven shelf runners, removable Shelf positions Oven accessories •... -
Page 7: Daily Use
Daily use • Nonstick deep roasting pan To bake and roast or as pan to collect fat. DAILY USE WARNING! Refer to "Safety information" chapter. Initial Cleaning • Remove all parts from the appliance. • Clean the appliance before first use. Refer to chapter "Care and Cleaning". -
Page 8: Switching The Oven Off
Daily use Switching the oven off Turn the oven functions selector to the OFF posi- tion. Cooling fan When the appliance operates, the cooling fan switches on automatically. If you switch off the appliance, the cooling fan continues to operate until the appliance cools down. Heat- up indicator If you switch on an oven function, the bars on the display come on one by one. -
Page 9: Inserting The Oven Accessories
Daily use Oven function Application TRUE FAN To bake on maximum three oven levels at the same time. Decrease the oven temper- atures (20-40°C) compared with Conven- tional. FAN BAKING To bake on one oven level food with a more intensive browning and a crispy base. Decrease the oven temperatures (20-40°C) compared with Conventional. -
Page 10: Clock Functions
Daily use Inserting the oven shelf and deep roasting pan together Put the oven shelf on the deep roasting pan. Push the deep roasting pan between the guide- bars of one of the oven levels. Clock Functions Temperature / Time display Heat indicator Clock function indicators Selection button... -
Page 11: Other Functions
Daily use - with Minute Minder push a button - with Duration and End turn the oven functions selector to the position Off. With Minute Minder an acoustic signal also sounds when 90% of the time period is com- pleted. With the functions Duration and End the oven switches off automatically. -
Page 12: Helpful Hints And Tips
Helpful hints and tips If you set clock function Duration or End, the automatic cut-out will not operate. HELPFUL HINTS AND TIPS Inner side of door On the inner side of the oven door you can find: • the numbers of the shelf levels •... - Page 13 Helpful hints and tips Baking results Possible cause Remedy The cake sinks (be- Too much liquid in the mix- Use less liquid. Look at the mixing times, comes soggy, lumpy, ture specially when you use mixing machines streaky) Cake is too dry Oven temperature too low Set a higher oven temperature Cake is too dry...
- Page 14 Helpful hints and tips Type of baking Oven function Level Temperature Time (h:min) (°C) - then 160 - 180 0:30 - 1:00 CONVENTIONAL 160 - 170 0:15 - 0:30 Cream puffs/eclairs CONVENTIONAL 180 - 200 0:10 - 0:20 Swiss roll Cake with crumble TRUE FAN 150 - 160...
- Page 15 Helpful hints and tips Type of baking Oven function Level Temperature Time (h:min) (°C) CONVENTIONAL 0:20 - 0:35 Rolls Small cakes (20 per TRUE FAN 0:20 - 0:30 tray) Small cakes (20 per CONVENTIONAL 0:20 - 0:30 tray) 1) Pre-heat oven Baking on more than one level - Cakes/pastries/breads on baking trays True fan True fan...
- Page 16 Helpful hints and tips Type of baking Shelf level Temperature °C Time (Mins) Pizza (with a lot of top- 180 - 200 20 - 30 ping) Tarts 180 - 200 45 - 60 Spinach flan 160 - 180 45 - 60 Quiche Lorraine 170 - 190 40 - 50...
-
Page 17: Roasting
Helpful hints and tips Roasting Roasting dishes • Use heat-resistant ovenware to roast (please read the instructions of the manufacturer). • Large roasting joints can be roasted directly in the deep roasting pan or on the oven shelf above the deep roasting pan. (If present) •... - Page 18 Helpful hints and tips Type of meat Quantity Oven function Shelf Tempera- Time level ture °C (h:min) Porknuckle (precooked) 750 g - 1 kg ROTITHERM 150 - 170 1:30 - 2:00 Veal Type of meat Quantity Oven function Shelf Tempera- Time level ture °C...
-
Page 19: Grilling
Helpful hints and tips Fish ( steamed) Type of meat Quantity Oven function Shelf Tempera- Time level ture °C (h:min) Whole fish 1 - 1,5 kg CONVEN- 210 - 220 0:45 - 1:15 TIONAL Grilling Always use the grilling function with maximum temperature setting Always grill with the oven door closed Always pre-heat the empty oven with the grill functions for 5 minutes. -
Page 20: Drying
Helpful hints and tips To see which oven function you must use please refer to the oven functions list in Daily use chapter. Soft fruit Preserve Temperature in °C Time until simmer- Continue to cook ing in mins. at 100°C in mins. Strawberries, blueberries, rasp- 160 - 170 35 - 45... -
Page 21: Defrosting
Helpful hints and tips Fruit Food to be dried Temperature Shelf level Time in hours (Guide- in °C line) 1 level 2 levels Plums 60 - 70 1 / 4 8 - 10 Apricots 60 - 70 1 / 4 8 - 10 Apple slices 60 - 70... -
Page 22: Care And Cleaning
Care and cleaning CARE AND CLEANING WARNING! Refer to "Safety information" chapter. • Clean the front of the appliance with a soft cloth with warm water and cleaning agent. • To clean metal surfaces use a usual cleaning agent • Clean the oven interior after each use. Thus you can remove dirt more easily and it does not burn on. -
Page 23: Shelf Support Rails
Care and cleaning Shelf Support Rails Removing the shelf support rails 1. Pull the front of the shelf support rail away from the side wall. 2. Pull the rear shelf support rail away from the side wall and remove it. Installing the shelf support rails Install the shelf support rails in opposite sequence. -
Page 24: Oven Door And Glass Panels
Care and cleaning Oven door and glass panels To clean the oven door remove it. CAUTION! Be careful when you remove the door from the appliance. The door is heavy! Removing the oven door 1. Open the oven door as far as it goes. 2. -
Page 25: What To Do If
What to do if… 2. Pull the door trim to the front to remove 3. Hold the door glass panels on their top edge one by one and pull them upwards out of the guide 4. Clean the door glass panels. To install panels follow the procedure in reverse. -
Page 26: Environment Concerns
Environment concerns If you cannot find a solution to the problem yourself, contact your dealer or the service centre. The necessary data for the service centre is on the rating plate. The rating plate is on the front frame of the oven cavity. We recommend that you write the data here: Model (MOD.) ......... - Page 28 www.aeg-electrolux.com/shop...
Need help?
Do you have a question about the B57415-5 and is the answer not in the manual?
Questions and answers