
Subscribe to Our Youtube Channel
Related Manuals for Vanco Evolution EV4K7014


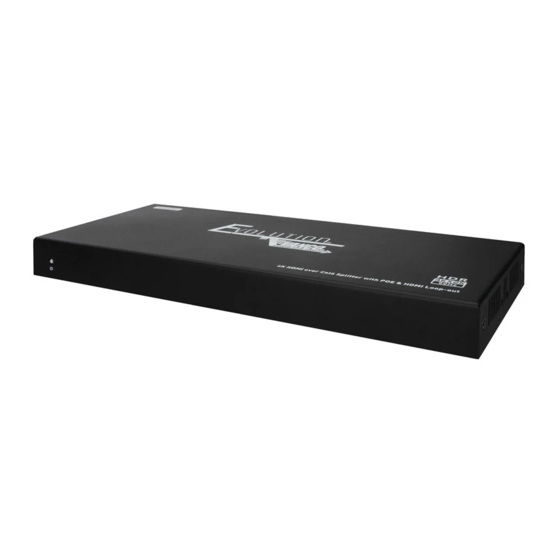
Summary of Contents for Vanco Evolution EV4K7014
- Page 1 4K 1x4 HDMI® Splitter over Cat6 Cable with HDMI Loop-out Vanco Part Number: EV4K7014 4K 1x4 HDMI® Splitter over Cat6 Cable with HDMI Loop-Out www.vanco1.com • 800.626.6445...
- Page 2 DEAR CUSTOMER Thank you for purchasing this product. For optimum performance and safety, please read these instructions carefully before connecting, operating or adjusting this product. Please keep this manual for future reference. This product is 100% inspected and tested in the United States to verify HDMI performance parameters.
- Page 3 FEATURES INTRODUCTION The EV4K7014 is an HDMI splitter that allows one HDMI input to be split and sent to up to five displays simultaneously. With four outputs over UTP, and one output over HDMI, the EV4K7014 allows for a local display connected, or to daisy chain additional units to gain more outputs.
-
Page 4: Specifications
SPECIFICATIONS Power ............... 12V, 3A power supply included Dimensions .............. Splitter Dimensions: 14.3” L x 4.09 W x 0.9” H (264.40mm L x 104 mm W x 23.85mm H); Receiver Dimensions: 4.17” L x 3.8” W x 0.75” H (106 mm L x 99mm W x 19.20mm H) Weight…………………………. -
Page 5: Panel Descriptions
PANEL DESCRIPTIONS EV4K7014 Splitter 2 3 4 1. Power Indicator: Illuminates blue when the power is turned on 2. Reset Button: Reboots the splitter 3. IR IN: Connect the included IR Receiver (RX) to receive the IR signal from a remote 4. - Page 6 PANEL DESCRIPTIONS EV4K7014 Receiver 1. Reset button: Reboots the receiver 2. Cat6 Input: Connect a single Cat6 with other end of cable connected to the splitter unit (home-run cabling strongly recommended without any couplings, punch-downs, or patch panels) 3. Power/Signal LED: When there is power and no HDMI source signal, the indicator will flash; when there is power and a source HDMI signal, the indicator will emit solid blue 4.
-
Page 7: Connection Diagram
CONNECTION DIAGRAM HDTV Source IR Blaster HDMI HDMI Cat6 Cat6 Cat6 Cat6 HDMI HDMI HDMI HDMI HDTV HDTV HDTV IR Receiver IR Receiver IR Receiver IR Receiver CONNECT AND OPERATE 1. Connect a source such as a Blu-Ray Player, game console, A/V Receiver, Cable or Satellite Receiver, etc. to the HDMI input 2. -
Page 8: Edid Management
EDID MANAGEMENT There are 16 built-in EDIDs in the product, which can be adjusted via the DIP switches. The upward DIP switch indicates “1”, and the downward DIP switch indicates“0”. After the adjustment is made, power cycle the EV4K7014. View displays for changes. www.vanco1.com... - Page 9 RS-232 CONTROL The default configuration is as follows: Baud rate: 9600, Data bits: 8, Stop bits: 1, Parity: 0 800.626.6445...
-
Page 10: Ir Pass-Through
IR PASS-THROUGH The IR system allows you to control the source that is connected to the splitter unit, from the display(s). The IR system also allows you to control the display(s) from the splitter location (see “To Control the Displays” section”). Additional IR receivers (EVIR4K70-RX) and IR blasters (EVIR4K70-TX) are sold separately. - Page 11 To Control the Displays: 1. Plug the IR receiver into the IR IN port of the splitter unit; place receiver in a location where it can receive display IR commands 2. Plug the IR blaster into the IR OUT port of the receiver unit; place blaster in front of the IR eye of the display(s) 800.626.6445...
-
Page 12: Troubleshooting
If you are still encountering issues, attempt the “hot-plug concept. With all of the HDMI cables disconnected, turn on the source and plug in the HDMI cable into it’s output, then power up the Vanco unit and plug the HDMI cable into it’s input, finally turn on the display and plug the HDMI cable from the receiver into it. -
Page 13: Limited Warranty
If repairs are needed during the warranty period the purchaser will be required to provide a sales receipt/sales invoice or other acceptable proof of purchase to the seller of this equipment. The seller will then contact Vanco regarding warranty repair or replacement. -
Page 14: Technical Support
TECHNICAL SUPPORT In case of problems, please contact Vanco Technical Support by dialing 1-800-626-6445. You can also email technical support issues to techsupport@vanco1.com. When calling, please have the Model Number, Serial Number (affixed to the bottom of the unit) and Invoice available for reference during the call. - Page 15 800.626.6445...
- Page 16 ® Vanco International 506 Kingsland Drive Batavia, Illinois 60510 call: 800.626.6445 fax: 630.879.9189 visit: www.vanco1.com...
Need help?
Do you have a question about the Evolution EV4K7014 and is the answer not in the manual?
Questions and answers