Advertisement
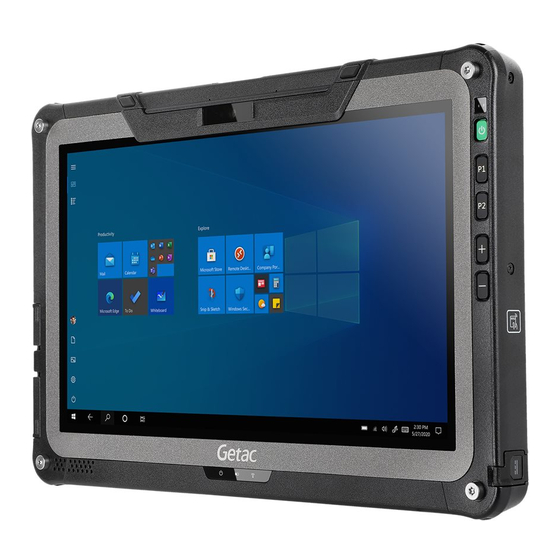
F110G6 Parts Replacement Instructions
This document is intended for service personnel. It provides information not
found in the user manual. For information such as replacing the battery pack
and SSD, see the user manual of the product.
DC door (P/N 340918000007) ......................................................................... 1
Type C door (P/N 340918000005).................................................................... 2
Audio door (P/N 340918000006)...................................................................... 3
Left cap (P/N 344918000033)........................................................... 4
Right cap (P/N 344918000035)......................................................................... 5
Top cap (P/N 344918000006)............................................................................ 6
Bottom cap (P/N 344918000032)...................................................................... 7
Advertisement
Table of Contents

Related Manuals for Getac F110G6


Summary of Contents for Getac F110G6
- Page 1 F110G6 Parts Replacement Instructions This document is intended for service personnel. It provides information not found in the user manual. For information such as replacing the battery pack and SSD, see the user manual of the product. DC door (P/N 340918000007) ................. 1 Type C door (P/N 340918000005)..............
- Page 2 Removing the DC door 1. Open the DC door. Remove the one screw (370102010421) lock the DC door. 2. Detach the DC door and bracket from F110G6, then remove the DC door. Installing the DC door Reverse the removal procedure to install the new part.
- Page 3 Removing the type C door 1. Unlock the type C door and audio door. Remove the two screws (370102010620). 2. Detach the type C door and audio door from F110G6, then remove the type C door. Installing the Type C door...
- Page 4 Removing the audio door 1. Unlock the type C door and audio door. Remove the two screws (370102010620). 2. Detach the type C door and audio door from F110G6, then remove the audio door. Installing the audio door Reverse the removal procedure to install the new part.
- Page 5 2. Remove two GUIDE-PINs (371102610027). Remove the one screw (371102600001) and one screw (370102010421), 3. Remove the three screws (371102600001). Remove the one screw (342830700019) and washer. 4. Detach the left cap from F110G6, Installing the left cap Reverse the removal procedure to install the new part.
- Page 6 2. Remove two GUIDE-PINs (371102610027). Remove the one screw (371102600001) and one screw (370102010421), 3. Remove the three screws (371102600001). Remove the one screw (342830700019) and washer. 4. Detach the right cap from F110G6, Installing the right cap Reverse the removal procedure to install the new part.
- Page 7 1. Remove the left cap. 2. Remove the right cap. 3. Remove the two screws (370102010421) and one screw (370102010620). 4. Detach the top cap from F110G6, Installing the top cap Reverse the removal procedure to install the new part.
- Page 8 Removing the bottom cap 1. Remove the left cap. 2. Remove the right cap. 3. Remove the two screws (370102010421). 4. Detach the right bottom cap from F110G6, Installing the bottom cap Reverse the removal procedure to install the new part.
Need help?
Do you have a question about the F110G6 and is the answer not in the manual?
Questions and answers