Table of Contents
Advertisement
Quick Links
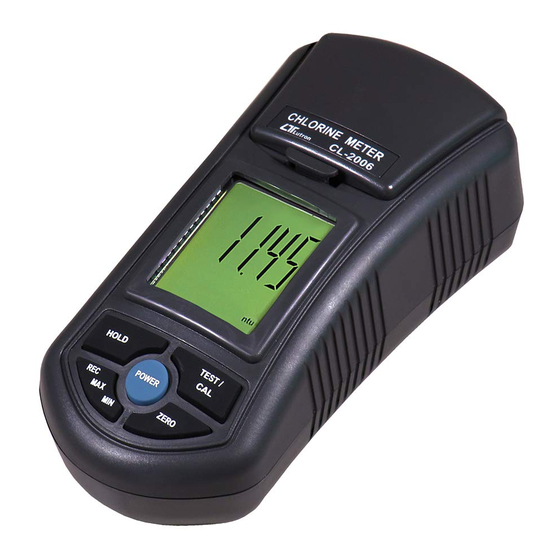
CHLORINE METER
Model : CL-2006
Your purchase of this Free and Total CHLORINE METER marks a
step forward for you into the field of precision measurement.
Although this CHLORINE METER is a complex and delicate
instrument, its durable structure developed. Please read the
following instructions carefully and always keep this manual
within easy reach.
OPERATION MANUAL
Advertisement
Table of Contents

Related Manuals for Sper scientific CL-2006


Summary of Contents for Sper scientific CL-2006
- Page 1 CHLORINE METER Model : CL-2006 Your purchase of this Free and Total CHLORINE METER marks a step forward for you into the field of precision measurement. Although this CHLORINE METER is a complex and delicate instrument, its durable structure developed. Please read the following instructions carefully and always keep this manual within easy reach.
-
Page 2: Table Of Contents
TABLE OF CONTENTS 1. FEATURES..............1 2. SPECIFICATIONS............2 3. FRONT PANEL DESCRIPTION........4 4. MEASURING PROCEDURE........5 4-1 Measurement............6 4-2 Free/Total Chlorine mode selection......7 4-3 Data Hold............... 7 4-4 Data Record ( Max., Min. reading )......9 5. -
Page 3: Features
1. FEATURES • The meter measures the Free and Total chlorine ( CL ) between 0.00 to 3.50 ppm ( mg/L ). • The measuring method is an adaptation of the USEPA Method 330.5 for waste water and Standard Method 4500-Cl G for drinking water. •... -
Page 4: Specifications
2. SPECIFICATIONS Display LCD size : 41 mm x 34 mm Range Free chlorine ( CL ) : 0.00 to 3.50 ppm ( mg/L ). Total chlorine ( CL ) : 0.00 to 3.50 ppm ( mg/L ). Resolution 0.01 ppm ( mg/L ). Accuracy ±... - Page 5 0 to 50 ℃. Operating Temperature Operating Less than 85% R.H. Humidity Power Supply DC 1.5 V battery ( UM4, AAA ) x 6 PCs, or equivalent. Power Current Stand by Approx. DC 4 mA. Testing Approx. DC 12 mA. Weight 320 g/0.70 LB.
-
Page 6: Front Panel Description
3. FRONT PANEL DESCRIPTION 3-1 Test Chamber Cover 3-2 Test Chamber 3-3 Display 3-4 Hold Button ( Esc Button ) 3-5 TEST/CAL Button 3-6 Power Button 3-7 ZERO Button 3-8 REC Button ( MAX, MIN Button ) 3-9 Battery Compartment/Cover 3-10 Free Chlorine 1.0 ppm standard solution. -
Page 7: Measuring Procedure
4. MEASURING PROCEDURE 4-1 Measurement Before the measurement, you should set the measurement mode to " Free Chlorine " or " Total Chlorine ". For setting procedure, refer to chapter 4-3, page 8. ZERO setting for the liquid 1) Power ON the meter by pressing the Power Button once. The display will show "... - Page 8 4) Press the Zero Button once, the display will flash ( TEST ) , then show " 0.00 ". 5) Open the test chamber cover and remove the testing bottle. 6) Open the testing bottle an add the DPD powder to the testing bottle.
-
Page 9: Free/Total Chlorine Mode Selection
4.2 Free/Total Chlorine mode selection 1) With the meter in the off condition, Press and hold the Hold Button and the REC Button at the same time. Without releasing the Hold & REC buttons, press the Power Button. The unit will enter the selection mode to select Free Chlorine or Total Chlorine. -
Page 10: Data Record ( Max., Min. Reading )
4.4 Data Record ( Max. , Min. reading ) Note: The data record function only records the maximum and minimum readings. Press the REC Button once to start the data record function and there will be a REC symbol on the display. -
Page 11: Calibration Procedure
5. CALIBRATION PROCEDURE 1) The meter can be calibrated under following calibration points : Free chlorine Zero • 1.00 ppm • Total chlorine Zero • 1.00 ppm • Note : The calibration procedures for the function of " Total chlorine " and the " Free chlorine " are independent. 2) Calibration requires the following two solutions : Zero Chlorine standard solution •... -
Page 12: Battery Replacement
4) Place the Zero standard bottle into the test chamber, lining the vertical white line of the bottle with the white dot on the meter. Close the lid and press the TEST/CAL button once. The meter will flash the word CAL on the screen for up to ten seconds.
Need help?
Do you have a question about the CL-2006 and is the answer not in the manual?
Questions and answers