Sunlighten SIGNATURE IV Assembly Instructions
Hide thumbs
Also See for SIGNATURE IV:
- Assembly instructions manual (6 pages) ,
- Assembly instructions (5 pages) ,
- Owner's manual (20 pages)
Table of Contents
Advertisement
Quick Links
Advertisement
Table of Contents

Related Manuals for Sunlighten SIGNATURE IV


Summary of Contents for Sunlighten SIGNATURE IV
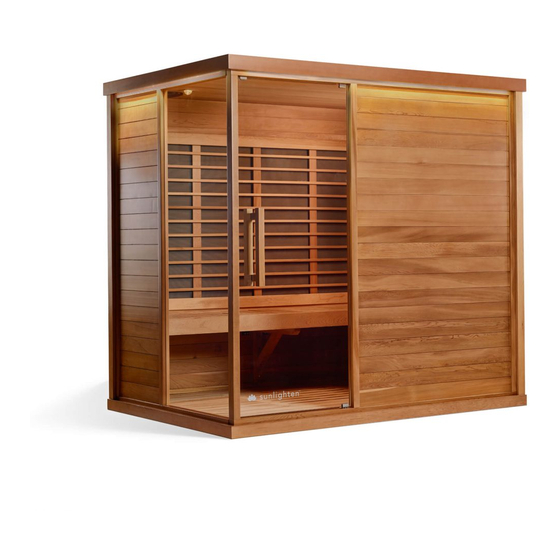
- Page 1 SIGNATURE IV ASSEMBLY INSTRUCTIONS ASSEMBLY INSTRUCTIONS Floor Roof Left Wall with Glass Door Back Wall Right Wall Front Wall with Glass door secure plates before assembly - see STEP 3. sunlighten.com sunlighten.com...
- Page 2 STEP 2 Place the front wall on the front of the floor panel Be sure you have two people assisting with this step. Be careful of the glass door as you install the wall. sunlighten.com sunlighten.com...
- Page 3 . Using the labeled bolt and Allen wrench, insert the support once the wall has been placed and a U-clip installed in the top corner of the left and back wall. sunlighten.com sunlighten.com...
- Page 4 STEP 6 Once all the U-clips have been inserted in the corners, the next step will be to place the roof on top. Make sure the side the main power cord receptacle faces the back. sunlighten.com sunlighten.com...
- Page 5 Allen wrench. The dust cover should also be replaced. heater frame CONGRATULATIONS, your sauna is now ready to enjoy! If you have any questions, please call Sunlighten Customer Support at 877.292.0020 x4. sunlighten.com sunlighten.com...
Need help?
Do you have a question about the SIGNATURE IV and is the answer not in the manual?
Questions and answers