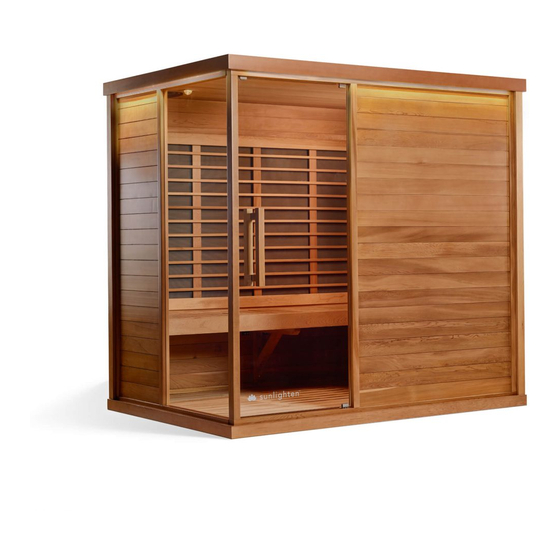
Sunlighten Signature IV Assembly Instructions
Hide thumbs
Also See for Signature IV:
- Assembly instructions manual (6 pages) ,
- Assembly instructions (5 pages) ,
- Owner's manual (20 pages)

Related Manuals for Sunlighten Signature IV


Summary of Contents for Sunlighten Signature IV
- Page 1 S i g n a t u r e I V A S S E M B L Y I N S T R U C T I O N S b y S u n l i g h t e n V e r s i o n 0 4 1 7 2 0 1 8 S x 1 A x 1...
- Page 2 STEP 1 DEDICATED 240V | 20A CIRCUIT REQUIRED* P x 1 see manual A x 1 Attach the feet pegs with supplied Allen wrench and W x 4 bolts. K x 4 Cut the zip ties holding the floor grate, the W x 4 fabric will adhere to the Velcro on the underside of the grate.
- Page 3 STEP 4 C x 1 The next wall to insert will be the back wall. This wall will have three pre-drilled holes underneath the heater frames to insert one of the two bench supports (ITEM L). Using the labeled bolt and Allen wrench, insert the support once the wall has been placed and a U-clip installed in the top corner of the left and back wall.
- Page 4 STEP 7 A x 1 M x 1 Once all the U-clips have been inserted in the corners, the next step will be to place the roof on top. Make sure the side the main powercord receptacle faces the back. M x 1 STEP 8 The following connections need to be made on the...
Need help?
Do you have a question about the Signature IV and is the answer not in the manual?
Questions and answers