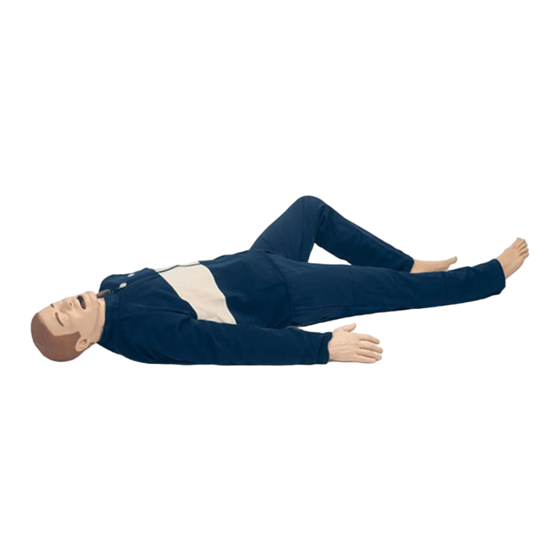
laerdal MegaCode Kelly Manual
Preventative maintenance kit
Hide thumbs
Also See for MegaCode Kelly:
- Directions for use manual (12 pages) ,
- Directions for use manual (124 pages)
Advertisement
Quick Links
Advertisement

Summary of Contents for laerdal MegaCode Kelly
- Page 1 MegaCode Kelly Preventative Maintenance Kit www.laerdal.com...
-
Page 2: Items Included
Items Included Before you install this Preventative Maintenance Lite Kit, please visit www.laerdal.com/laerdalpmkit and watch the instructions. To To T rso Skin Head Skin Spacers Airway ay a Upper teeth Neck Cradle parts Arm skin with veins IM Pads ECG parts (nuts/washers) - Page 3 Replace the Chest Bladders Remove the legs 1. Remove the screw on each side of the hips to loosen the legs. 2. Remove the legs. Remove the head skin 1. Unfasten the neck skin at the back of the neck. 2.
- Page 4 Replace the Chest Bladders Remove the neck 1. Remove the screw securing the neck on the torso. 2. Remove the neck from the torso. Remove the mid-axillary bladders 1. Lift the right arm to access the mid-axillary cover. 2. Remove the mid-axillary cover. 3.
- Page 5 Replace Lungs & Airway Assemble the neck and head 1. Assemble and reattach the neck to torso. Note A written neck assembling guide is included. 2. The flat side of the neck must face outward. 3. Do not tighten the screws and washers too much. 4.
- Page 6 Replace the Upper Teeth and Head Skin Secure the airways inside the head 1. Place the airways inside the head. 2. Align the holes on each side of the airways to the pegs on each upper jaw. 3. Put the upper plate inside the mouth and tighten it with screws. Replace the upper teeth 1.
- Page 7 Replace the Neck Skin, ECG/Defib studs, IM pads and Torso Skin Replace the neck skin Attach the new neck skin around the neck. Replace the ECG and defibrillation studs Note There are two sizes of washers: short for the defibrillation studs (2) and long for the ECG studs (4) 1.
- Page 8 8. Turn the arm and continue the action on the rest of the arm. 9. Lubricate the inside of the new arm skin with liquid soap. 10. Put the arm skin on the manikin’s arm. Note If needed, apply more liquid soap to make the arm skin slide on more easily. www.laerdal.com...


Need help?
Do you have a question about the MegaCode Kelly and is the answer not in the manual?
Questions and answers