
Related Manuals for laerdal SIMETRI 212-55130


Summary of Contents for laerdal SIMETRI 212-55130
- Page 1 Complete Amputations for Laerdal SimMan 3G Laerdal Part No. 212-55130 212-55140 212-55150 212-55160 212-55170 212-55180 User Manual Rev.1.1...
-
Page 2: Table Of Contents
Contents Contents 1. SYSTEM SUMMARY 2. INSTALLATION INSTRUCTIONS UPPLIES NVIRONMENT ROCEDURE Contents 3. USER INSTRUCTIONS TART Contents EMOVAL 4. MAINTENANCE UPPLIES 4.2 E NVIRONMENT Contents 4.3 P ROCEDURE Contents Contents LAC-UOM-001, Rev.1.1 Contents... -
Page 3: System Summary
SIMETRI developed hyper-realistic amputated limbs used in the training of traumatic limb injuries, utilizing the Laerdal SimMan 3G manikin. The amputation's reliability and maintainability are critical to the objective of maintaining combat emergency response readiness. Steps on how to assemble, use, and maintain this system are detailed in the sections below. -
Page 4: Installation Instructions
Although installation can be done in any environment, a dry and climate-controlled environment is ideal for installing the Amputation with Cores on the Laerdal SimMan 3G manikin. If not in the ideal environment, be cautious to avoid getting any fluids or heavy moisture within the system. - Page 5 Lift the stomach plate out to access the manikin’s internal cavity (Figure 4). Figure 4. Open Stomach Plate Locate the top of the leg pipe, which is secured by a small 2” metal pin that is attached to a yellow string.
- Page 6 Insert the SIMETRI Leg Amputation, orienting it so that the metal leg pipe is located closest to the pelvic region of the manikin (Figure 6). Make sure the hole on the top of the leg pipe can easily slide into the pelvic opening of the manikin. Figure 6.
- Page 7 If replacing an arm, repeat the steps to unzip the chest skin and lift up the chest plate. Use the Laerdal Arm Allen Key (8mm) (Figure 2) to unbolt the arm connector of the limb and disconnect the arm (Figure 9).
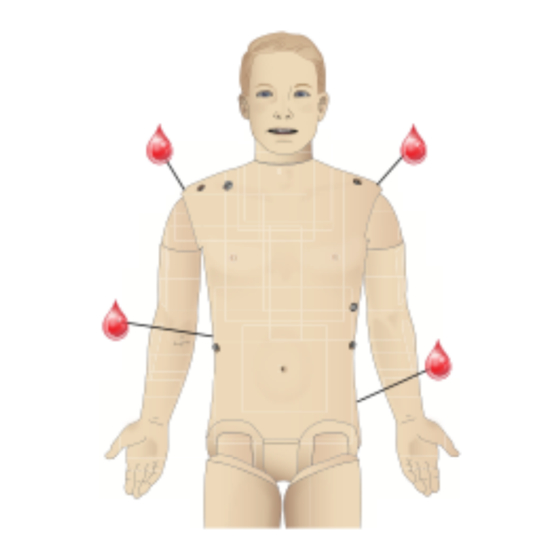
- Page 8 Figure 10. Tighten Bolt to Secure Arm Connector If you want the Amputation to bleed, locate the connector at the end of the Amputation’s red tubing and attach it to the connector of the internal Laerdal Blood Line located inside the Laerdal SimMan 3G manikin (Figure 11).
-
Page 9: User Instructions
USER INSTRUCTIONS Set Up The only tool required to install the Amputations with Cores is the Laerdal Arm Allen Key. If you intend to use the amputation bleeding capabilities, you must perform the following step before turning the manikin’s power on. Connect the amputation’s red tubing to the end of the internal Laerdal Blood Line located inside the Laerdal SimMan 3G manikin. -
Page 10: Shut Down
The fluid bottle, filled with blood fluid per Laerdal’s instructions, needs to be attached to the Bleed Inlet of the Fluid Fill Panel located on the right side of the manikin (Figure 13). This allows for the internal reservoirs filled with simulated blood to be pumped through the tubing system so that blood can actively bleed through the wounds that are attached. - Page 11 For the Arm Amputation, make sure the Laerdal manikin’s system is turned off and perform the following steps. 1. Unzip the chest skin (Figure 3) and lift up the chest plate. Disconnect the red line from the manikin and the Arm Amputation by twisting the white connector.
-
Page 12: Maintenance
Environment A dry and climate-controlled environment is ideal for installing the Amputations on the Laerdal SimMan 3G manikin. It is also desirable to have access to a utility sink with running water and a drain, although a bucket will suffice.
Need help?
Do you have a question about the SIMETRI 212-55130 and is the answer not in the manual?
Questions and answers