Advertisement
Quick Links
Important before assembly:
Read these instructions carefully before assembling or using the product.
Please check the contents of the boxes before attempting to assemble this product. The instructions will
have a checklist of parts and fittings.
It would be sensible to lay a rug or a carpet on the floor where you intend to assemble the product, to avoid
scratches and damaging the product or the floor.
Assemble the product as close to its intended final location/room as possible.
Do NOT use any power tools as this may damage the frame.
Health & Safety:
This product or some parts of this product will be heavy. Please use an assistant when lifting.
Please keep small parts out of reach of children.
Always use on a level, even surface.
DO NOT jump on the product or any of its parts.
DO NOT use this product if any parts are missing, damaged or worn.
DO NOT use this product unless all fixings are secured.
Please keep these instructions for future reference.
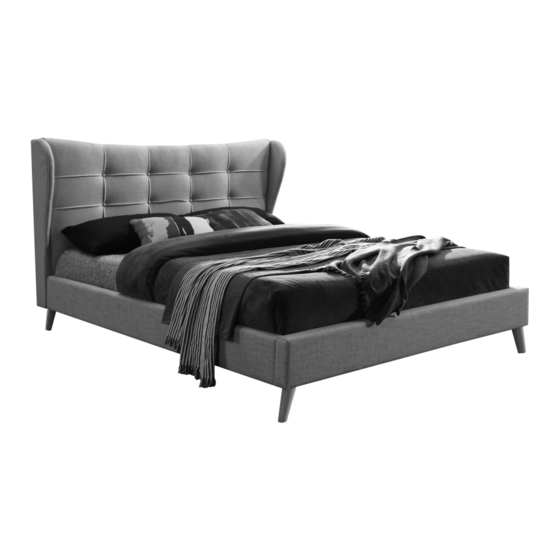
Assembly Instructions
Harper - King
.
.
www.happybeds.co.uk
Advertisement

Related Manuals for Happybeds Harper - King


Summary of Contents for Happybeds Harper - King
- Page 1 Assembly Instructions Harper - King Important before assembly: Read these instructions carefully before assembling or using the product. Please check the contents of the boxes before attempting to assemble this product. The instructions will have a checklist of parts and fittings.
- Page 2 Never drag or push the pieces across a hard or stone floor as this will cause damage to the joints. Use a carpet or a rug for extra care. If you have problems assembling or have damaged or missing pieces, please contact us by visiting: https://www.happybeds.co.uk/customer-service...
- Page 3 1.Headboard (x1) a.Side Wing (x2) 2.Footboard (x1) 3.Siderail (x2) 4.Centre Rail (x1) 5.Slats (x28) 6.Legs (x4) 7.Support Legs (x2) Page 3 of 8...
- Page 4 All fitting are stored within Box 1 D.Allen Key M4 x 65 mm (xl) A.MG x 40 mm JCBC (x2) B.M6 x 60 mm JCBC (x4) C.M8 x 20 mm JCBB (x8) \\\\\\\\\\> E.Allen Key MS x 70 mm (xl) G.Double Slat Cap (x14) H.Single Slat Cap (x28) F.M4 x 25 mm CSK (x2)
-
Page 5: Back View
Step 2 Unzip the black non-woven fabric on the back of 1 x Headboard (1) and take out the 2x Side Wing (8). Back View!! Step 3 Attach the 4x Legs (6) to the 1 x Headboard (1) and 1 x Fooboard (2). DO NOT use any power tools as this may damage the frame and will invalidate any claim. - Page 6 Step 4 Tighten the Side Wing (8) to 1 x Headboard (1) as shown. ® e label! Step 5 Attach 2x Side Rail (3) to 1 x Footboard (2) and 1 x Headboard (1) by pushing the bracket down to fit it. DO NOT use any power tools as this may damage the frame and will invalidate any claim.
- Page 7 Step 6 Attach the support legs centre rail using 2x M6x40mm JCBC (A) lx M4 Allen Key (D). (7). Then screw Adjuster (I) to support legs ATTENTION: Please keep the adjuster around Sto 8mm distant away from the floor. Step 7 Firstly, slot the 1x centre rail (4) to the bracket on 1x Headboard (1) and 1x Footboard (2).
- Page 8 Step 8 Slot the 28x slats (5) into the 14x Double slat caps (G) and then into 28x Single Slat caps (H). Press firmly into the holes located on the 2x side rails (3) and lx centre rail (4). Page 8 of 8...
-
Page 9: General Care And Maintenance
If this is not adhered to, it could result in failure to the product that will invalidate the warranty. For more information on cleaning and product care visit: https://www.happybeds.co.uk/help-and-advice Notes We’ve tried to make this product as easy to assemble as possible. In the unlikely event that...
Need help?
Do you have a question about the Harper - King and is the answer not in the manual?
Questions and answers