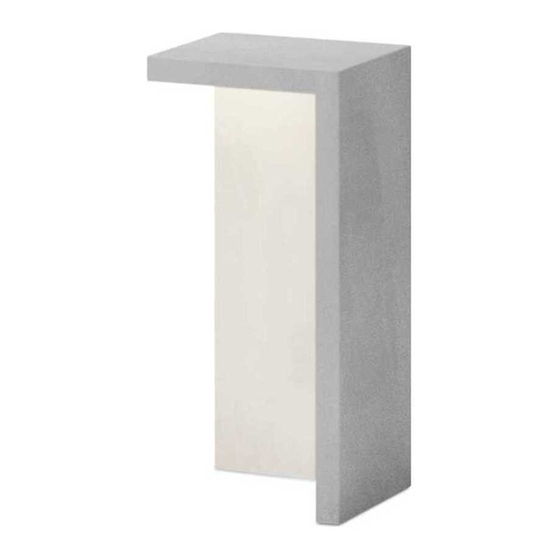
Summary of Contents for VIBIA Empty 4135
- Page 3 Assembly instructions / Instructions de montage Empty Design by Xuclà Version U02...
- Page 4 Supplied material / Matériel fourni 4135 4136 1. Gloves / Gants 1 un. 1 un. 2. Allen key / Clé Allen 1 un. 1 un. 3. Bracket / Équerre de fixation 1 un. 1 un. 4. Lighting fixture / Structure du luminaire 1 un.
- Page 5 - Do not disassemble, modify or try to repair this fitting. instructions avant d’installer le luminaire. Conservez-les In order to get technical assistance contact VIBIA. Any en vue d’une éventuelle consultation ultérieure. change or modification to the light fitting can null the manufacturer’s guarantee.
-
Page 6: Important Notice
THE LIGHT FITTING CAN BE INSTALLED IN TWO WAYS: LE MONTAGE DE CE LUMINAIRE PEUT ÊTRE RÉALISÉ DE DEUX MANIÈRES: - By using the mounted cable supplied. Follow steps 1a - 8a. - En utilisant le câble fourni installé sur le luminaire : suivez les étapes 1a à 8a. - By using the customer cable. - Page 7 3a. Place the bracket (A) in the desired position bearing in mind 3a. Placez l'équerre de fixation (A) sachant que la direction dans that the direction in which it is fixed determines which way the laquelle vous la fixez détermine l'orientation du boîtier de la structu- casing will face.
- Page 8 5a. Remove the two screws (C) using the allen key supplied and 5a. Retirez les deux vis (C) à l’aide de la clé Allen fournie et ouvrez open the cover (D). le couvercle (D). NOTE: Do not remove the protective plastic bag ATTENTION: ne retirez pas le sac de protection en plastique.
- Page 9 7a. Secure the casing (B) by tightening the two nuts (E). To make 7a. Fixez la structure du luminaire (B) en serrant les deux écrous (E). this operation easier, screw them on by hand first and when they Pour faciliter cette opération, commencez par les visser à la main are finger tight use a tool, without forcing them.
- Page 10 INSTALATION WITH CUSTOMER CABLE (NOT SUPPLIED) INSTALLATION DU LUMINAIRE AVEC LE CÂBLE 1b. Open the packaging. 1b. Ouvrez l'emballage. 2b. Remove the cardboard panels from the top and side as shown 2b. Retirez le panneau en carton du haut de l'emballage et celui du in the drawing.
- Page 11 Ø9/32" Ref. 4135: 29 1/2" Ref. 4136 39 3/8" 3b. Place the bracket (A) in the desired position bearing in mind 3b. Placez l'équerre de fixation (A) sachant que la direction dans that the direction in which it is fixed determines which way the laquelle vous la fixez détermine l'orientation du boîtier de la structu- casing will face.
- Page 12 5b. Remove the two screws (C) using the allen key supplied and 5b. Retirez les deux vis (C) à l’aide de la clé Allen fournie et ouvrez open the cover (D). le couvercle (D). NOTE: Do not remove the protective plastic bag. ATTENTION: ne retirez pas le sac de protection en plastique.
- Page 13 6b. Remove the mounted cable: 6b. Retirez le câble qui est installé de la façon suivante: One- Remove the 4 screws from the wiring box and open up the Retirez les 4 vis du boîtier de connexion et ouvrez le couvercle (F). cover (F).
- Page 14 7b. Run the electrical cable through the hole in the casing (B) until 7b. Faites sortir le câble électrique de la structure du luminaire (B) it comes out of the top hole. jusqu'au bord extérieur de la partie supérieure de la structure du luminaire.
- Page 15 L= 9 1/2" 9b. Secure the casing (B) by tightening the two nuts (E). To make 9b. Fixez la structure du luminaire (B) en serrant les deux écrous (E). this operation easier, screw them on by hand first and when they Pour faciliter cette opération, commencez par les visser à...
- Page 16 11b. Make the electrical connection with your cable at the connec- 11b. Effectuez la connexion électrique de votre câble électrique au tion box following the steps as shown. boîtier de connexion de la façon suivante : One- Introduce the cable in the wiring box. Introduisez le câble et connectez-le au bornier (G).
-
Page 17: Maintenance
Maintenance Entretien Use a slightly-wet cotton cloth for cleaning. Pour nettoyer le luminaire, utilisez un chiffon en coton légère- ment humidifié d’eau. In case of malfunction or damage, please contact the retai- ler who sold the lamp. En cas d’incident ou de défaillance du luminaire, contactez directement l’établissement où...


Need help?
Do you have a question about the Empty 4135 and is the answer not in the manual?
Questions and answers