Advertisement
SUPPLIED MATERIAL
Allen key / Ll a ve al l en / Inbusschlüssel
1
2
Wiring box / Caja de conexión / Klemmenkasten
Inset casi n g / Cuerpo de empotrar / Einbausockel
3
4
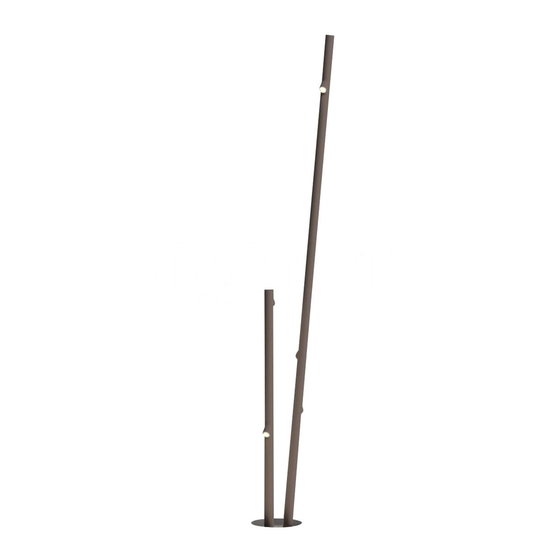
Tube structure / Estructura Tubo / Röhren-Struktur
TECHNICAL SPECIFICATIONS
Bamboo
Design by Antoni Arola & Enric Rodríguez
ASSEMBLY INSTRUCTIONS
INSTRUCCIONES DE MONTAJE
MONTAGEANLEITUNG
MATERIAL SUMINISTRADO
ESPECIFICACIONES TÉCNICAS
GELIEFERTES MATERIAL
1.
2.
4810
4811
4812
1 un.
1 un.
1 un.
1 un.
1 un.
1 un.
1 un.
1 un.
1 un.
2 un.
2 un.
3 un.
3.
4.
TECHNISCHE DATEN
Advertisement
Table of Contents

Related Manuals for VIBIA Bamboo


Summary of Contents for VIBIA Bamboo
- Page 1 Bamboo Design by Antoni Arola & Enric Rodríguez ASSEMBLY INSTRUCTIONS INSTRUCCIONES DE MONTAJE MONTAGEANLEITUNG SUPPLIED MATERIAL MATERIAL SUMINISTRADO GELIEFERTES MATERIAL 4810 4811 4812 1 un. 1 un. 1 un. Allen key / Ll a ve al l en / Inbusschlüssel 1 un.
- Page 2 ASSEMBLY INSTRUCTIONS INSTRUCCIONES DE MONTAJE MONTAGEANLEITUNG IMPORTANT NOTICE: Switch of the mains before installing the lamp. 1. Dismount cover (B) by removing the three screws (A) using the allen key supplied. 2. Make a hole in the ground of Ø34,5 cm and 26 cm deep to set the casing (C) into, and provide a gravel drainage system 20-30cm deep if the ground is sandy.
- Page 3 ASSEMBLY INSTRUCTIONS INSTRUCCIONES DE MONTAJE MONTAGEANLEITUNG 3. Insert the casing (C) in the resulting hole, running the power cable (D) through inside it. Enough length of cable must stick out above the ground to make the power connection. Fill in the hole with cement until it is flush with the ground.
- Page 4 ASSEMBLY INSTRUCTIONS INSTRUCCIONES DE MONTAJE MONTAGEANLEITUNG 4. Make the electrical connection: One: Remove the 4 screws from the wiring box and open up the cover (E). Two: Loosen the cable gland (F) in order to insert the cable (D) into the wiring box. Three: Make the electrical connection in the box (G).
- Page 5 ASSEMBLY INSTRUCTIONS INSTRUCCIONES DE MONTAJE MONTAGEANLEITUNG 7. Insert the tubes (I) of the light fitting into the pivots (J) in the base, so that the connectors remains outside. 8. Rotate tubes (I) to point the spotlights in the direction to be lit. IMPORTANT: Don´t rotate the tube by the spotlights Tighten the nuts (K) on the clamps fitted in...
- Page 6 ASSEMBLY INSTRUCTIONS INSTRUCCIONES DE MONTAJE MONTAGEANLEITUNG 9. Connect the terminals (H) and insert them inside the casing set into the ground. 10. Push rubber disc (L) over each tube, sliding it down along the tube until it is against the clamp fitted. NOTE: If any traces of black rubber are left in the tube they can be cleaned off with a cloth dampened in water.
- Page 7 ASSEMBLY INSTRUCTIONS INSTRUCCIONES DE MONTAJE MONTAGEANLEITUNG 11. Note the position of the fixing holes in the cover (B) and fit it correctly over the top of the tubes so that when it is slid down to the base the said fixing holes line up with those in the inset base.
Need help?
Do you have a question about the Bamboo and is the answer not in the manual?
Questions and answers