Advertisement
SUPPLIED MATERIAL
1
Allen key / Llave allen / Imbußschlüsse
2
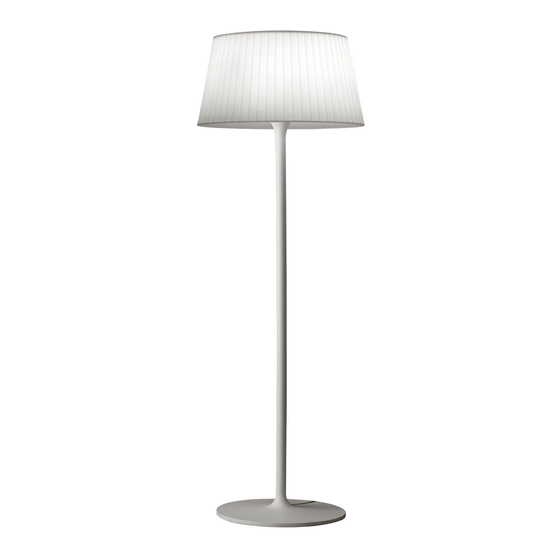
Lamp structure / Estructura luminaria / Leuchten-Struktur
TECHNICAL SPECIFICATIONS
Plis Outdoor
Design by Ramos & Bassols
INSTRUCCIONES DE MONTAJE
MONTAGEANLEITUNG
MATERIAL SUMINISTRADO
ESPECIFICACIONES TÉCNICAS
GELIEFERTES MATERIAL
4035
1 un.
1 un.
TECHNISCHE DATEN
1.
2.
Advertisement
Table of Contents

Related Manuals for VIBIA Plis Outdoor


Summary of Contents for VIBIA Plis Outdoor
- Page 1 Plis Outdoor Design by Ramos & Bassols ASSEMBLY INSTRUCTIONS INSTRUCCIONES DE MONTAJE MONTAGEANLEITUNG SUPPLIED MATERIAL MATERIAL SUMINISTRADO GELIEFERTES MATERIAL 4035 1 un. Allen key / Llave allen / Imbußschlüsse 1 un. Lamp structure / Estructura luminaria / Leuchten-Struktur TECHNICAL SPECIFICATIONS ESPECIFICACIONES TÉCNICAS...
- Page 2 ASSEMBLY INSTRUCTIONS INSTRUCCIONES DE MONTAJE MONTAGEANLEITUNG IMPORTANT NOTICE: Switch of the mains before installing the lamp. 1. Remove the metal strip (A) by unscrewing the 2 screws (B). 2. To unassemble the base (C) remove the screw (D) place in slot by means of the supplied Allen key.
- Page 3 ASSEMBLY INSTRUCTIONS INSTRUCCIONES DE MONTAJE MONTAGEANLEITUNG 4. Connection to the mains: First remove the cover (H) by unscrewing the four screws. Secondly, loose the cable clamp (I) so as to slip your installation cable through it and connect it to the connectors. Then tighten again the cable clamp and reinstall the cover using the four screws.
- Page 4 Plis Outdoor Design by Ramos & Bassols UNPACKING 1. TAKE OUT STAPLES UNDER BOX AREA 1. SACAR LAS GRAPAS DEL AREA DE ABAJO 1. ENTFERNEN SIE DIE KLAMMERN UNTEN 2. TAKE OUT STAPLES- BOTH LATERAL AREA 2. SACAR GRAPAS DE LOS DOS LATERALES 2.
Need help?
Do you have a question about the Plis Outdoor and is the answer not in the manual?
Questions and answers