
Related Manuals for Gainscha GA-F3300


Summary of Contents for Gainscha GA-F3300
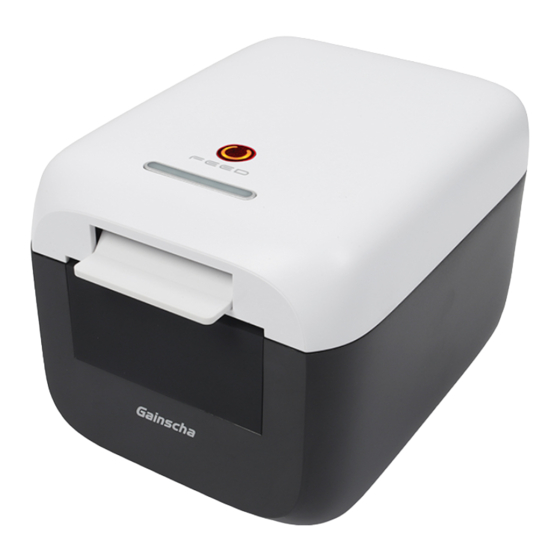
- Page 1 User’s Manual 80mm Thermal Receipt Printer GA-F3300 Please keep user manual for reference...
-
Page 2: Thermal Receipt Printer
Thermal Receipt Printer 1. Safety Notice * Install the printer on the stable surface. Choose firm, level surface where avoid vibration. * Do not use or store the printer in high temperature, high humidity and serious pollution. * Connect the printer's power adapter to an appropriately grounded socket. Avoid using the same socket as large motors or other equipment that can cause voltage fluctuations in the power supply. -
Page 3: Key Features
Thermal Receipt Printer 4. Key features * Support 300dpi resolution * 160mm/sec high-speed printing * Support kitchen printing and ethernet printing * Support Receipt and Label printing * Support cashdrawer kick-out * Low working noise * Compact and lightweight, attractive appearance * Reasonable structure of printer, easy maintenance * Various interface available (Serial + USB + Ethernet) * Built-in data buffer (can receive printed data when printing) -
Page 4: Specifications
Thermal Receipt Printer 5. Specifications Model GA-F3300 Print method Direct thermal printing Print resolution 300dpi Print speed 160 mm/s Print width 72 mm Paper thickness 0.06~0.08 mm Paper diameter 75 mm Print interface Serial + USB + Ethernet,Bluetooth/Wi-Fi(option) UPC-A/UPC-E/JAN13(EAN13)/JAN8(EAN8)/ Barcode type... -
Page 5: Printer Connection
Thermal Receipt Printer 6. Printer Connection a. Plug the DC cord connector into the printer’s power connector. b. Plug the data cable connector into the printer’s interface connector c. Plug the drawer cable into the drawer kick-out connector on the back of the printer next to the interface connector. 7. -
Page 6: Driver Setup
Thermal Receipt Printer 8. Functions of buttons and indicators a. Print Self-testing page * Printer status: Make sure the printer has thermal paper roll, then close the cover. * Press the "Feed" button and hold it, then power on the printer. Release the hand holding the “Feed”... - Page 7 Thermal Receipt Printer * How to install the Driver in Windows a. Insert the driver CD disk, run the GA-Printer Driver v1.1 to set up, click “Next”. b. Select the operation system that you’re using...
- Page 8 Thermal Receipt Printer c. Select the Driver “GA-F3300 Series” and click next. d. Select the corresponding printer port. (USB, Ethernet, Serial can be selected as below)
- Page 9 Thermal Receipt Printer e. Complete the setup. f. Turn on the printer on your computer settings and find the corresponding driver of GA-F3300 series. Right-click "Printer properties" and click "Print Test Page" button to Print the test page, then the...
- Page 10 Thermal Receipt Printer * How to set up the Drive Port (1) USB Port Connection (If you need you need to set the port to USB) b. Select USB port a. Open “Printer Properties”:Begin→ Device and printer→ Printer→ Printer Properties→ Port If the computer has been connected to multiple printers, there will be multiple USB ports, you can check USB port as blew: Computer→...
- Page 11 Thermal Receipt Printer (2) Ethernet Port Connection (If you need to set the port to Ethernet) a. Get the IP address from the printer self-testing page: According to above operation 8-a to print the self-testing page, b. As shown in the above picture, then you can get the current setting information.
- Page 12 Thermal Receipt Printer g. Click “Finish” to check the added ports h. Return to the "General" and click "Print test page". If the print test page works normally, the setting is successful i. Change settings through “Preferences” and “Device Settings”. (Print length Settings, money box Settings, buzzer prompt Settings, etc.)
- Page 13 Thermal Receipt Printer 3. Serial Port Connection (If you need to set the port to Serial) a. Click step “Port - COM2 – Finish” b. Refer to the default baud rate of the printer self-testing page, enter the same baud rate 19200, otherwise there will be Select a serial port based on the following path: errors in printing.
- Page 14 Huarong Bldg, No. 9 Xingao Road, Hengqin, Zhuhai, Guangdong. Post Code: 519031 Tel:+86 756 396 5699 E-mail:sales@gainscha.com...
Need help?
Do you have a question about the GA-F3300 and is the answer not in the manual?
Questions and answers