Advertisement
Quick Links
Advertisement

Related Manuals for Gainscha GA-S300


Summary of Contents for Gainscha GA-S300
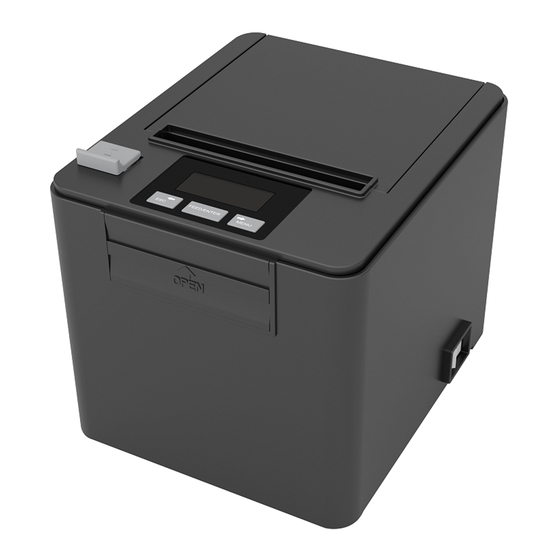
- Page 1 80mm Thermal Receipt Printer User ’s Manual GA-S300...
-
Page 2: Table Of Contents
Catalog catalog........................1 Physical specifications....................2 Features........................2 Specifications......................2 Printer Connection....................3 Installing the roll paper.....................4 Buttons and Display....................6 Driver Setup......................8... - Page 3 Safety Notice * Install the printer on the stable surface. Choose firm, level surface where avoid vibration. * Do not use or store the printer in high temperature, high humidity and serious pollution. * Connect the printer's power adapter to an appropriately grounded socket. Avoid using the same socket as large motors or other equipment that can cause voltage fluctuations in the power supply.
-
Page 4: Physical Specifications
* Character per line and character settings * Support Ethernet Printing status monitor, multiple connection printing and OPOS printing * Support printer identification, software binding and high-speed driver mode * Support various character sets (include GB18030) Support the no-lost function High –... -
Page 5: Specifications
3. Specifications: Print Mode Direct thermal line Media Width 80mm Print Width 72mm Resolution 300dpi Print Speed 160mm/s Model Interface Serial+USB+Ethernet, Bluetooth/Wi-Fi(option) Paper roll 80mm Line spacing 3.75mm(Support commands to adjust line spacing) Emulation ESC/POS 1.3 inch ANK Character,Font A:1.5×3.0mm(12×24dots) Font B:1.1×2.1mm(9×17dots)... - Page 6 a. Plug the DC cord connector into the printer’s power connector. b. Plug the drawer cable into the drawer kick-out connector on the back of the printer next to the interface connector.
-
Page 7: Installing The Roll Paper
5.Installing the roll paper a. Open the top cover. b. Install the paper roll into the printer. c. Pull out some paper outside the printer and then close the printer cover. d. Close the top cover. Press the printer cover to avoid error position of roll paper. 6. - Page 8 6.1 LCD and Buttons function description: A. Screen display information 1. standby mode a. Upper left region:Represents the warning information of the current printer in the form of icon, and does not display when no warning appears. b. Upper right region:Displays the real-time temperature of the print head. c.
-
Page 9: Driver Setup
Short press: select next option/set parameter (increments). Long press: continuously select the next option/continuously set parameters (incrementing). Middle button Press: confirm selection. Long press: return to standby mode. 4. Screen saver: the left button Press: return to standby mode. Long press: display printer information. the right buttons Press: return to standby mode. - Page 10 2)Read and accept the terms to continue the setup 3)Select the operation system that you’re using.
- Page 11 4)Select the driver name and click next 5)Select the corresponding printer port. 6)Complete the setup.
- Page 12 Huarong Bldg, No. 9 Xingao Road, Hengqin, Zhuhai, Guangdong. Post Code: 519031 Tel:+86 756 396 5699 E-mail:sales@gainscha.com...
Need help?
Do you have a question about the GA-S300 and is the answer not in the manual?
Questions and answers