Advertisement
Advertisement
Table of Contents

Related Manuals for ML Accessories FLN10


Summary of Contents for ML Accessories FLN10
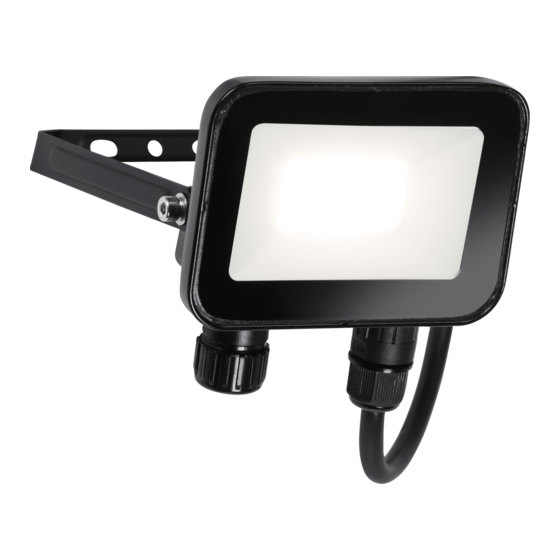
- Page 1 INSTALLATION & MAINTENANCE MANUAL FLN10 / FLN20 / FLN30 / FLN50 / FLNMIC / FLNPIR...
- Page 2 These instructions should be used to aid installation of the following products: FLN10 / FLN20 / FLN30 / FLN50 / FLNMIC / FLNPIR SAFETY • This product must be installed in accordance with the latest edition of the IEE Wiring Regulations (BS7671) and current Building Regulations.
- Page 3 (BS7671) and current Building Regulations. If in any doubt, consult a qualified electrician Please isolate mains prior to installation or maintenance Check the total load on the circuit (including when this product is fitted) does not exceed the rating o the circuit cable, fuse or circuit breaker Please note the IP (Ingress Protection) rating of this product when deciding the location for installati INSTALLATION...
- Page 4 • Fix the luminaire to a suitable solid surface using the wall plugs and screws provided • Tilt so the cable entry points are accessible • Unscrew the sealing nut from the compression gland (see Fig. 2) and fit it over the supply cable Fig.
- Page 5 is not dislodged (see Fig. 2) Remove the protective insert from the compression gland, leaving the rubber gasket in place (see Fig • 2), and pass the supply cable through the compression gland Prepare the supply cable as shown by stripping back the outer sheath and basic insulation to the •...
- Page 6 PIR / MICROWAVE SENSOR ACCESSORY • Isolate the mains supply to the fitting • Remove the capping nut, and using plyers pull out the protective insert from the fitting (see Fig. 4) Fig. 4 Fig. 4 • Align the pins on the sensor, push onto the fitting, and tighten ensuring a good seal is made.
- Page 7 Setting FLNMIC FLNPIR SENS Minimum: up to 4m / Maximum: up to 12m Minimum: up to 5m / Maximum: up to 10m Minimum: 3 lux / Maximum: 2000 lux Minimum: 10 lux / Maximum: 2000 lux TIME Minimum: 10 sec / Maximum: 15 min Minimum: 10 sec / Maximum: 7 min Override Function (FLNPIR only) •...
- Page 8 ML Accessories does not accept responsibility for any installation costs associated with the replacement product. Your statutory rights are not affected. ML Accessories reserve the right to alter product specification without prior notice.
Need help?
Do you have a question about the FLN10 and is the answer not in the manual?
Questions and answers