Do you have a question about the AP-10DR2SFTS10 and is the answer not in the manual?
Questions and answers
Guylaine Ndeau
June 23, 2025
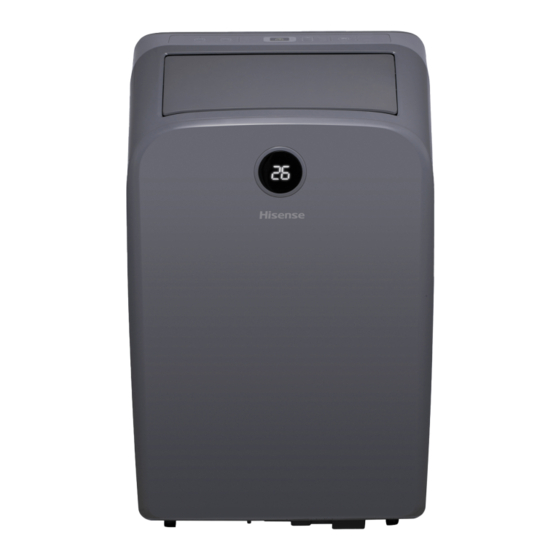
J’ai fait une un CLIMATISEUR AP14DR2SFTS10 enfin de saison l’année dernière qui ne donne pas son refroidissement supposé…. Ça 2 hrs qu’il fonctionne ça. N’as pas rafraîchi …. Je ne comprends pas pourquoi les 2 dégrées s’affichent 25* un en avant et un sur le dessus…. Sur ma remote j’ai mis 19*


Need help?
Do you have a question about the AP-10DR2SFTS10 and is the answer not in the manual?
Questions and answers
J’ai fait une un CLIMATISEUR AP14DR2SFTS10 enfin de saison l’année dernière qui ne donne pas son refroidissement supposé…. Ça 2 hrs qu’il fonctionne ça. N’as pas rafraîchi …. Je ne comprends pas pourquoi les 2 dégrées s’affichent 25* un en avant et un sur le dessus…. Sur ma remote j’ai mis 19*